Ever since I bought my Miata, one of the things I wanted to do is to give a fresh look by repainting the car. It doesn’t have to be a show car paint (after all, the car was worth only $1,500), but something good enough so that I look semi decently good when Jeff takes great pictures of me crushing through cones…
First, I thought about taking it to a local shop where I was told that he can do it for $300 if I do all the prep work, and then later considered Plasti Dip. However, I found this this crazy idea of rolling on Rustoleum on car, which suppose to cost only $50, I just couldn’t resist to try that.
After some research, I set my goal to finish this job under $100, including the paint, rollers, brushes, sanding paper etc.
You’ll find all the necessary details on other website, so this is more of a memorandum for myself in the future if I decided to do it again.
- RUST-OLEUM Professional Hunter Green
– I used less than 1 and a half quarts
- RUST-OLEUM Professional Clean Metal Primer
– Probably a pint would be enough for a small car like Miata
- Mineral Spirits
– A gallon would be more than enough for both thinning and cleaning, etc
- Foam Roller 4″ or 6″
(Don’t use the cheapest type looks like sponge, but more expensive one feels dense foam!)
- Sanding Paper 120 grits for palm sander, 240 grits for rotary sander, 320, 400, 600, 800, 1500, 2000 grits Wet/Dry Sanding Sheets
- Wizard Polish
- Meguiar’s Ultimate Paste Wax
– Highly recommended! Very easy to apply and works very well.
- Masking Tape
Tools
- Palm Sander
- Rotary Polisher-Sander
with Foam Pad – I love my Makita but any brand should work 🙂
- Wife’s old hair drier. DO NOT USE her GOOD one. You’ll get yelled for spilled paint on its cord or finger print on handle (I was smart enough to use a old one 😛
- Cheap Spray bottles
- Dust Mask
Steps
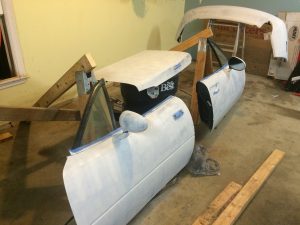
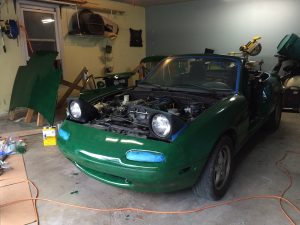
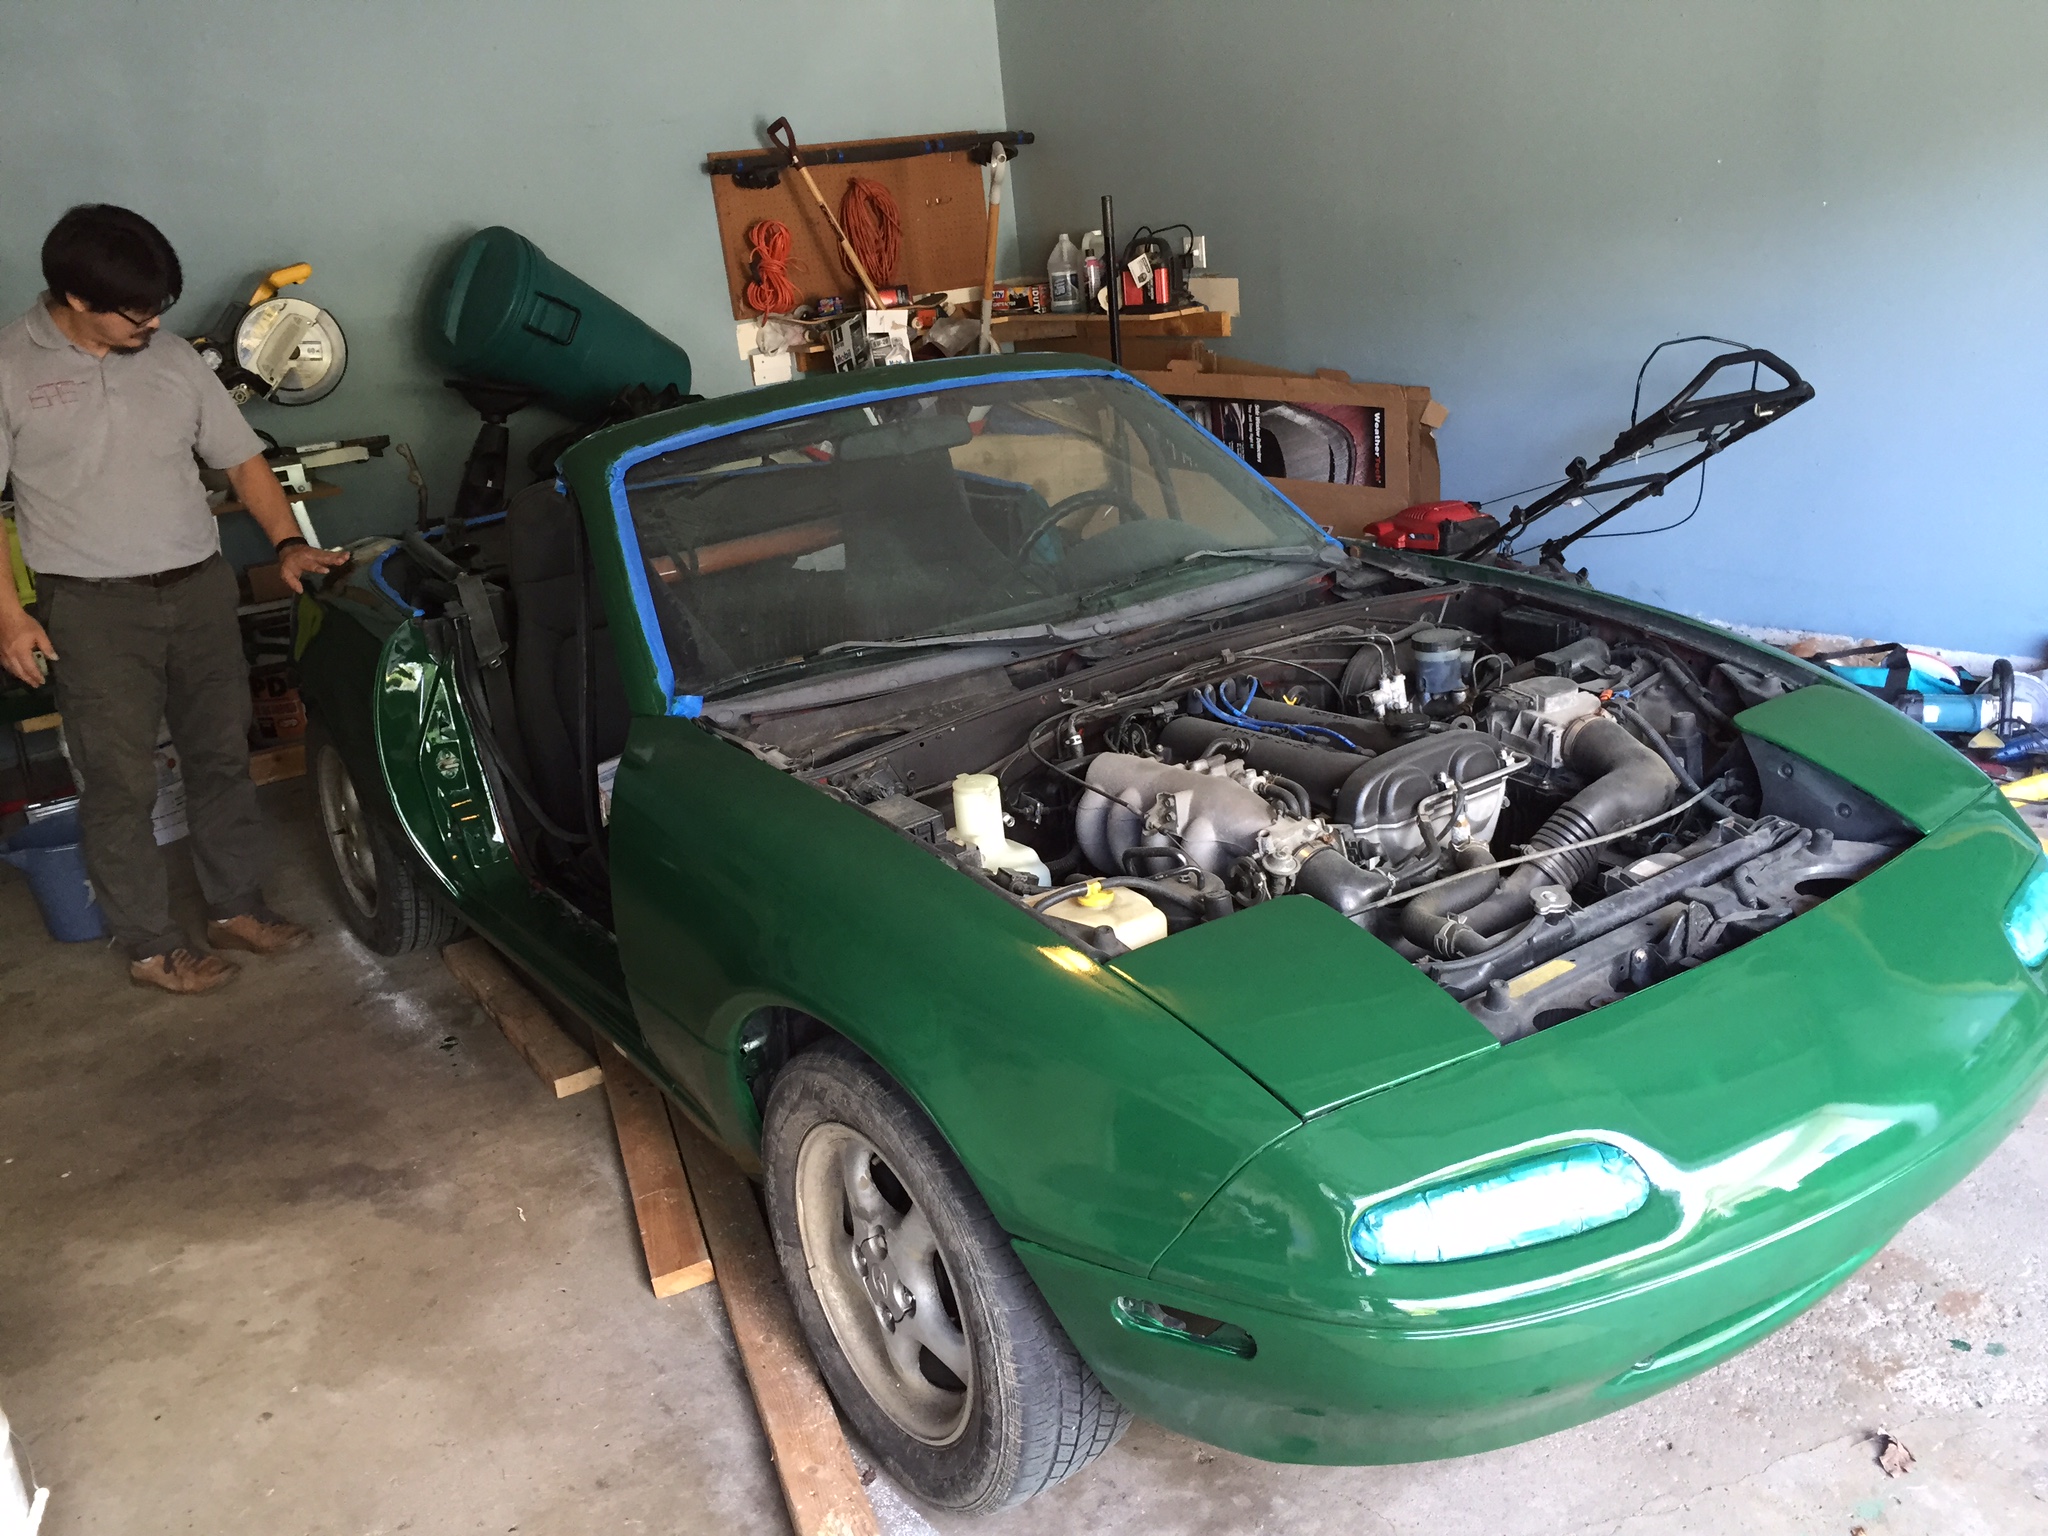
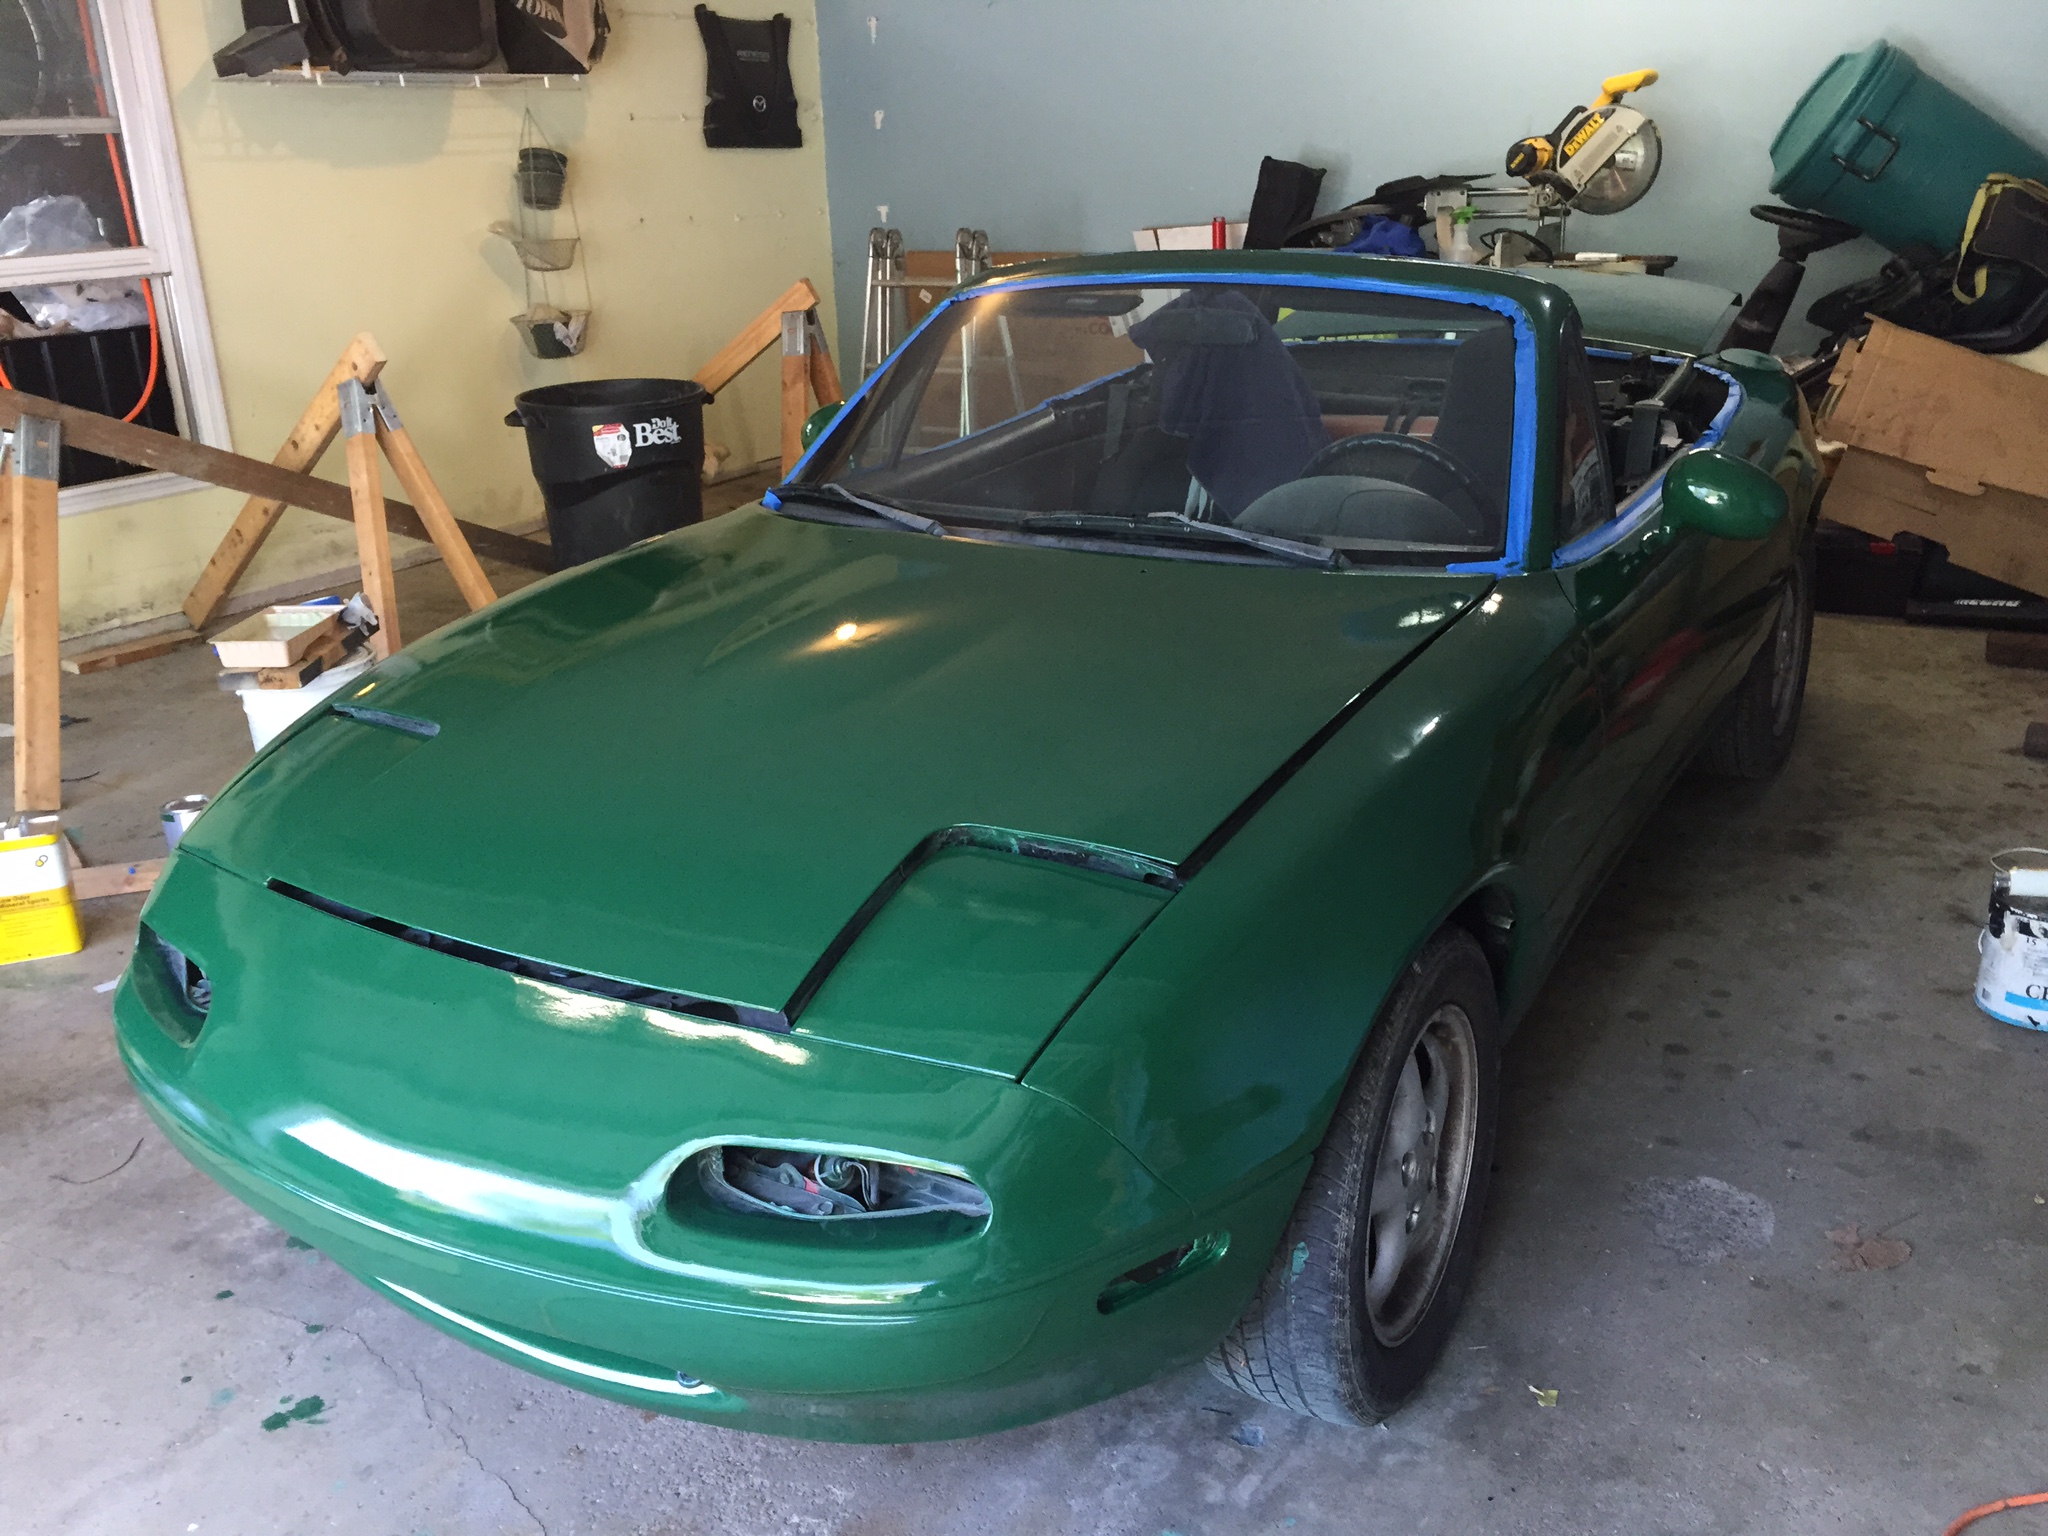
- Prep: Remove blinker, tail lights, etc, and mask those does not come off easily. (I covered some of them with blue tape, but later found it was easier to take them off)
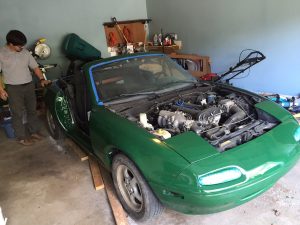
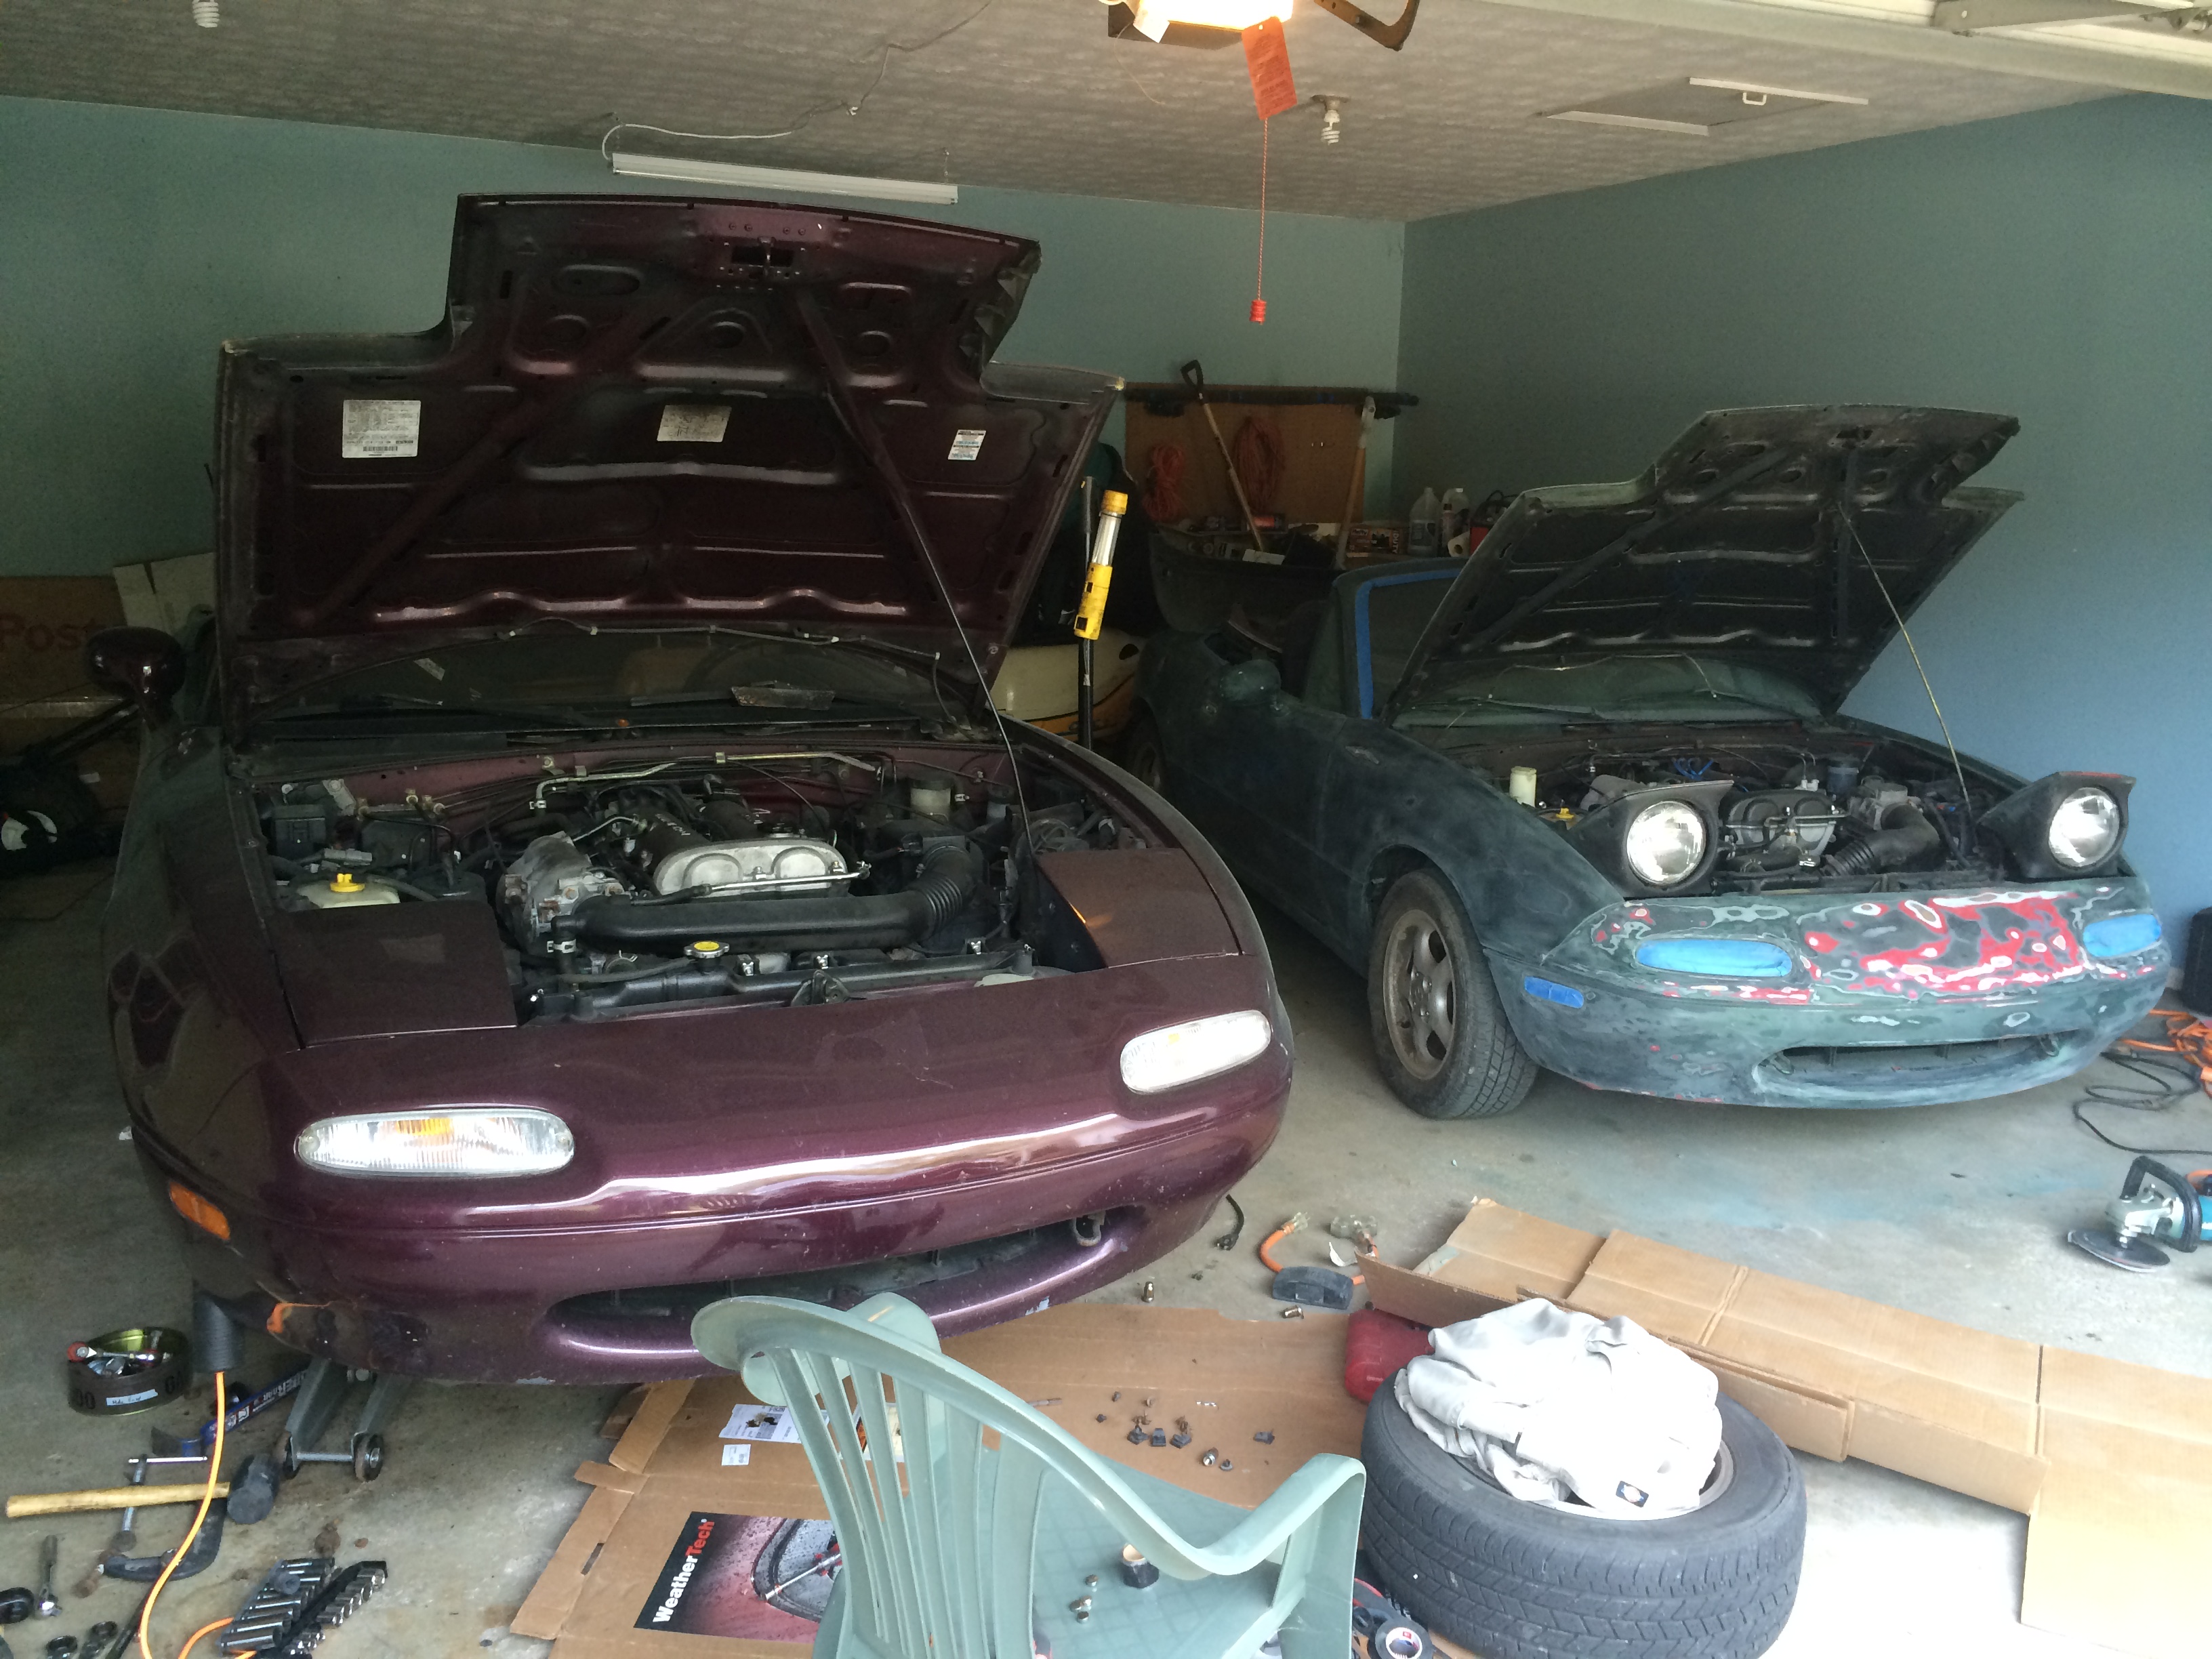
- Sand: Using palm sander with 120 grid, and rotary sander with 240 grid, sand the car to get solid paint or down to the metal. (Afterthoughts, I should have sanded down to metal… Make sure to use masks!

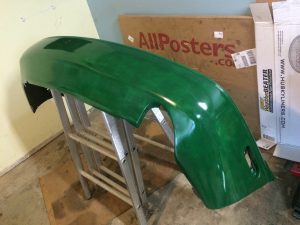
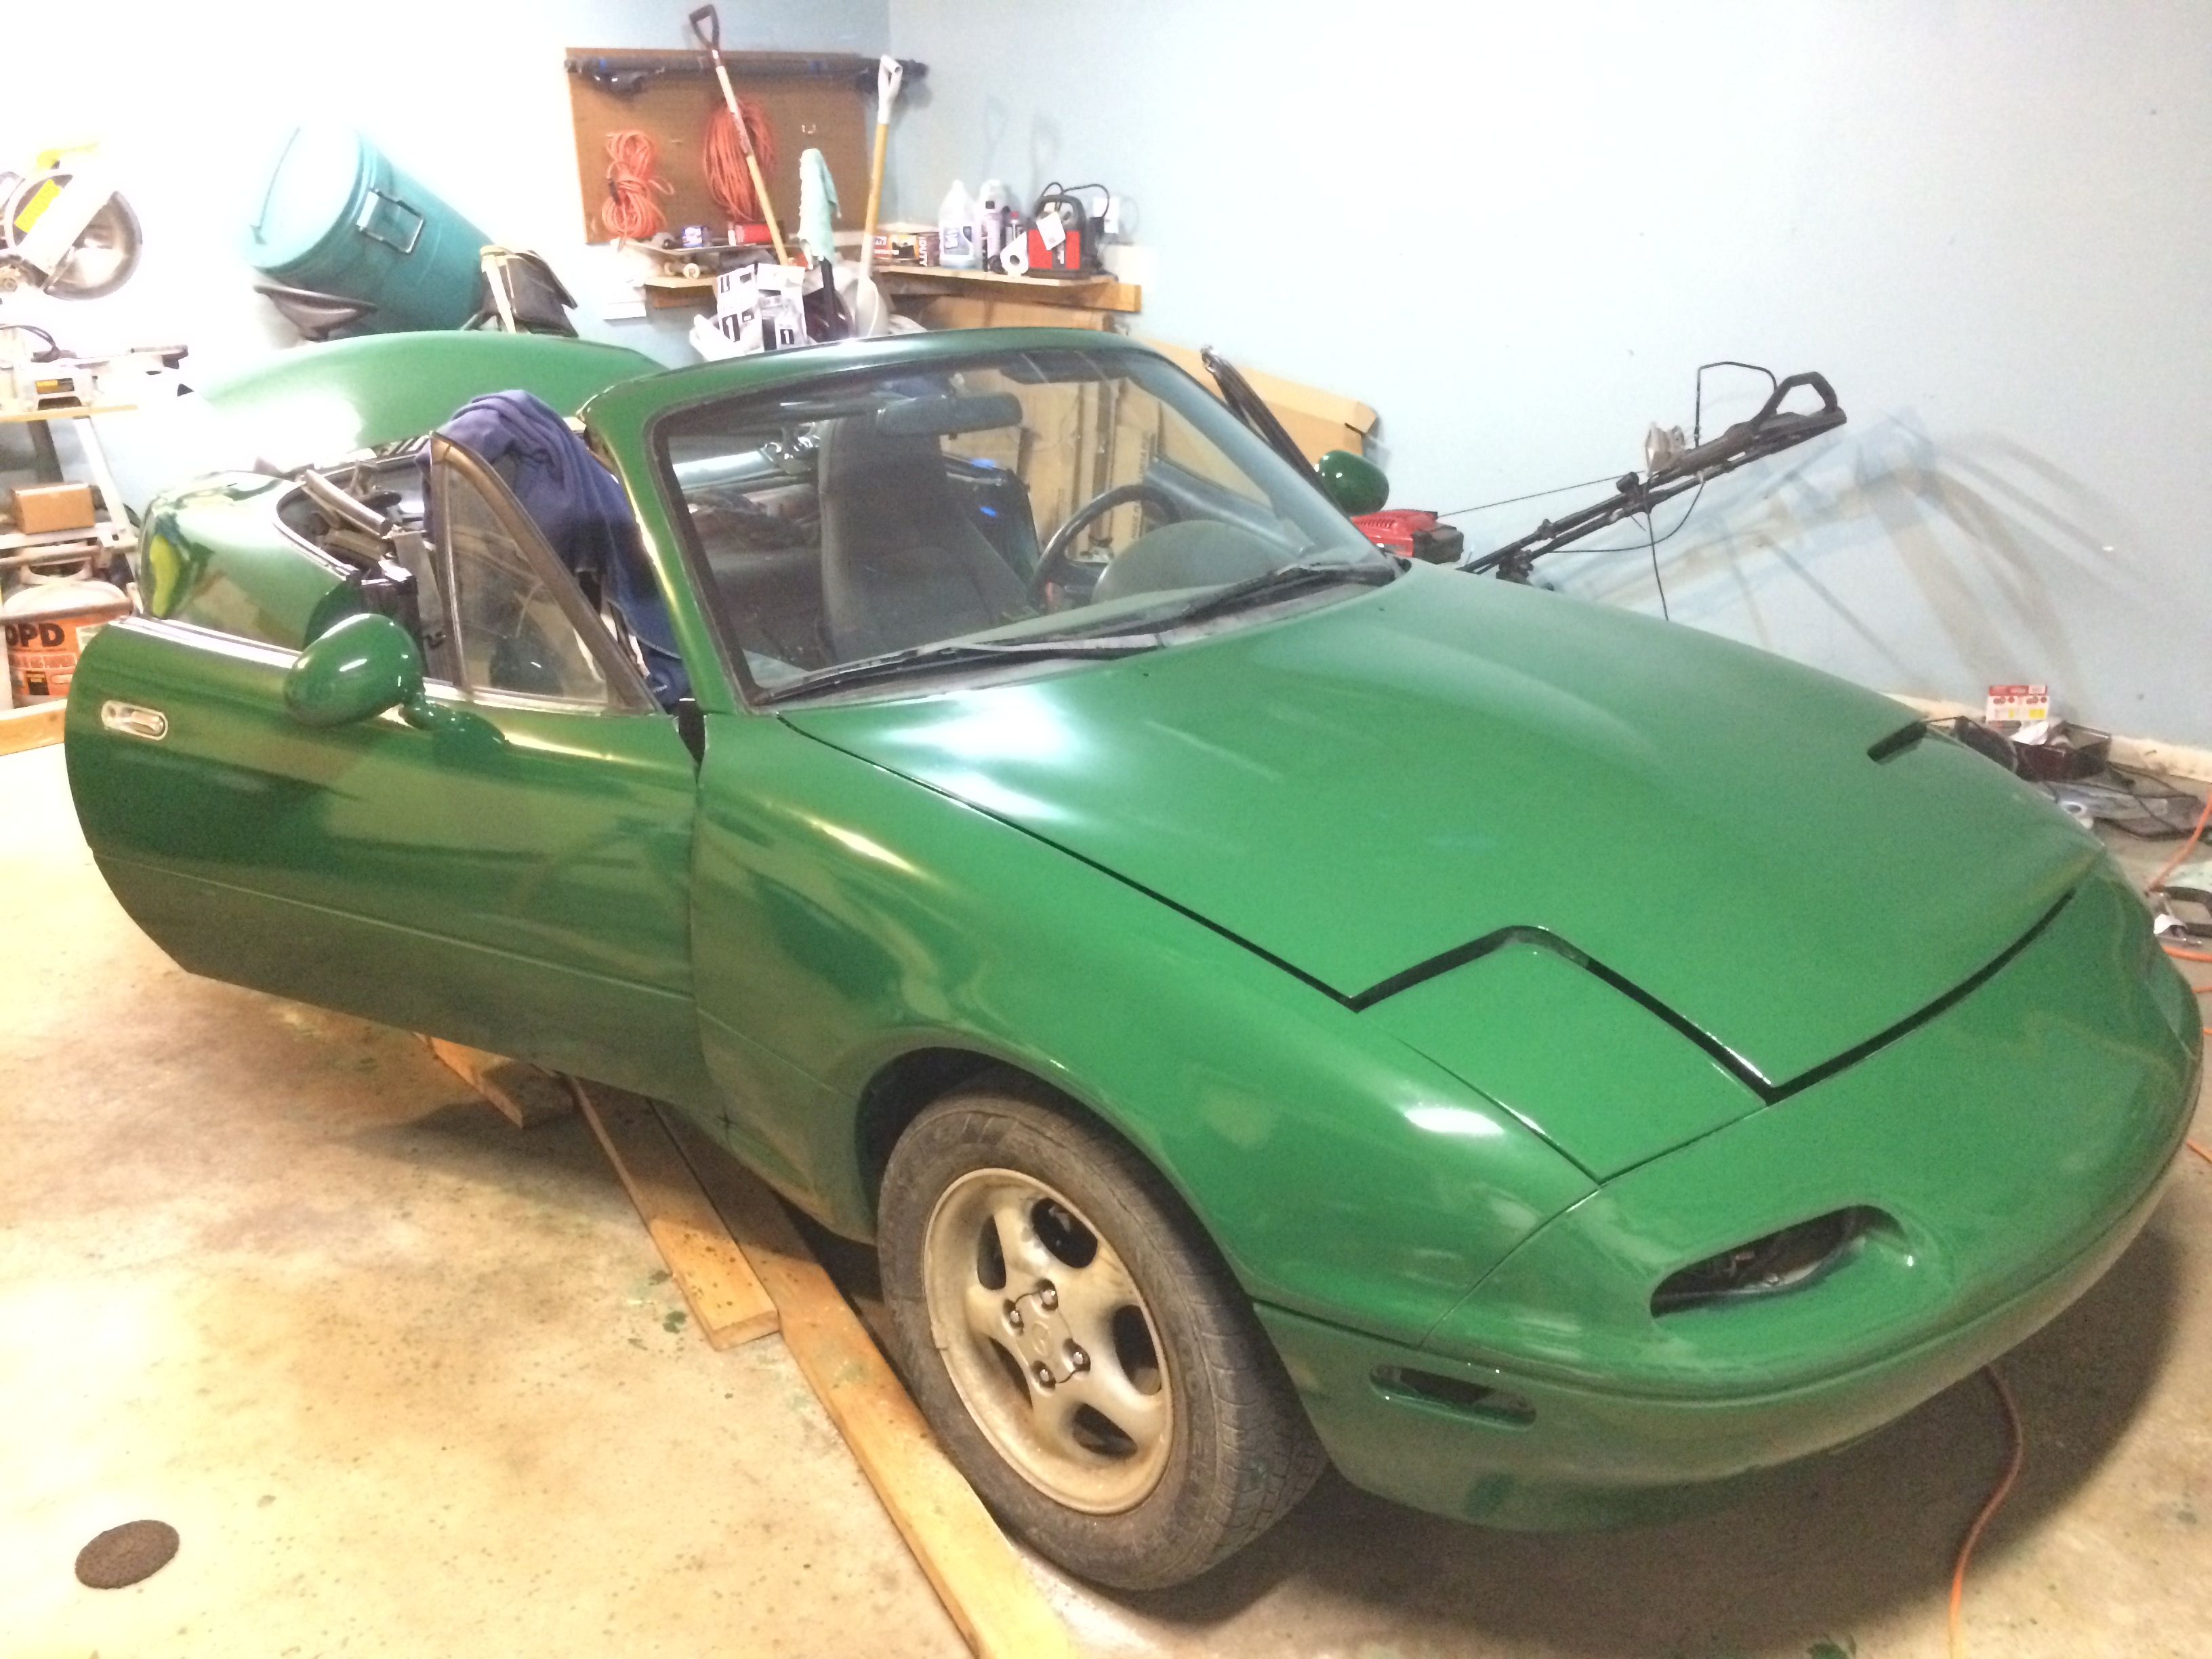
I forgot to take picture of the car while sanding. The one of background is mine while I was sanding. - Remove hood, trunk lid, door and then sand those couldn’t be reached.
- Body work: Which I didn’t… It’s a race car!
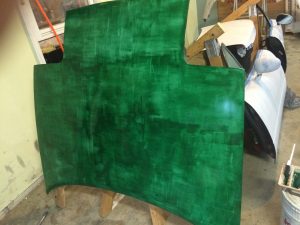
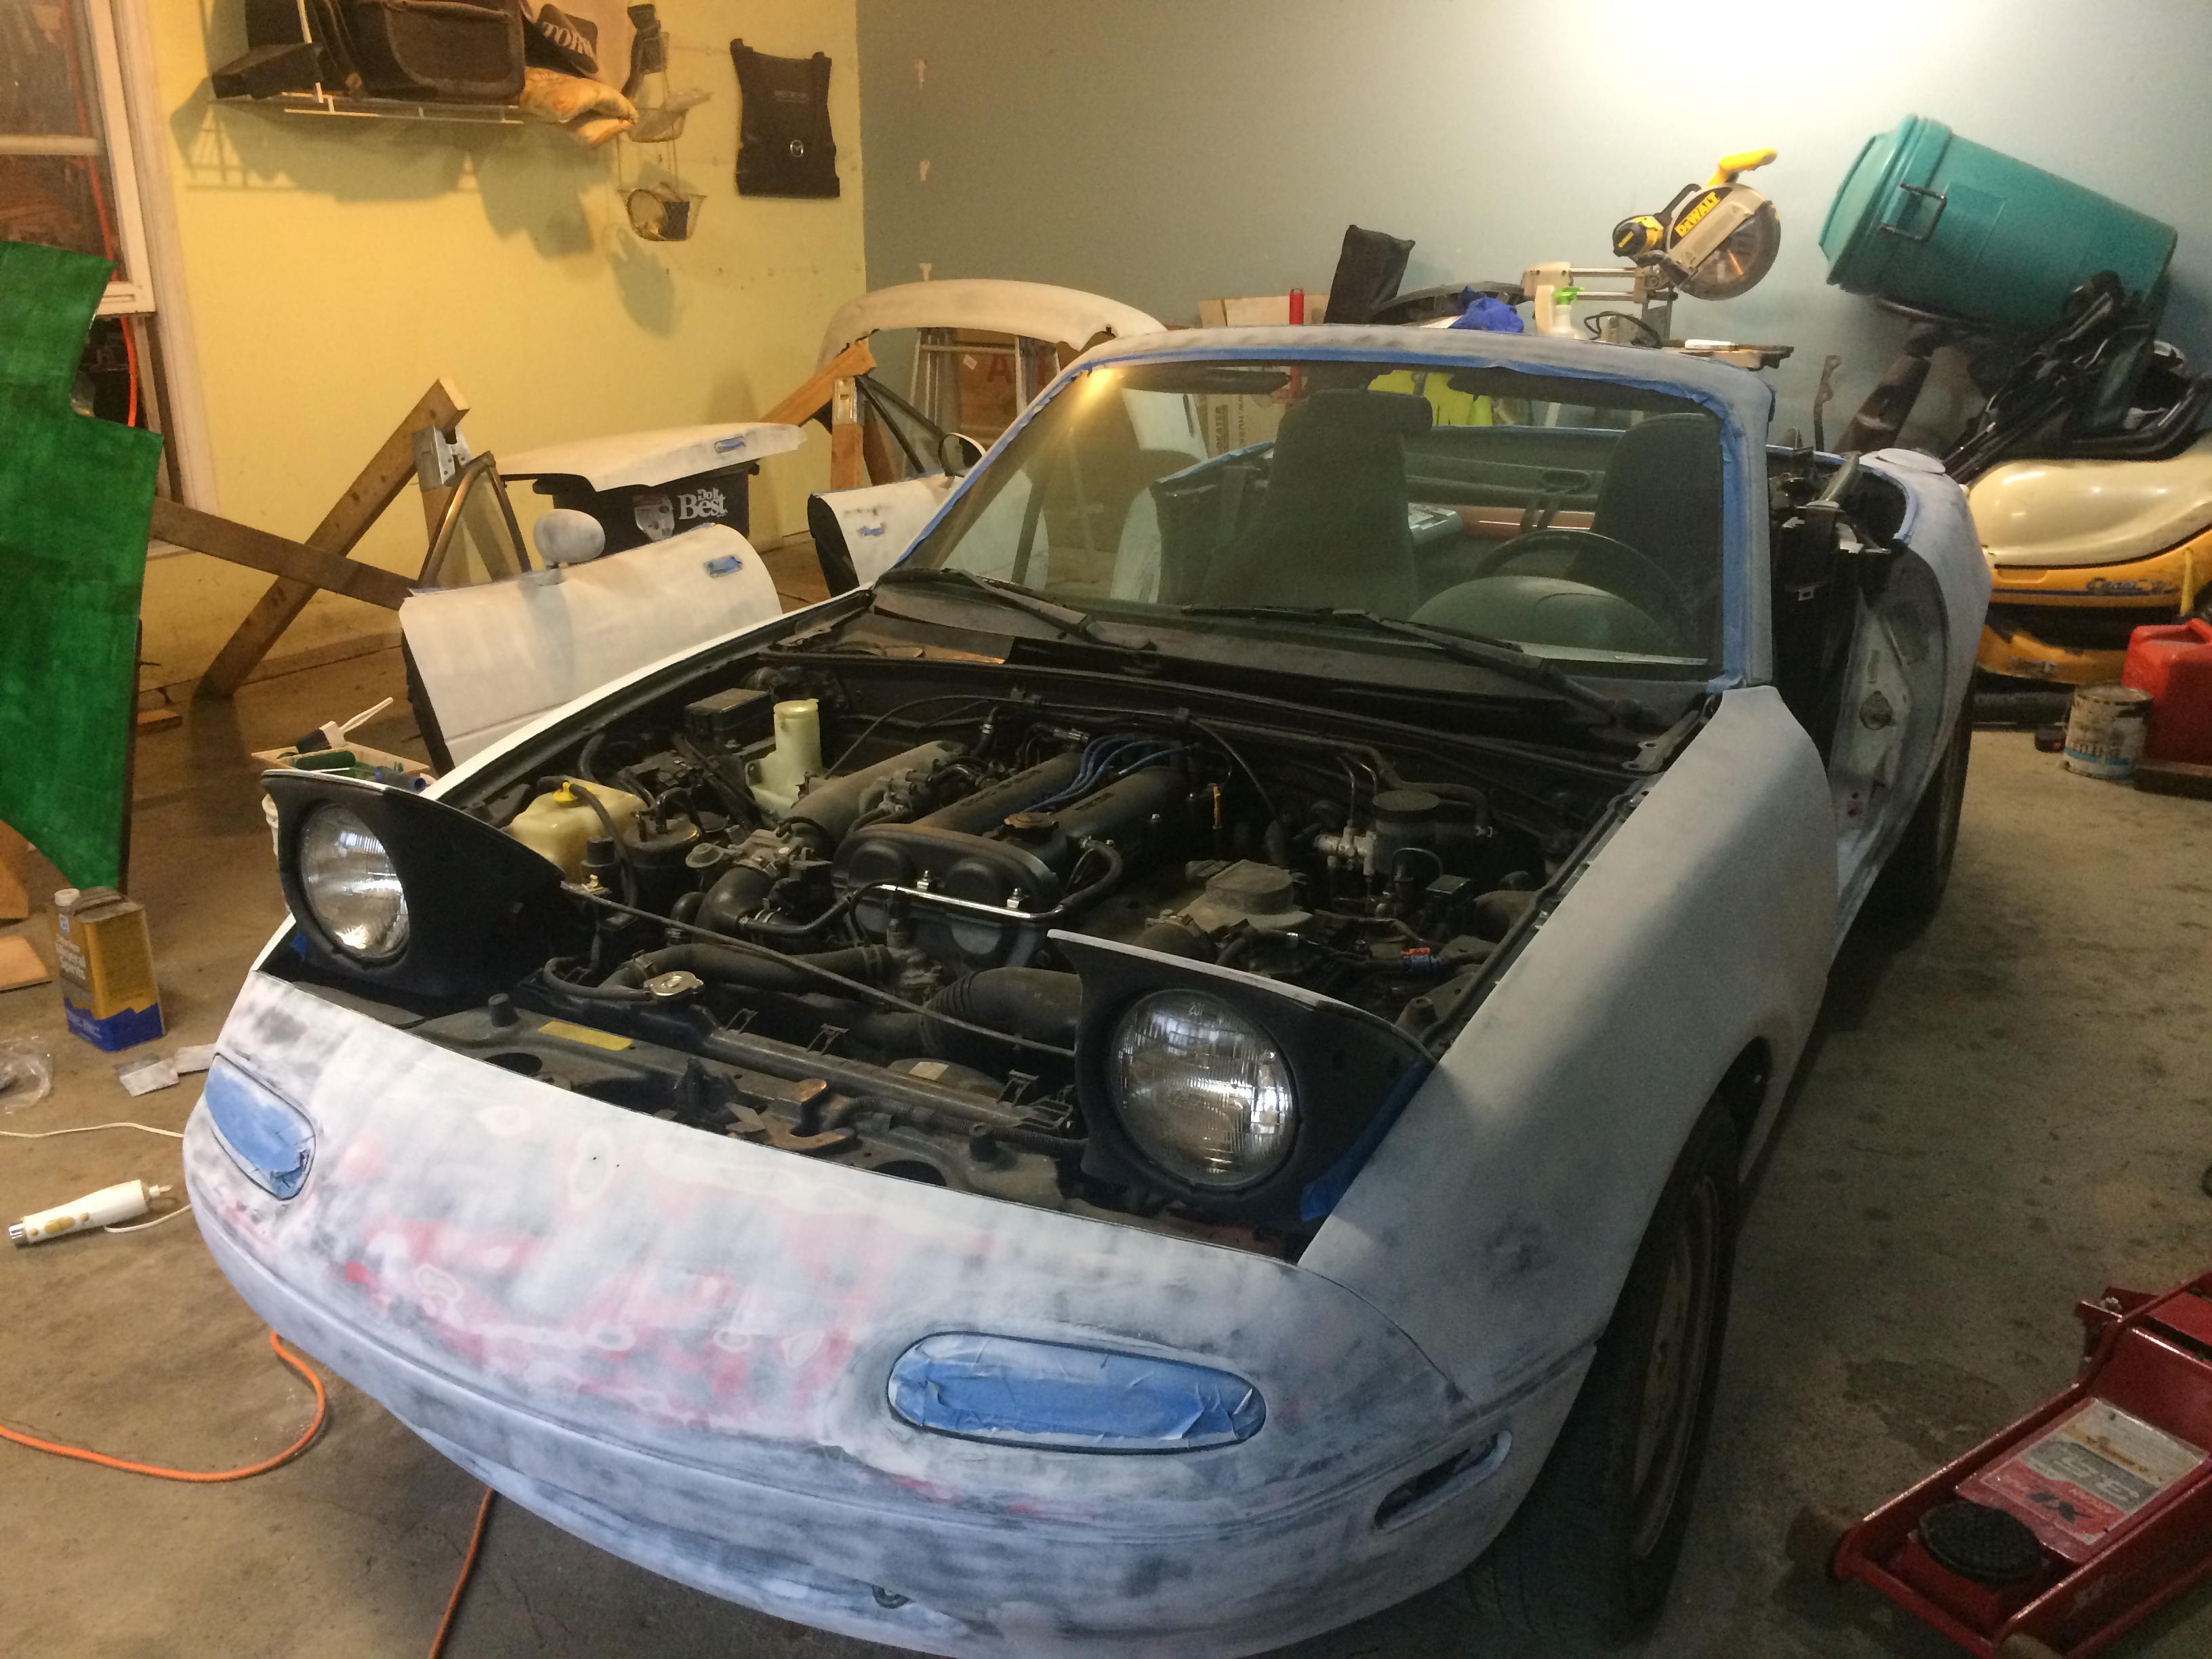
- Prime: Mix Primer wand mineral spirits, to milk density, and then use foam roller and brush to prime. As you roll, blow hot air with hair drier, to pop any bubbles.

- Sand: Use 320 grid sheet and backing pad, lightly dry sand to smooth out the surface, then wipe off with mineral spirits.
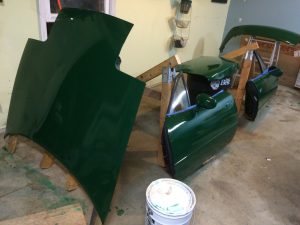
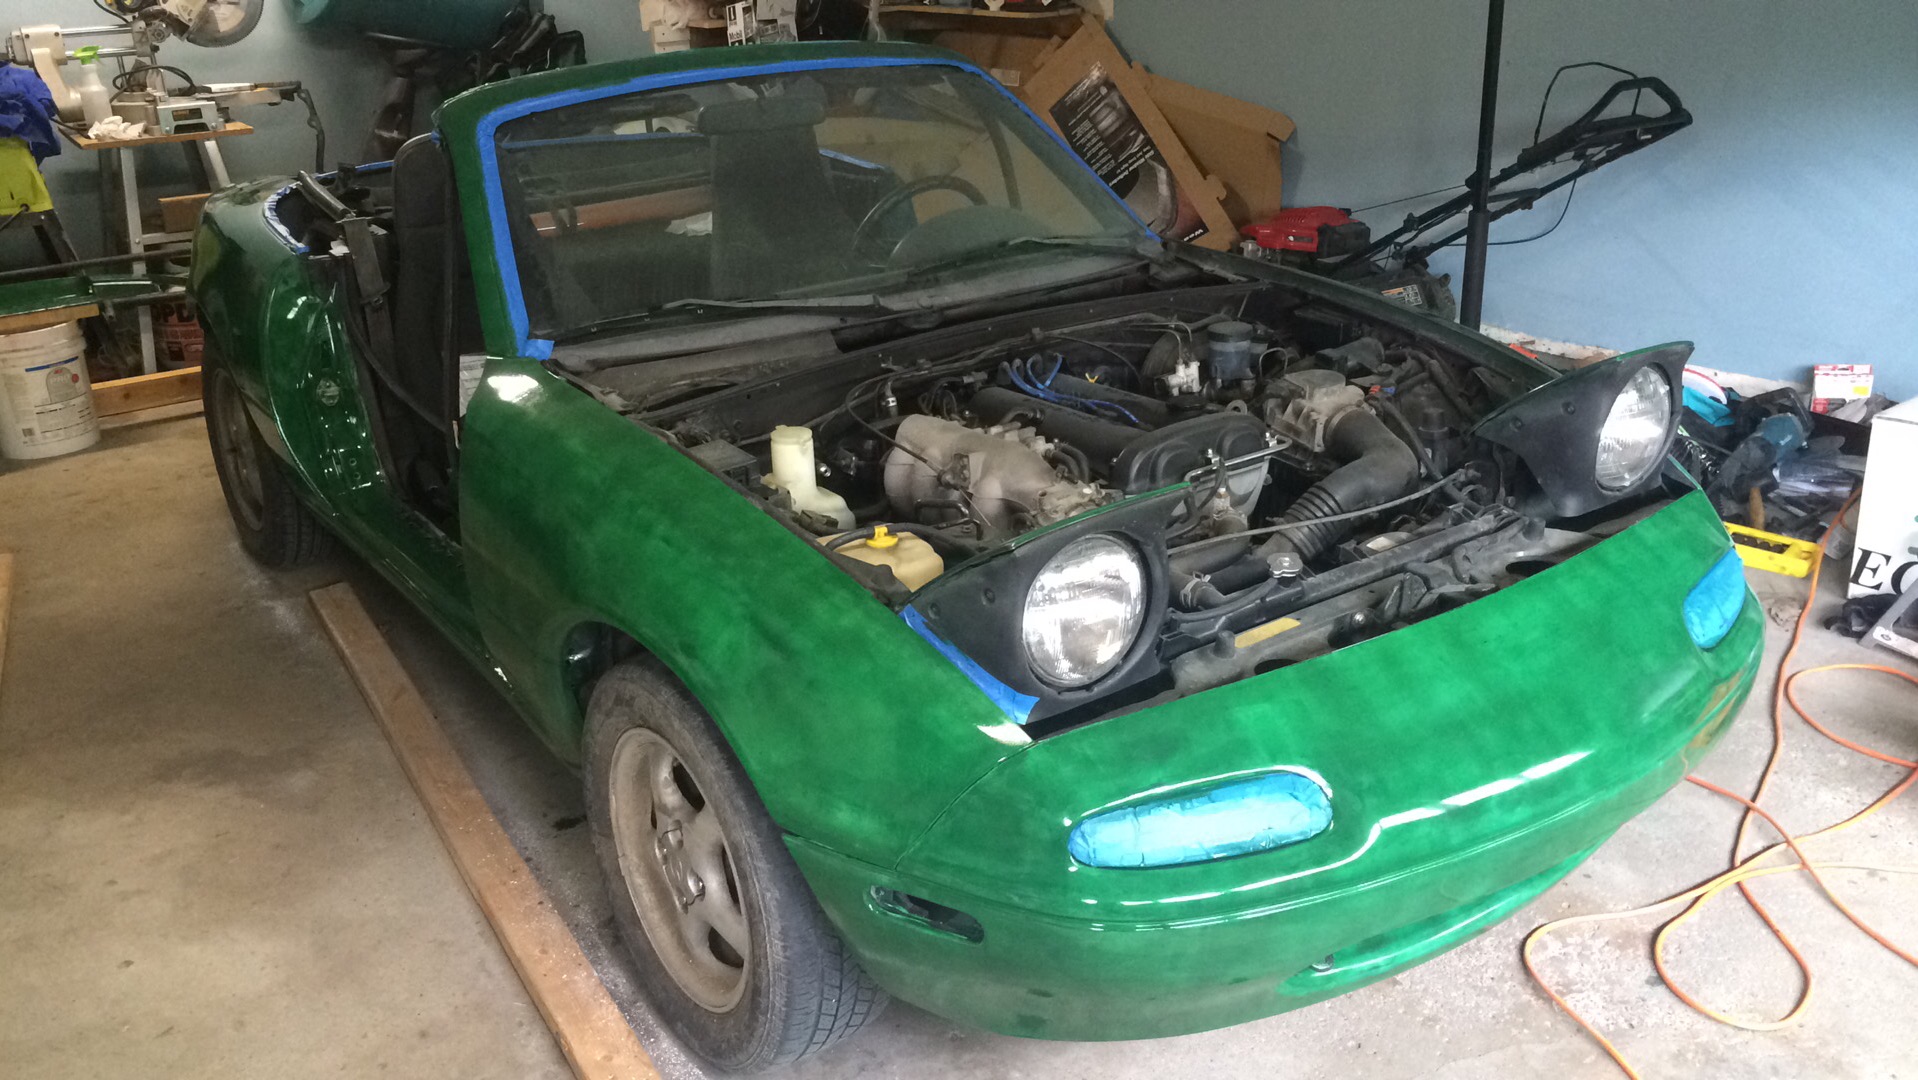
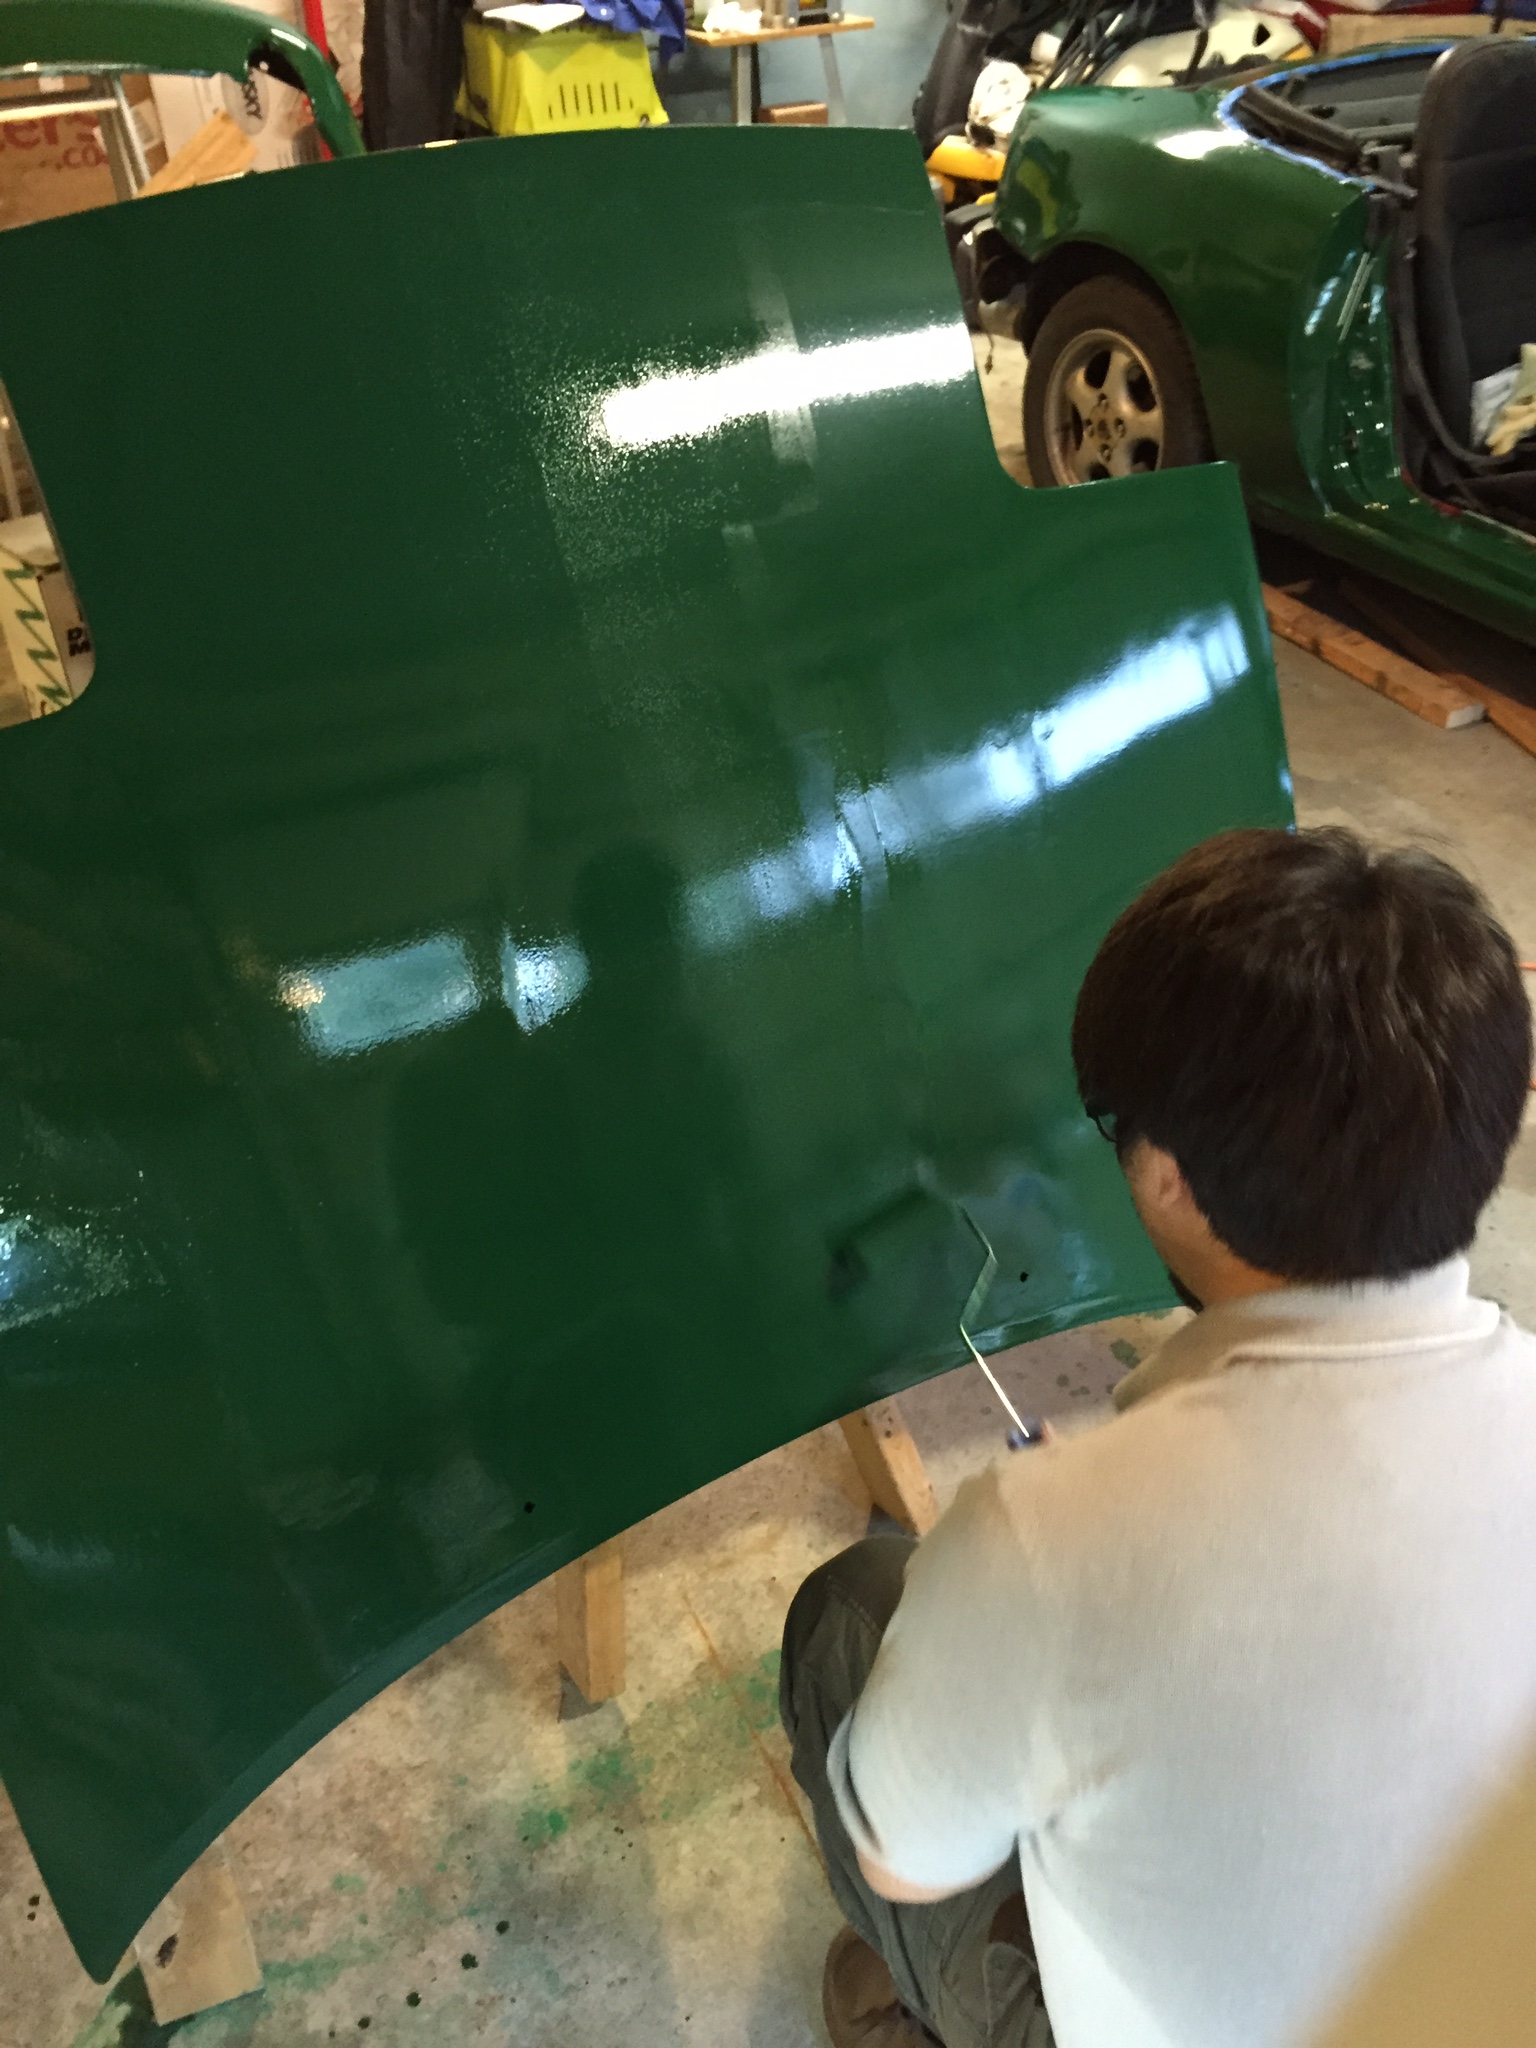
- Paint: Mix Paint and Mineral Spirits to water thin, and then use NEW roller and brush to put first coat. again, use hair drier to pop bubbles. Soak the roller and brush in mineral spirits, wrap in plastic wrap and then keep it in ziplock bag so that it won’t dry up.
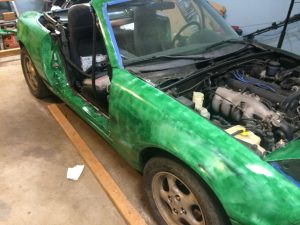
- Wait 24 hours, wet sand with 400 grits, wipe dry, then wipe with mineral spirits
- Use the same roller, do second coat, wait for 12 hours, then third coat. keep roller and brush.

- Wait 24 hours, wet sand with 600 grits, wipe dry, then wipe with mineral spirits
- Do the 4th and 5th coat, with 12 hours of drying in between.
- Wait 24 hours, wet sand with 800 grits, wipe dry, then wipe with mineral spirits
- 6th coat.


- Wait 24 hours, remove all masking tapes, re-install hood, trunk lid, and door.
- Put new masking tape on any plastic, or rubber trips etc.
- Wet sand with 1500 grits, wipe dry, then wipe with mineral spirits
- 7th coat. I read to use thicker pain mix as you go more coat, and I did so, but I think it would be better keeping using water thin paint, even if I need one or two extra coat.

- Remove masking tape before paint dries
- Let it dry for 3-4 days, place new masking tape (slightly over lap on paint), and wet sand 2000.

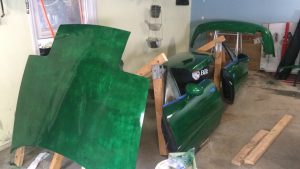
- Use rotary buffer, cutting/polishing compound to polish until having reflective surface.
- Wax the car


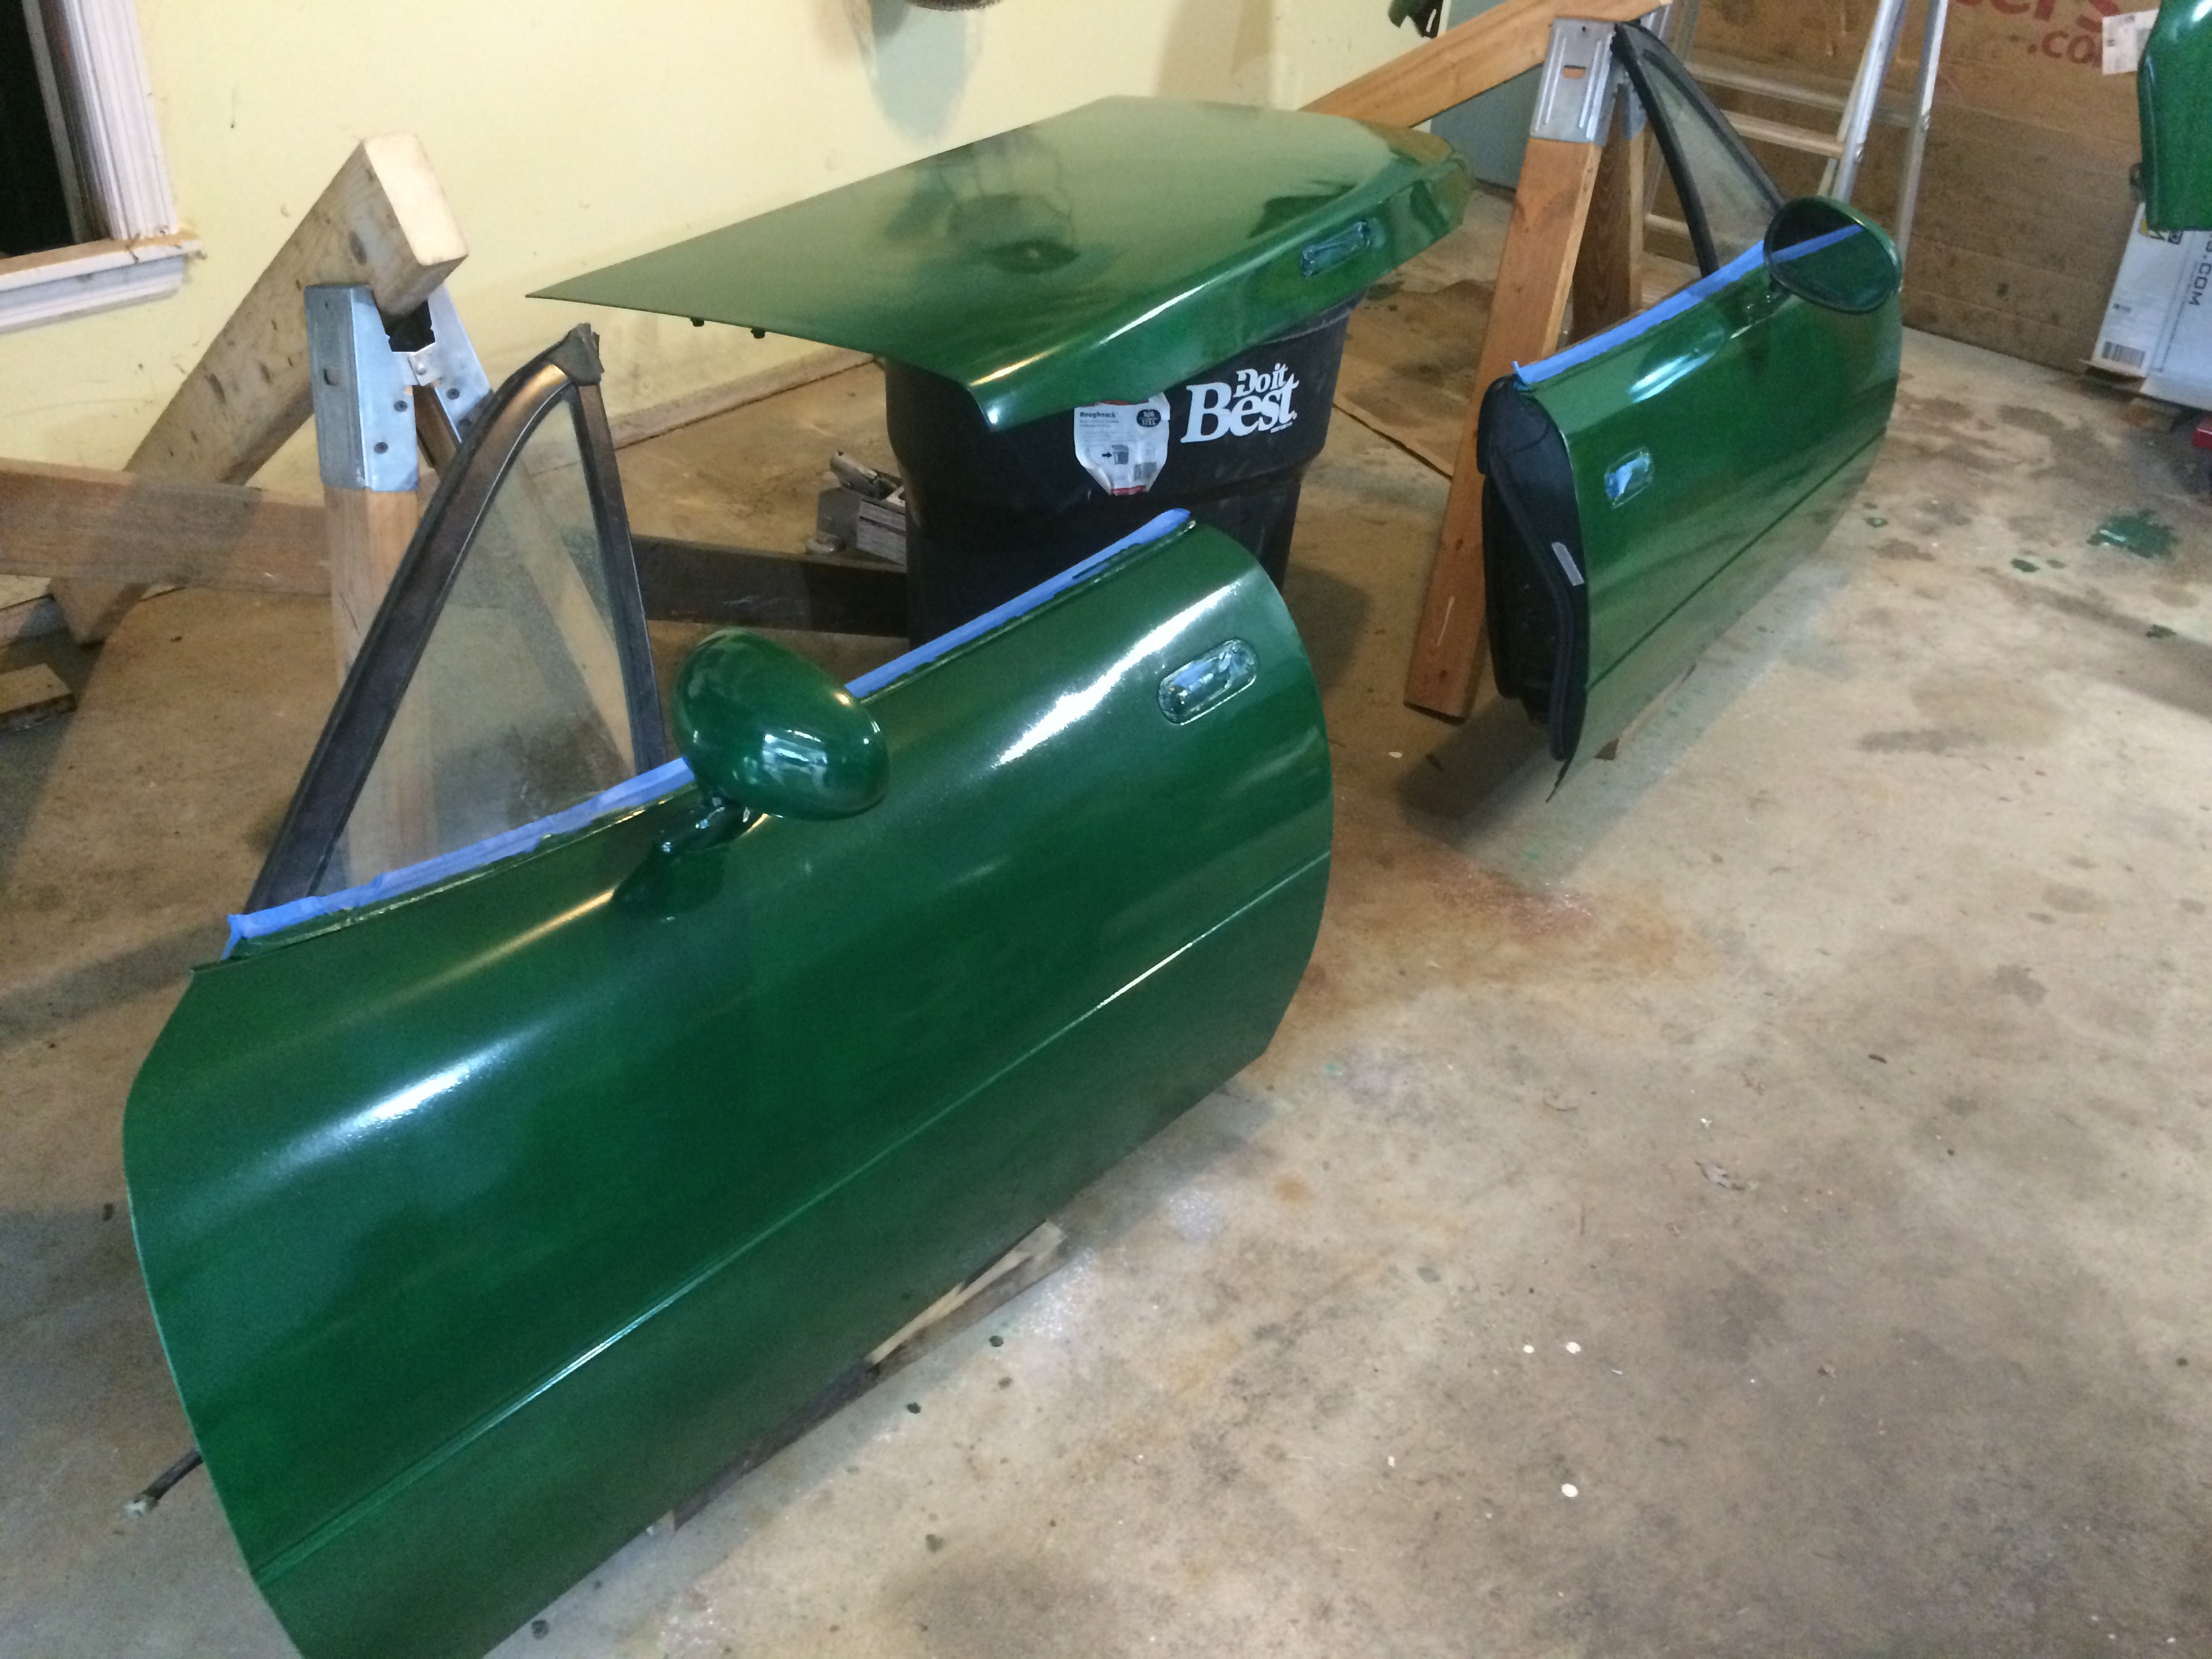
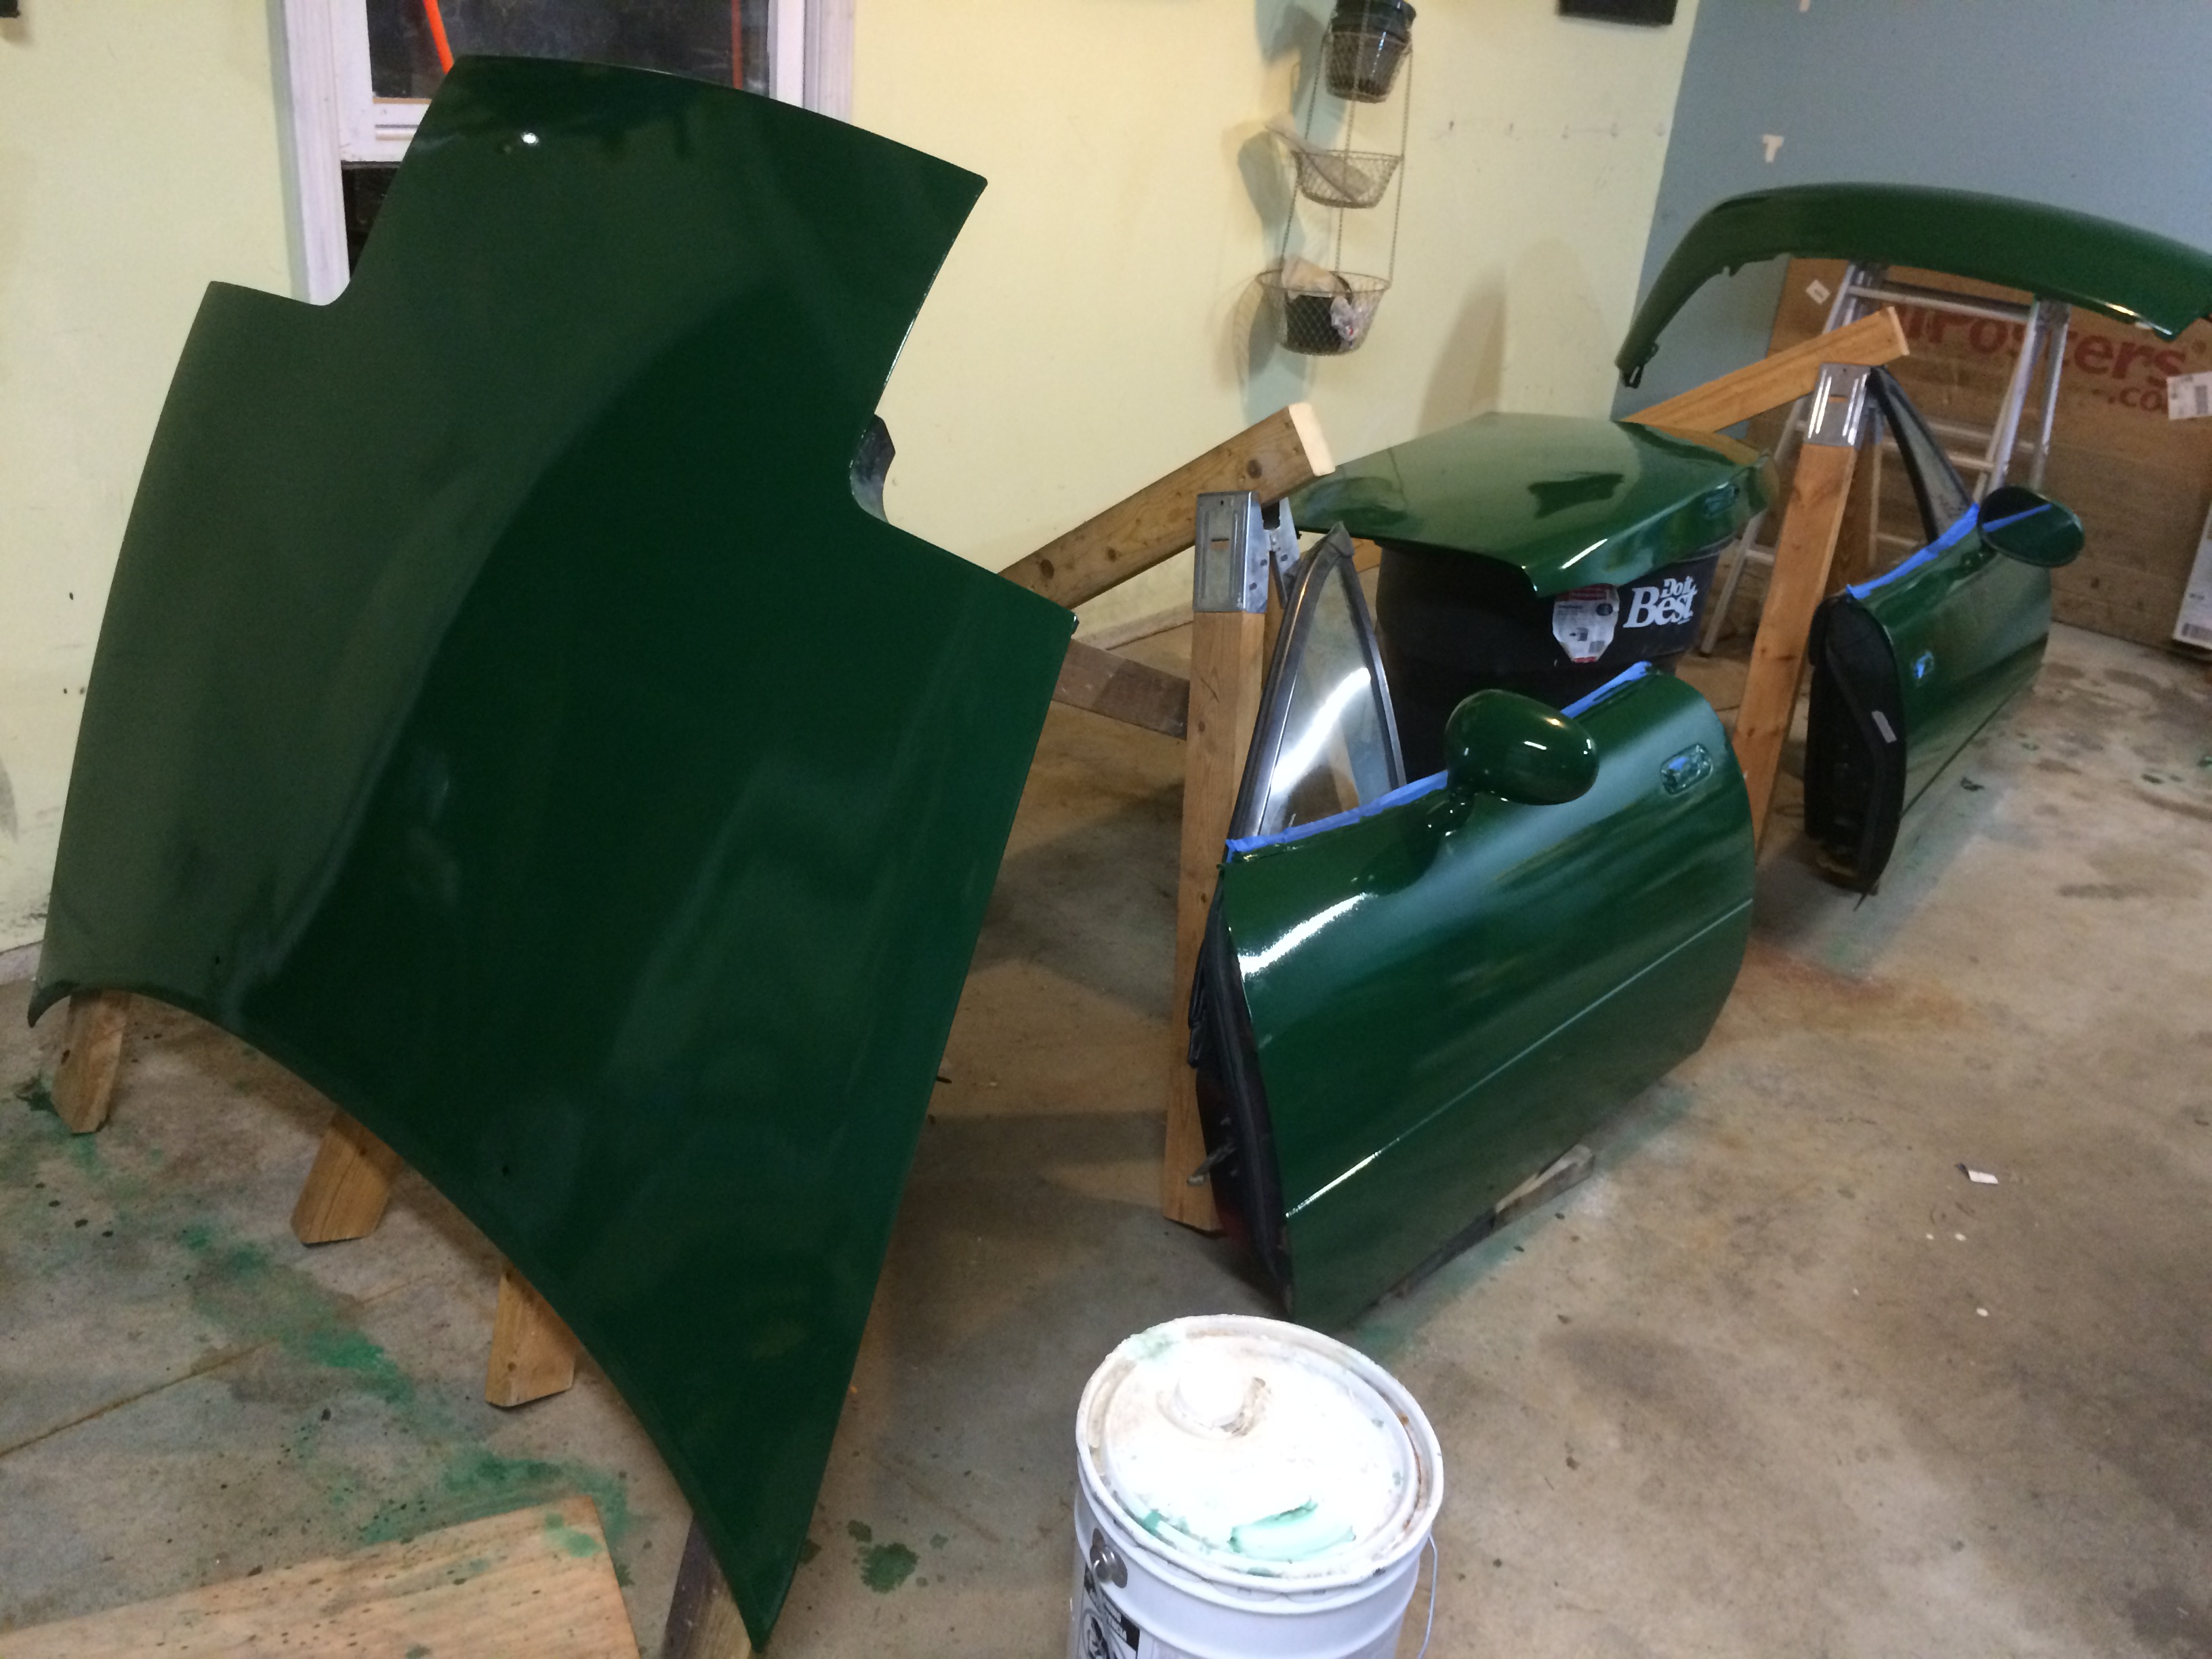

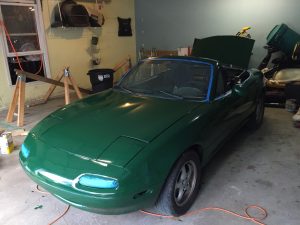
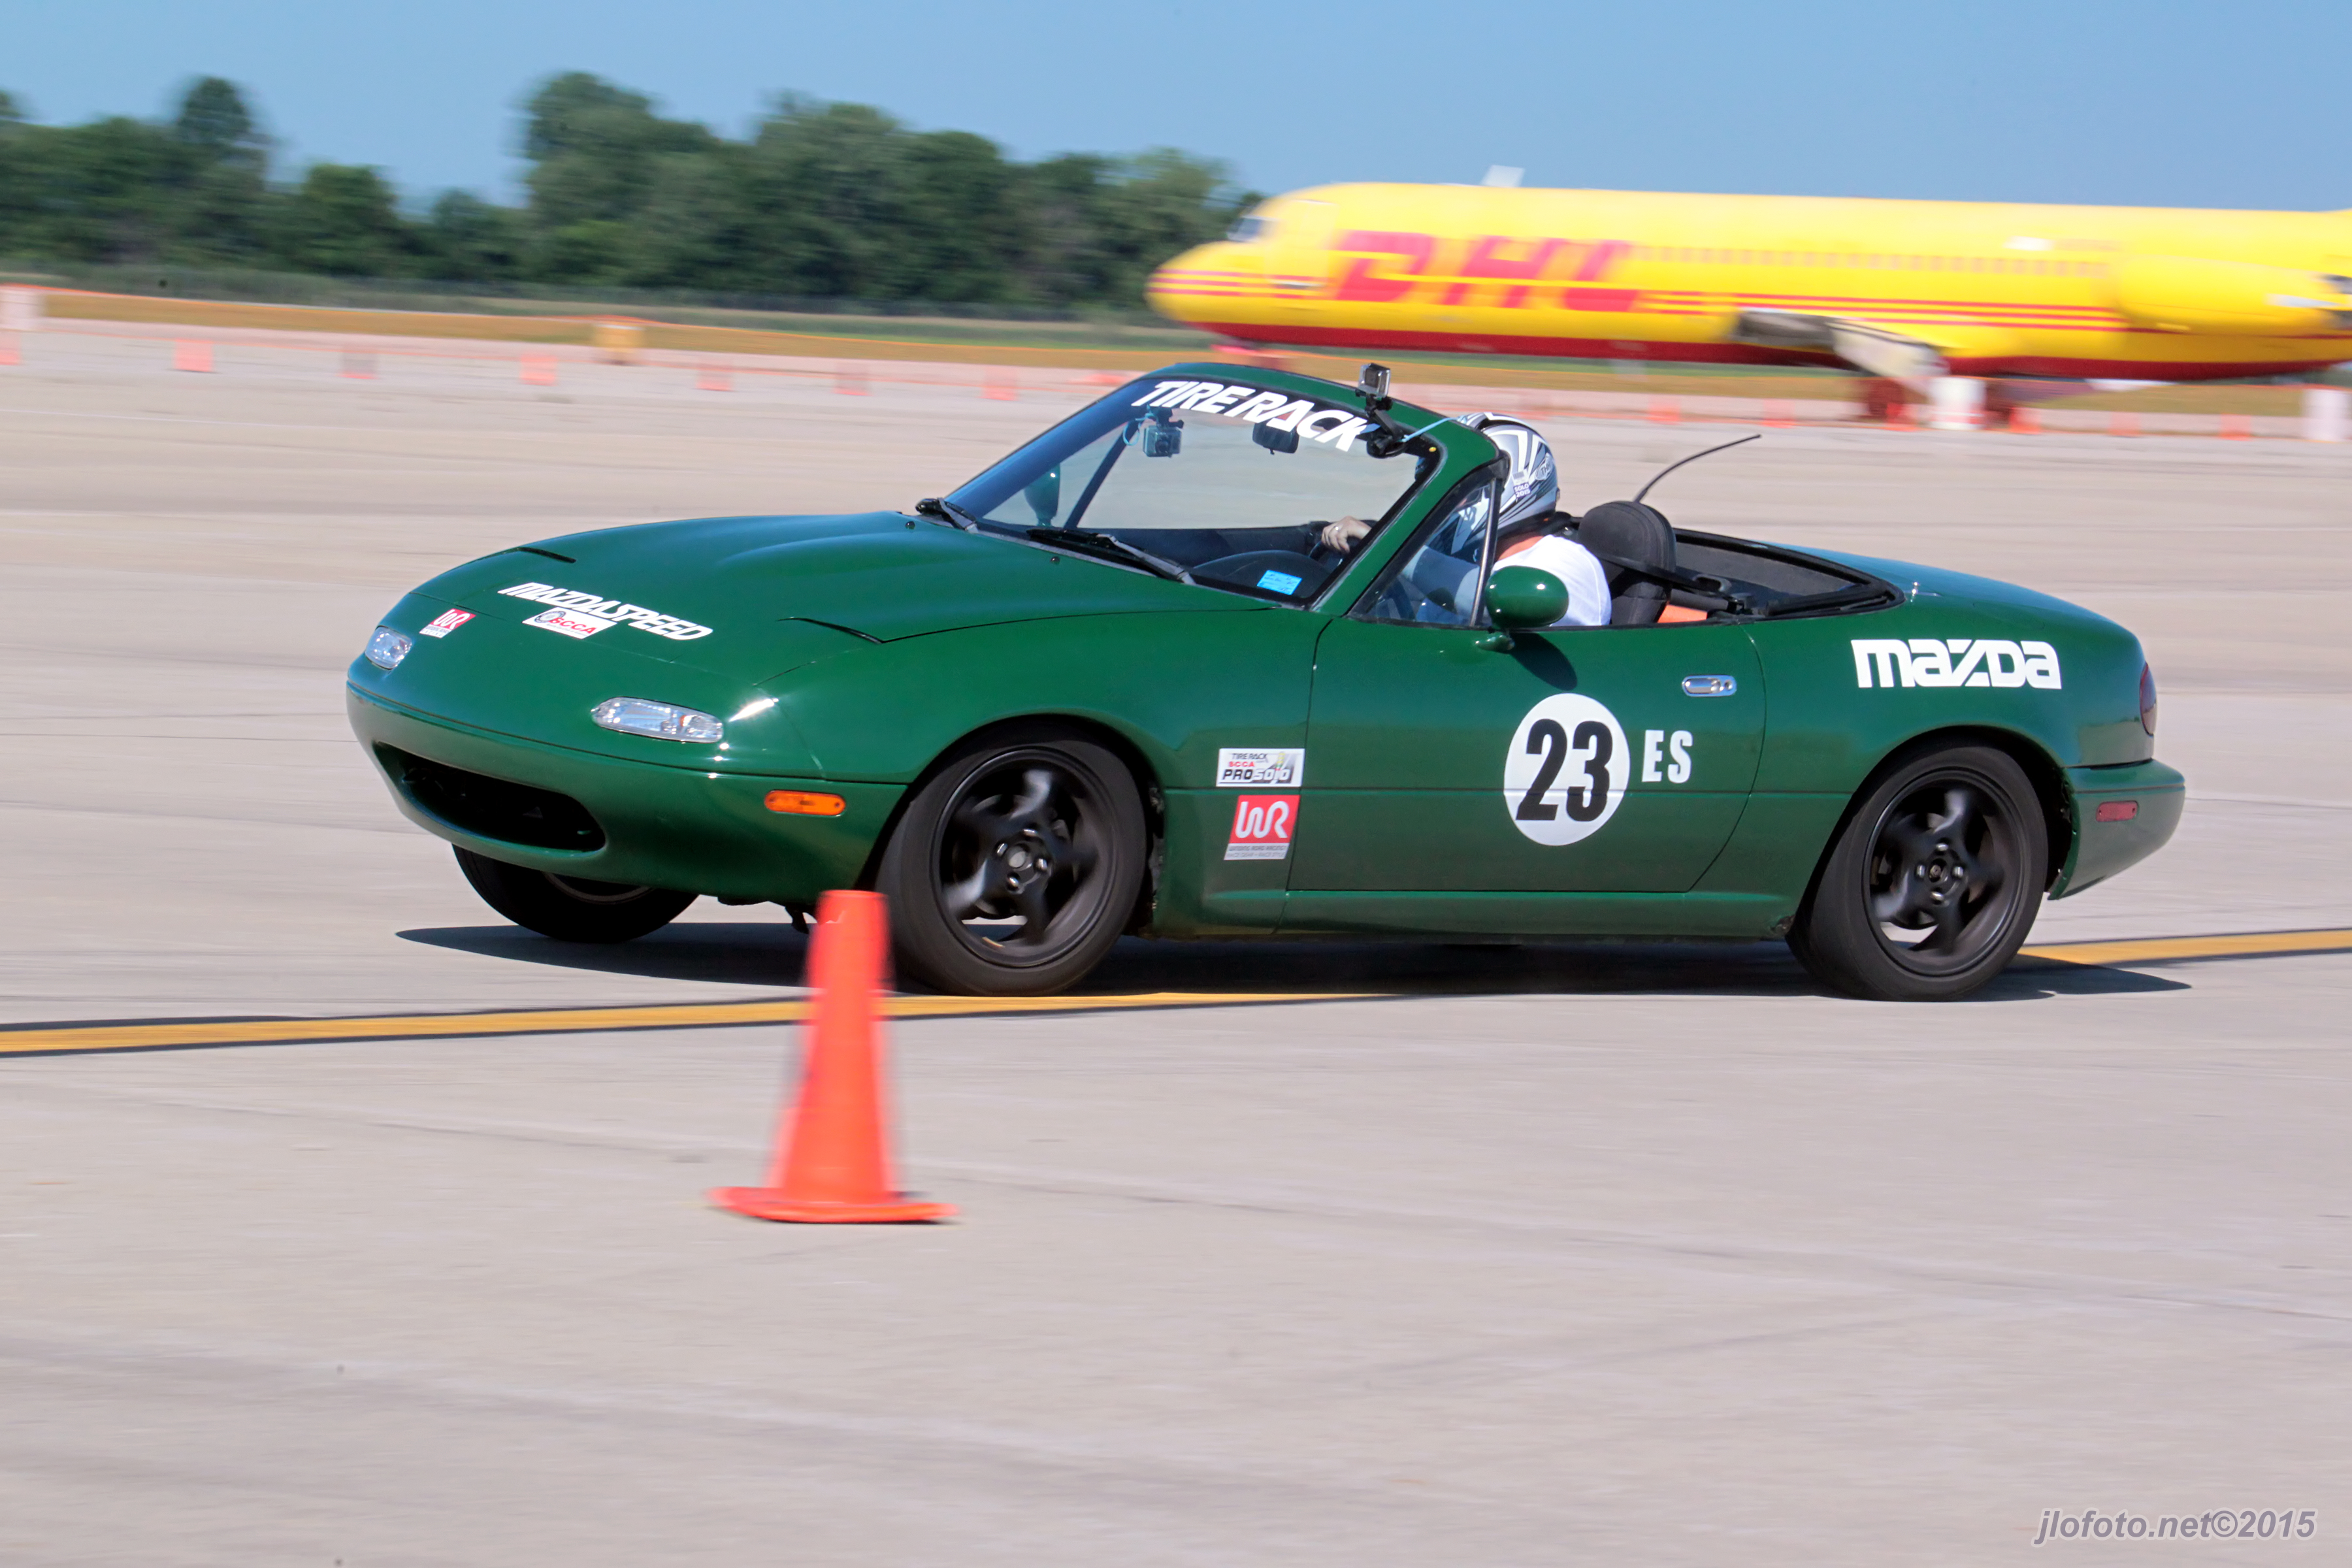
The result came out fairly well. I got orange peal, nowhere near professional paint, but for a race car, where 50/50 rule (50mph from 50 feet away) apply, it looks good enough. well, for autocross, it’s more like 25/25 rule.. but still..

And Special thanks to Jeff Loewe for great pictures!
Hey, the paint job looks great! As I see this was in 2015, I was wondering how the paint held up over time? I live in Texas and the sun is brutal most times. Not sure where you live, but (if done right) how does a Rust-Oleum paint job hold up in the sun? Thanks.
Thanks. paint has been holing up pretty well for what it is. My car is generally in garage except for when I take it out for Rallycross, or just to drive around, etc. There are some rock chips, and also some area did not stick to the primer as good as other, and have experienced some paint peeled off when I removed painter tape I used during events. It’s definitely not as durable as actual automotive paints. However, touch up is easy, and for the price, I’m very happy with it still.