I made this Camera Mount a long time ago, and have been liking it a lot. Got the original idea from one of the post on RX8Club.com (sorry, couldn’t find the post…), and I arranged it to something I could make with what I have in my garage…
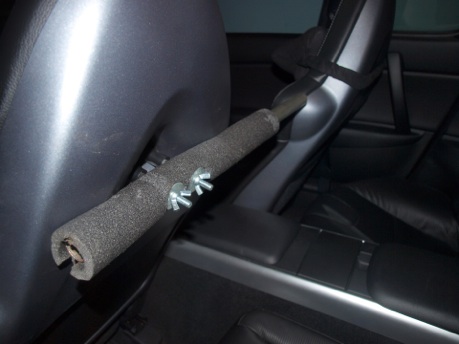
I couldn’t take the picture of how it mounts, since I’m getting my car ready for the Cincinnati Auto Expo, and already loaded tires in rear seat. So I’ll take some pictures once I drop off the car at the Expo… For now, this is an old photo of when I was making some concept model.

Here’s the Step by Step DIY on how I made mine.
Things you need:
- Plywood
- Metal Rod for Closet
- Faux Leather (or real leather if you want…)
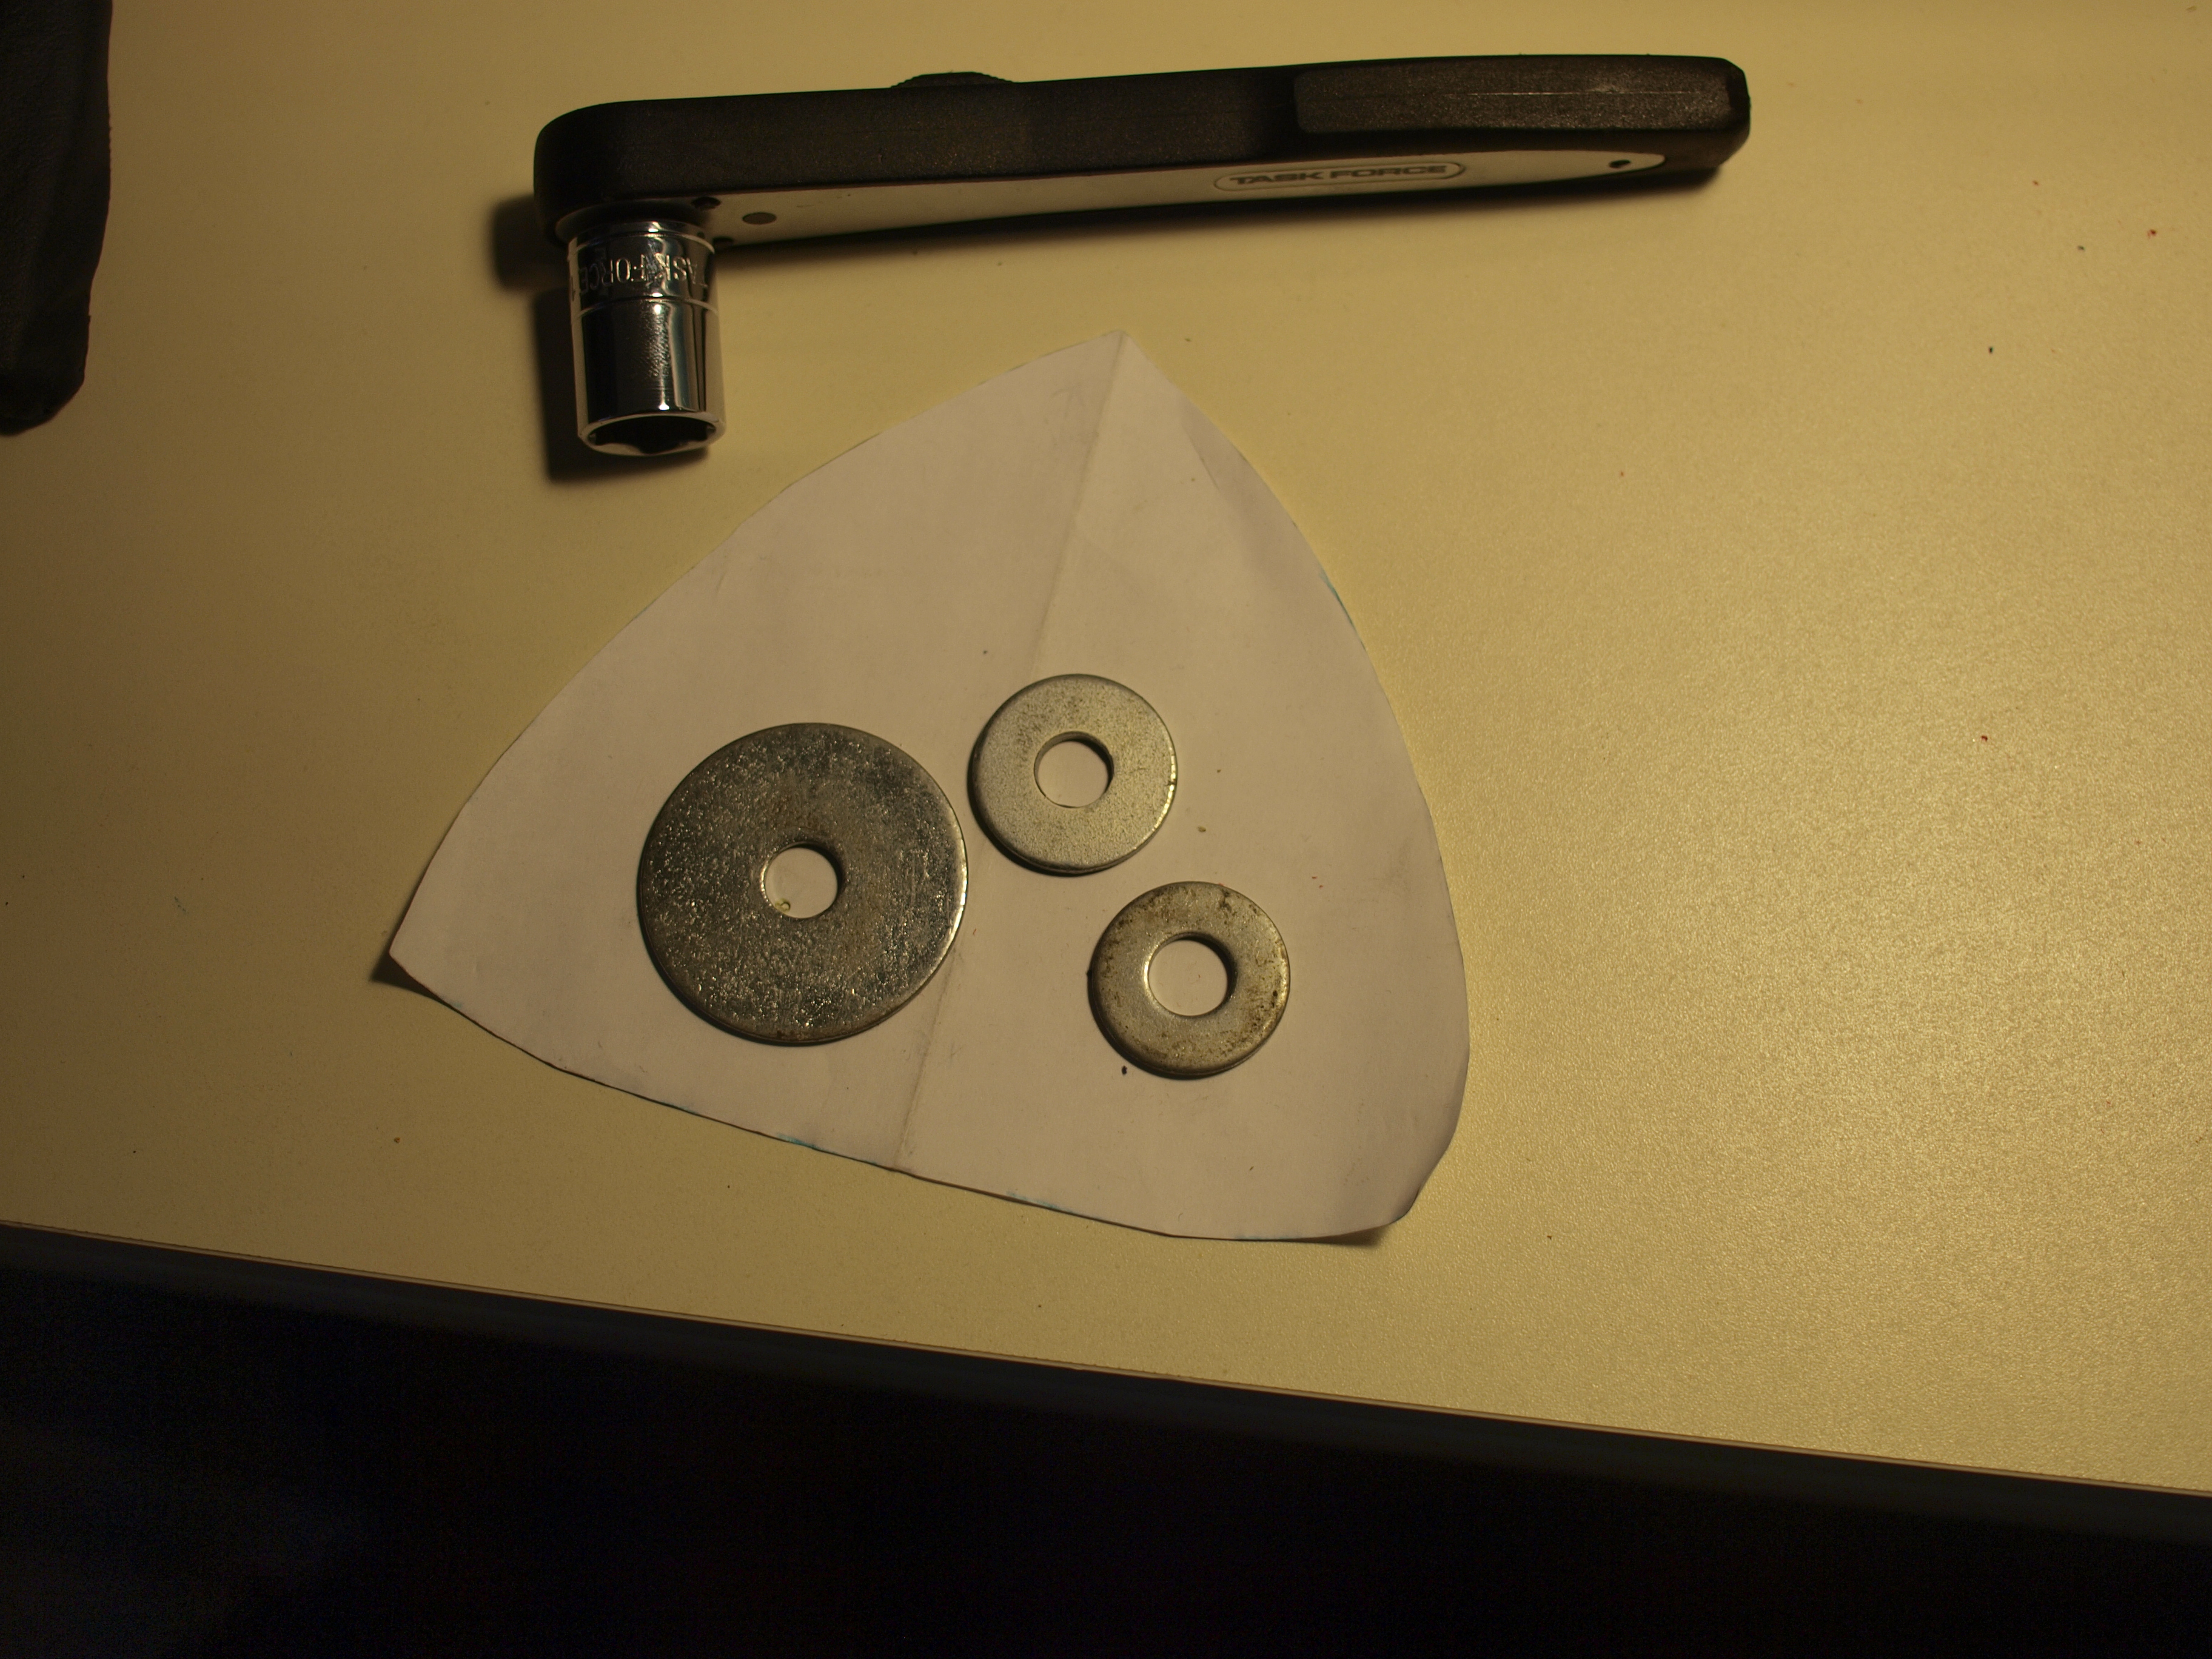
- 5″ bolts (1/4 thick?) (x2)
- Nuts and Washer to fit with the bolts above (x4 each)
- Spacer (something often come with flat screen TV mount, fit over the bolts, and about 2 inches long
- Butterfly Nuts (x2)
- Form Insulation Tube (one for the water pipe)
Now, heres the step by step on how to make the mount
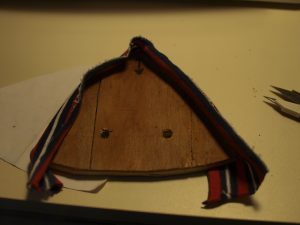
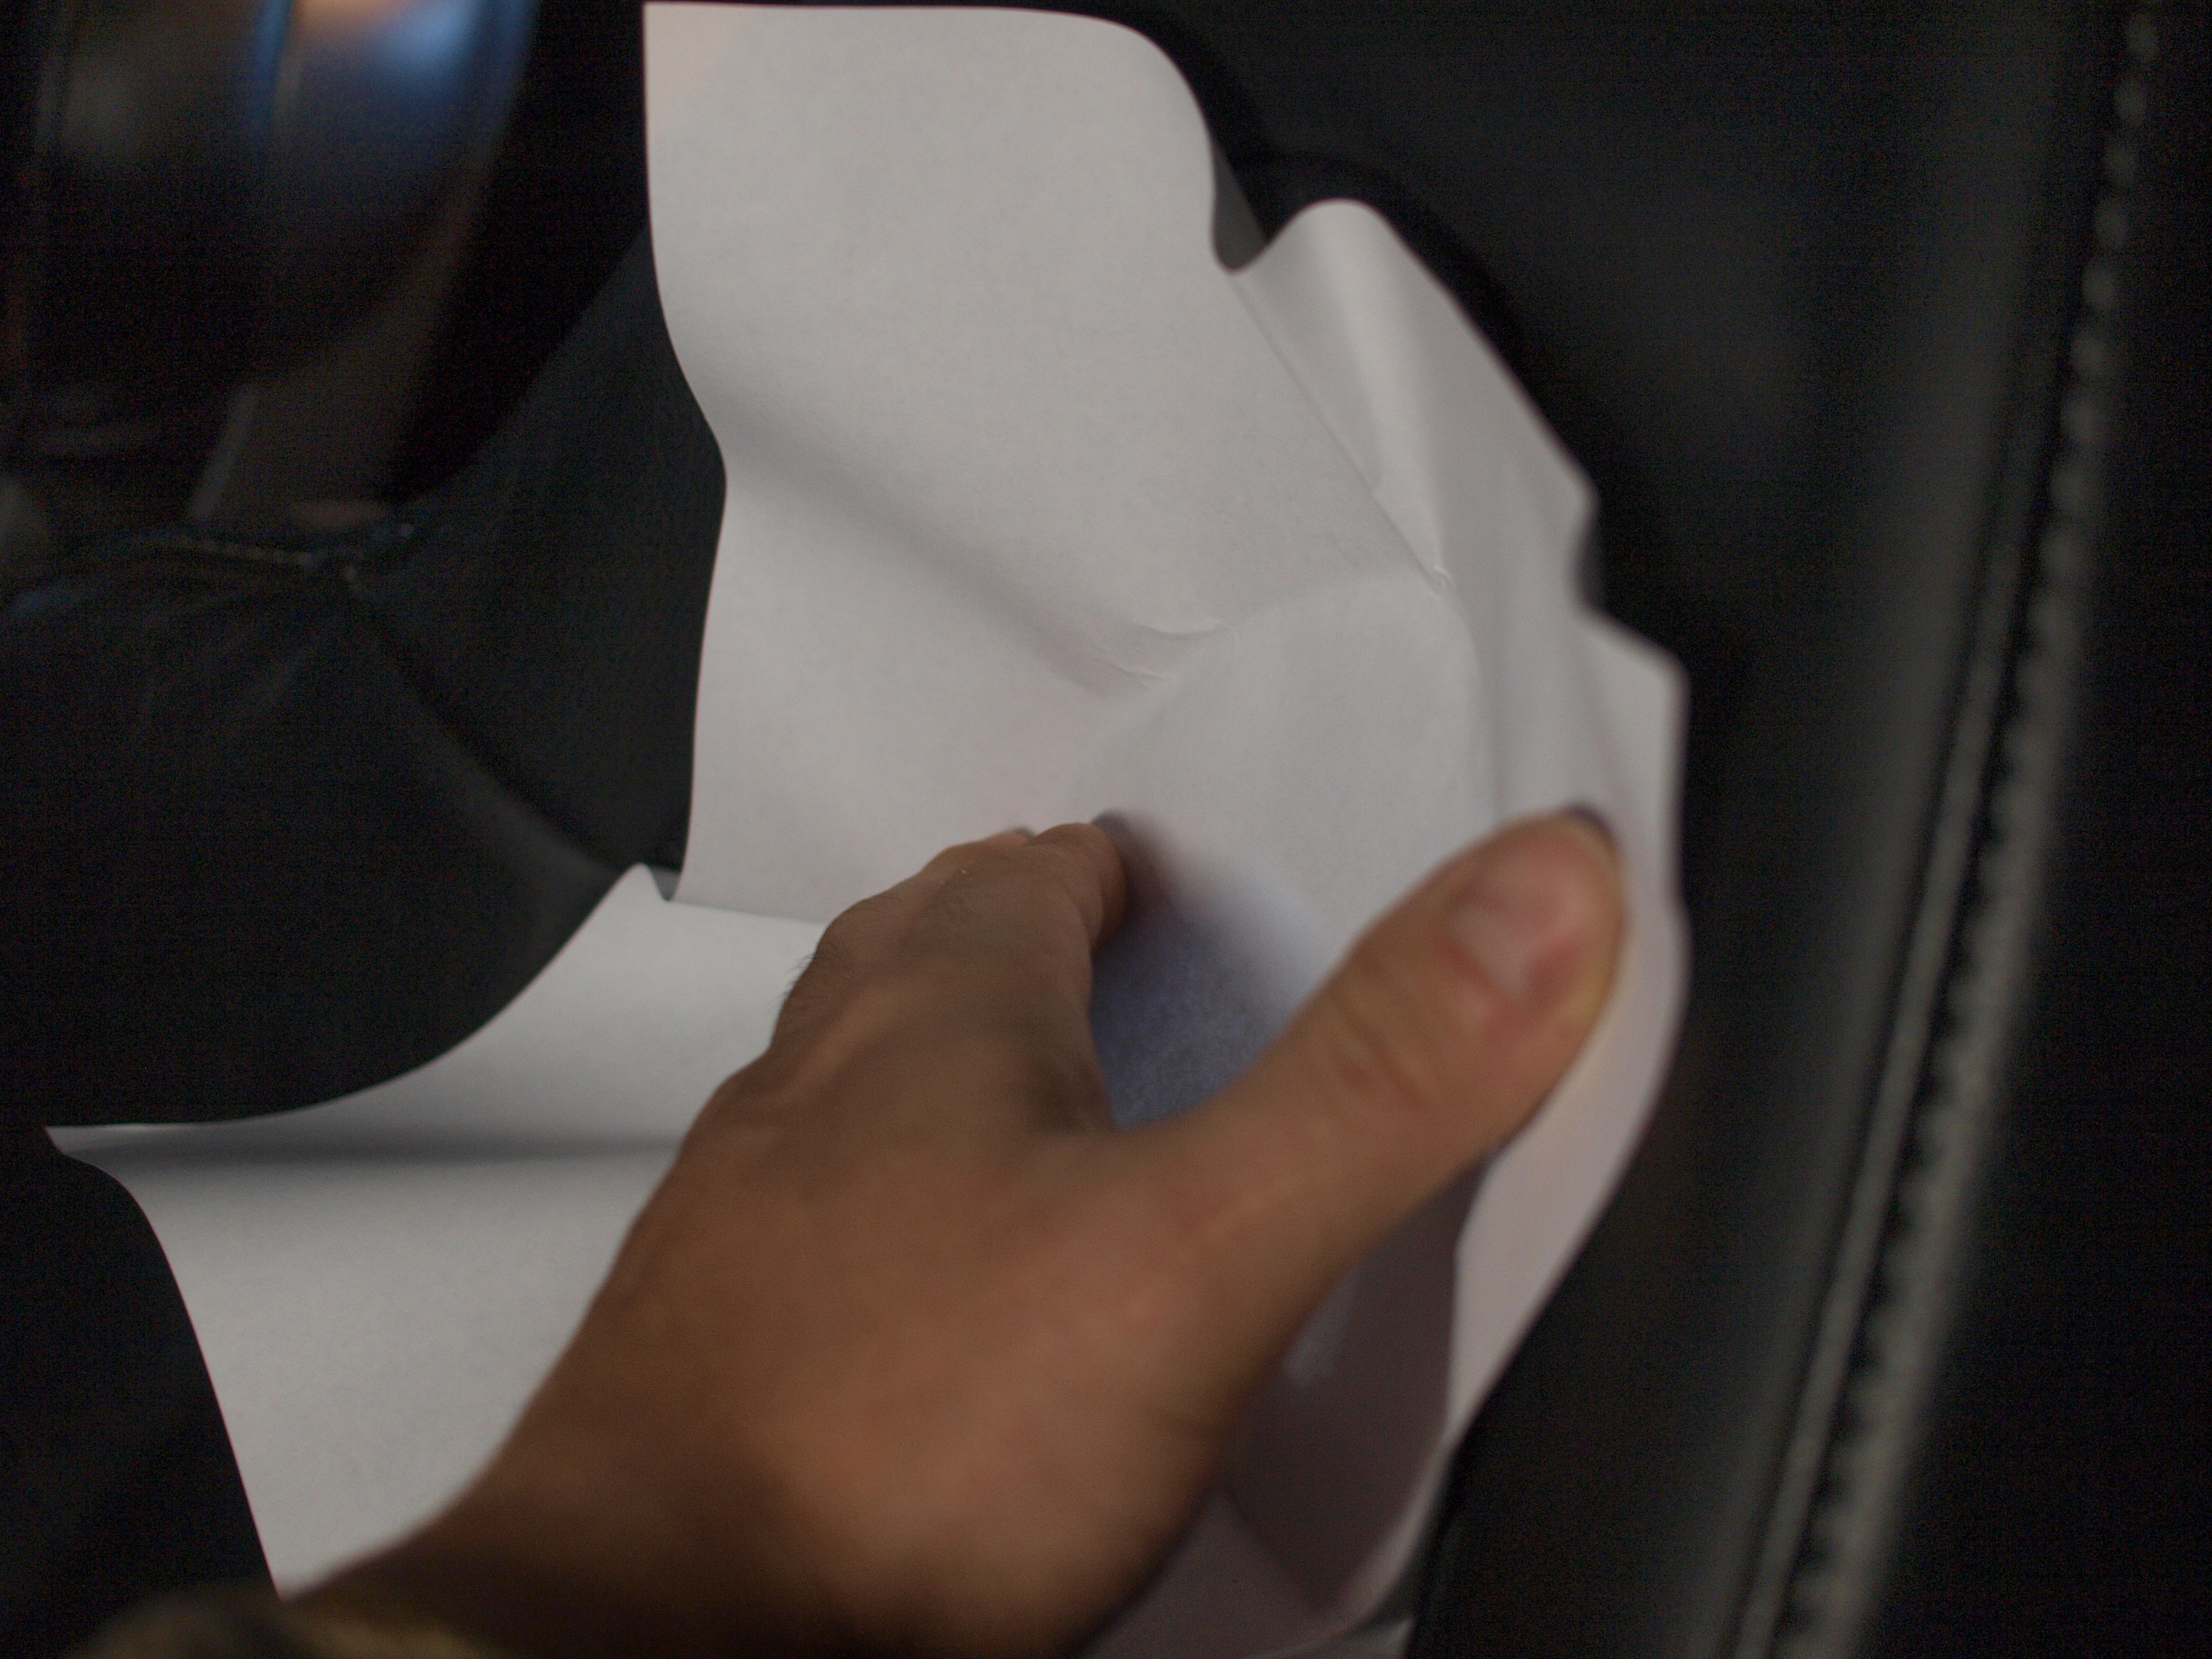
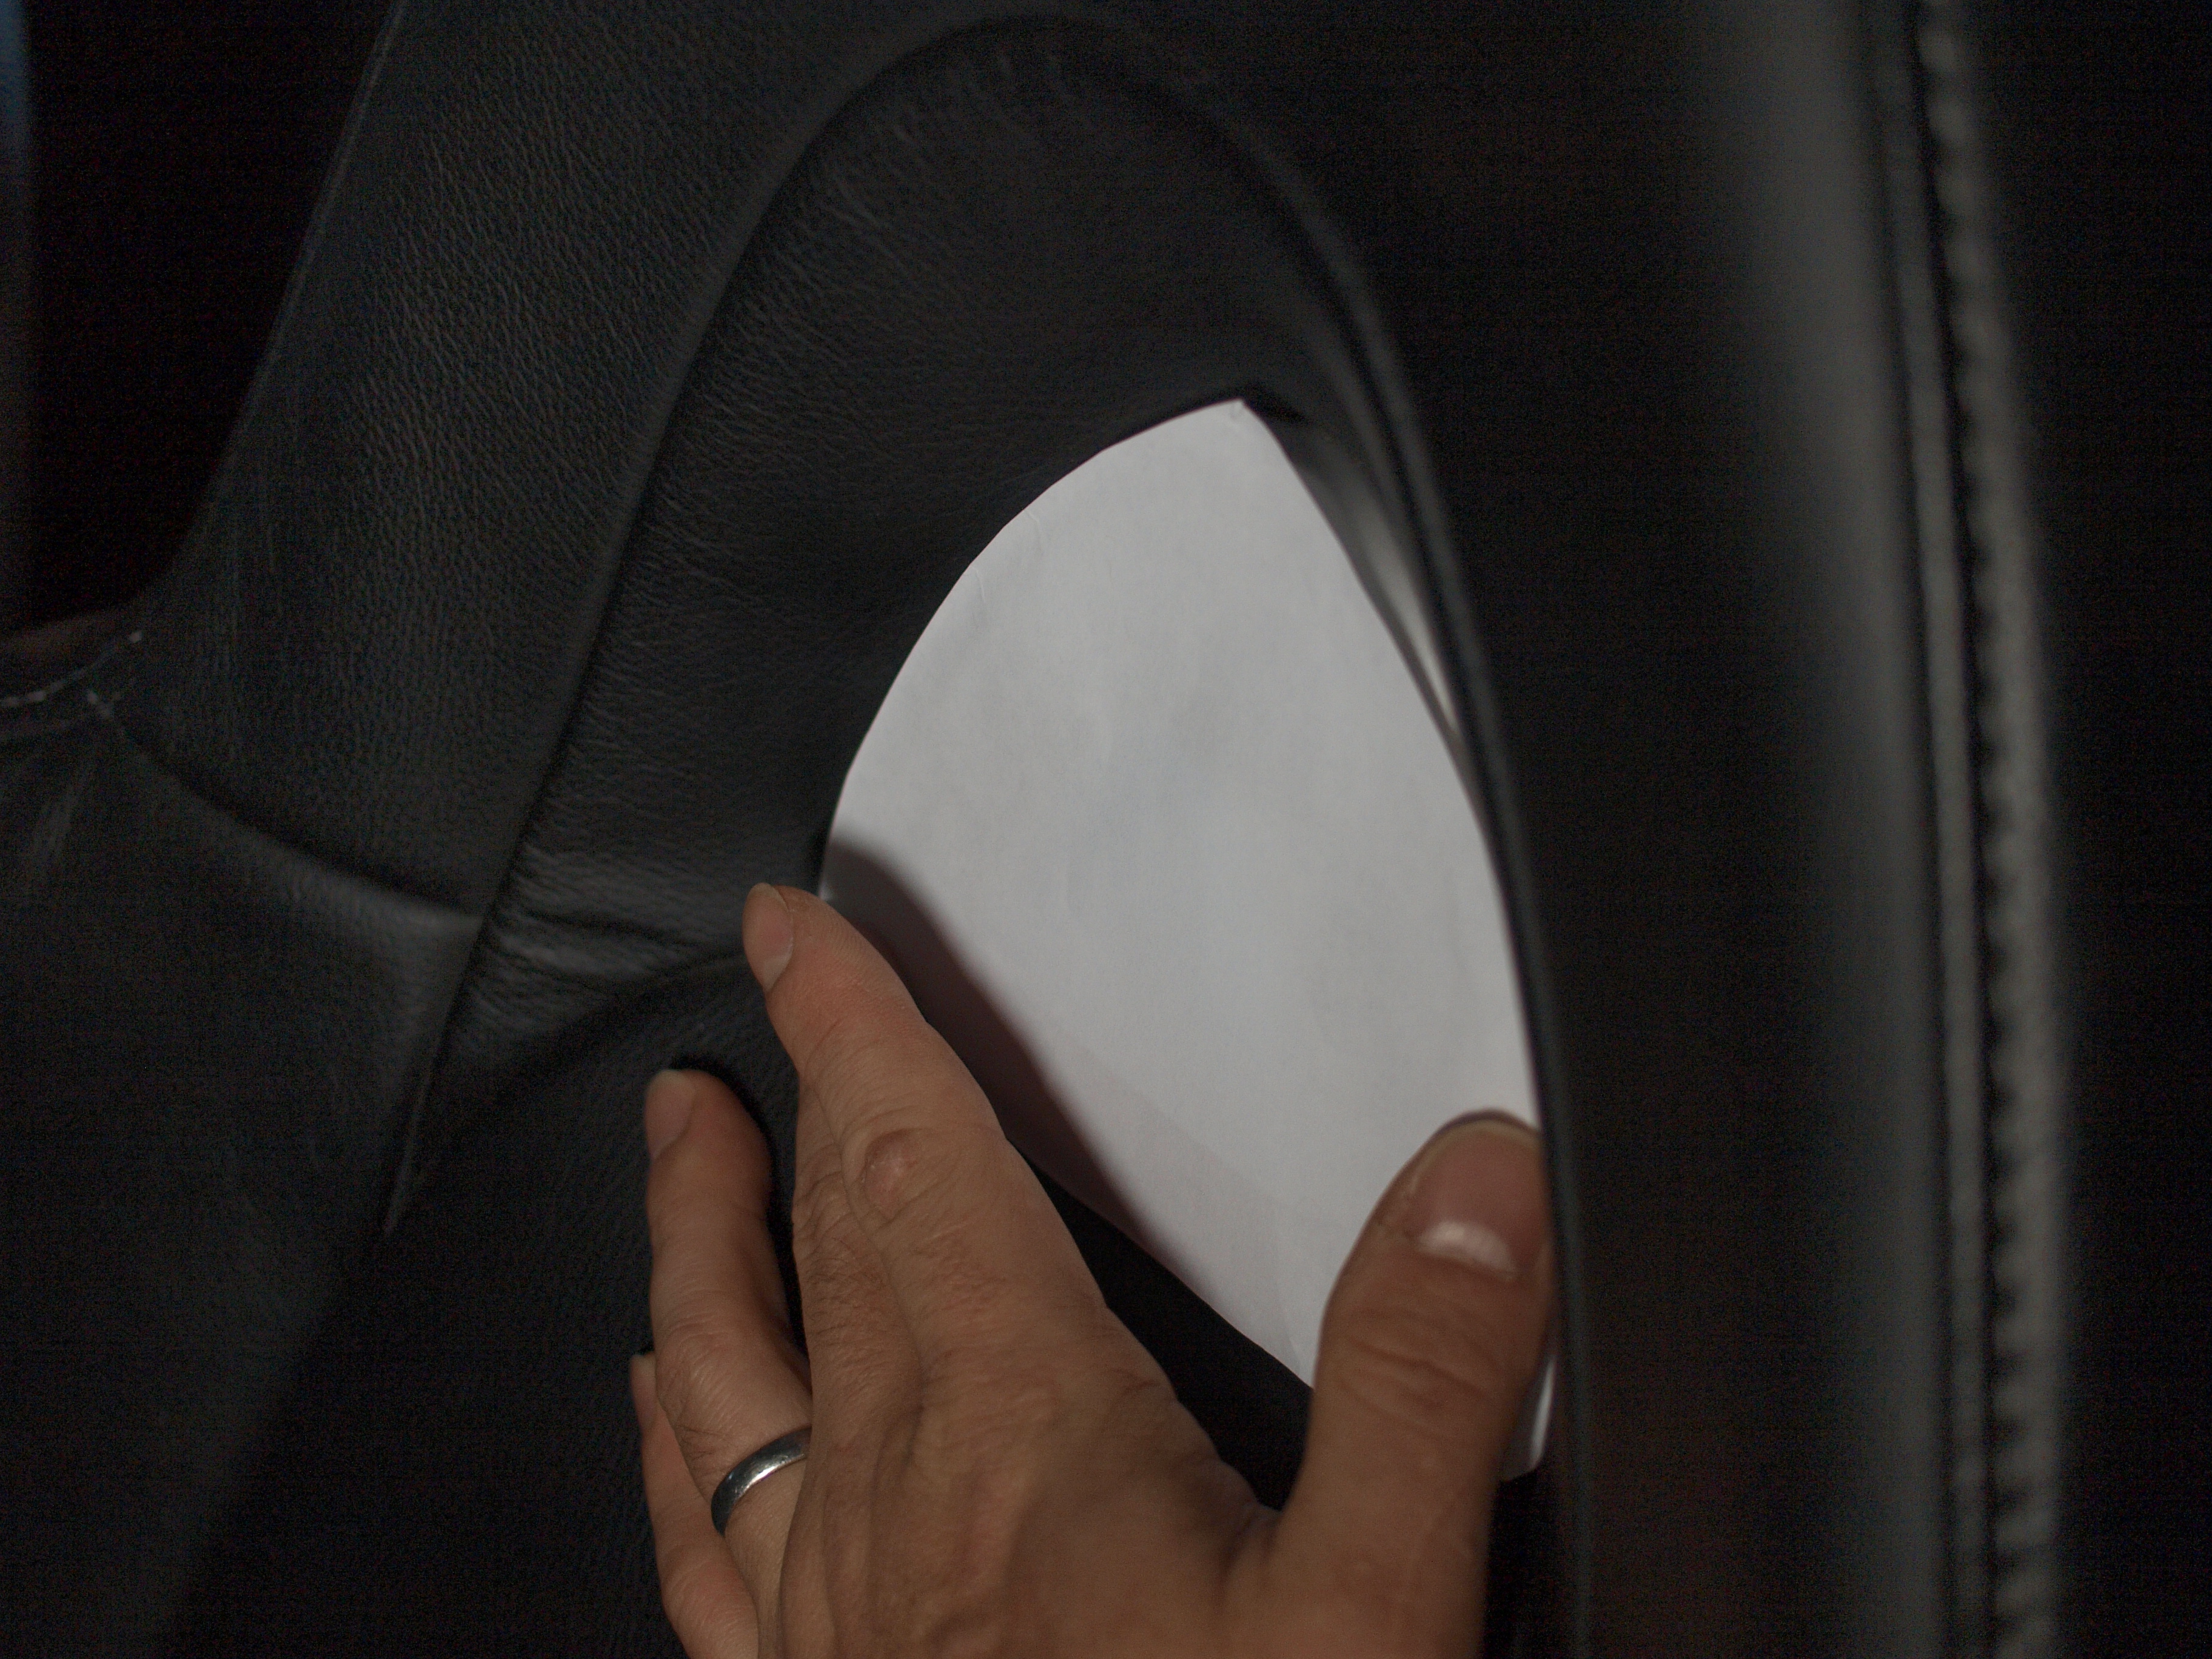
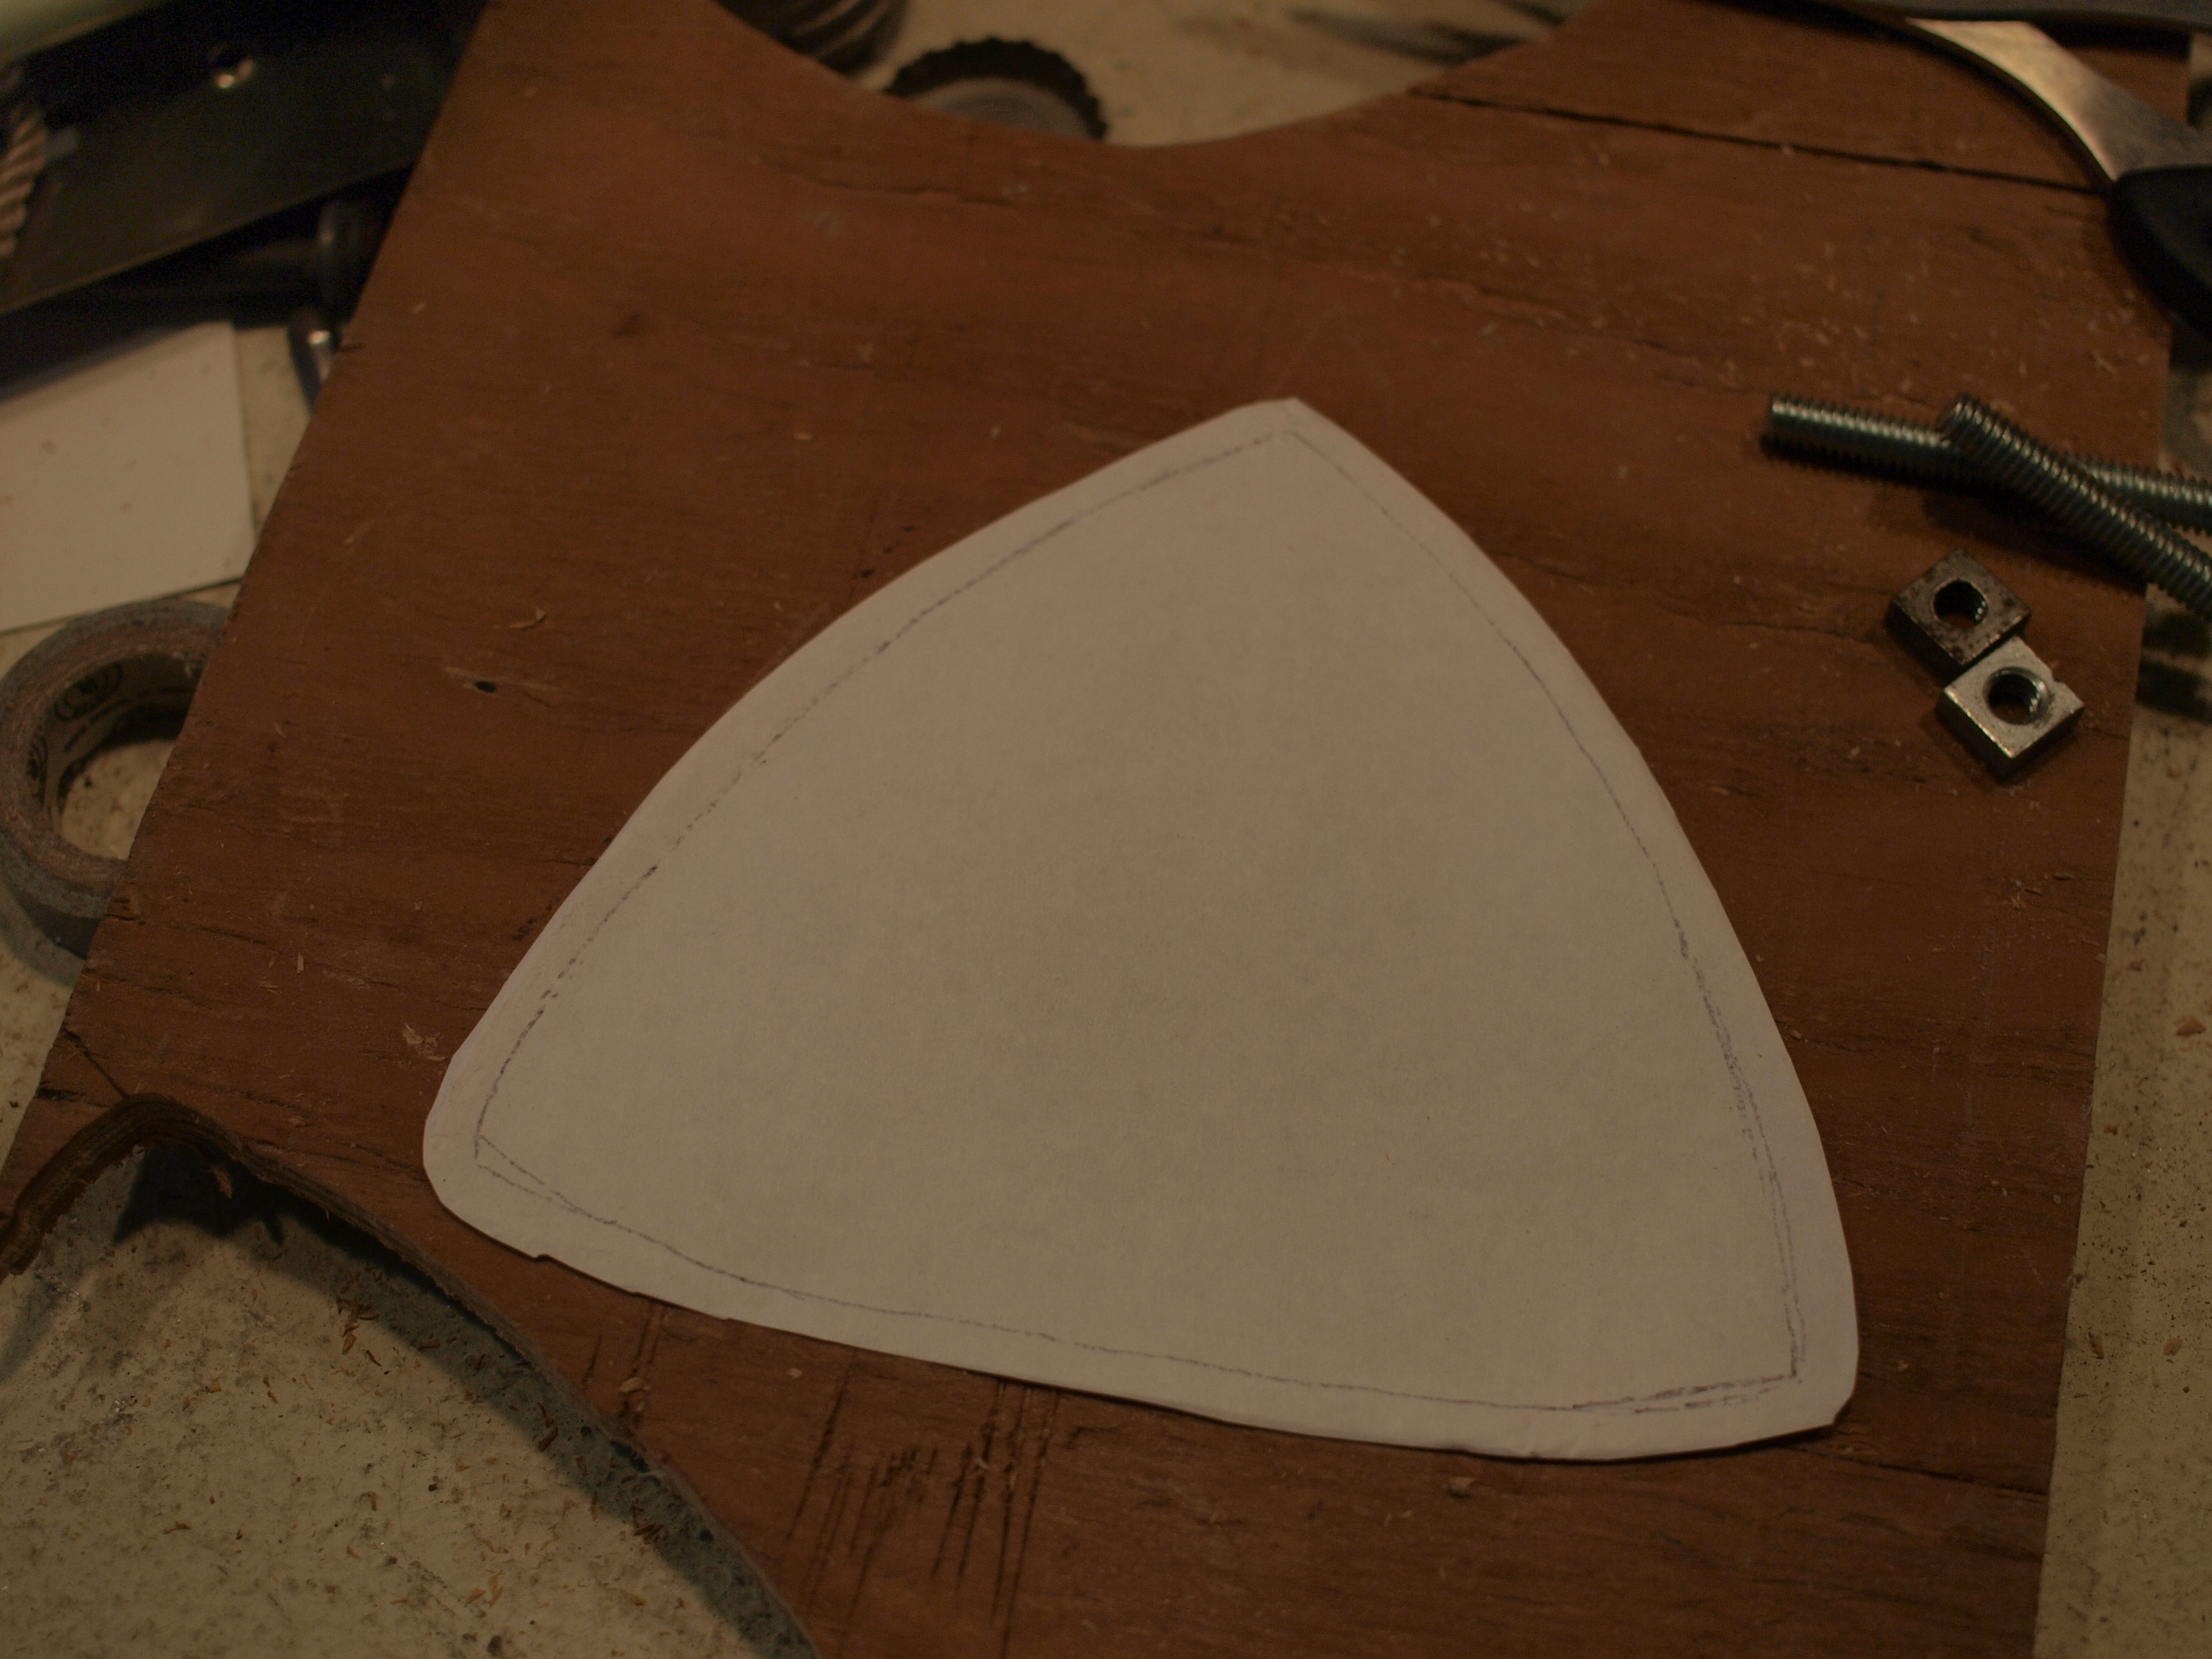
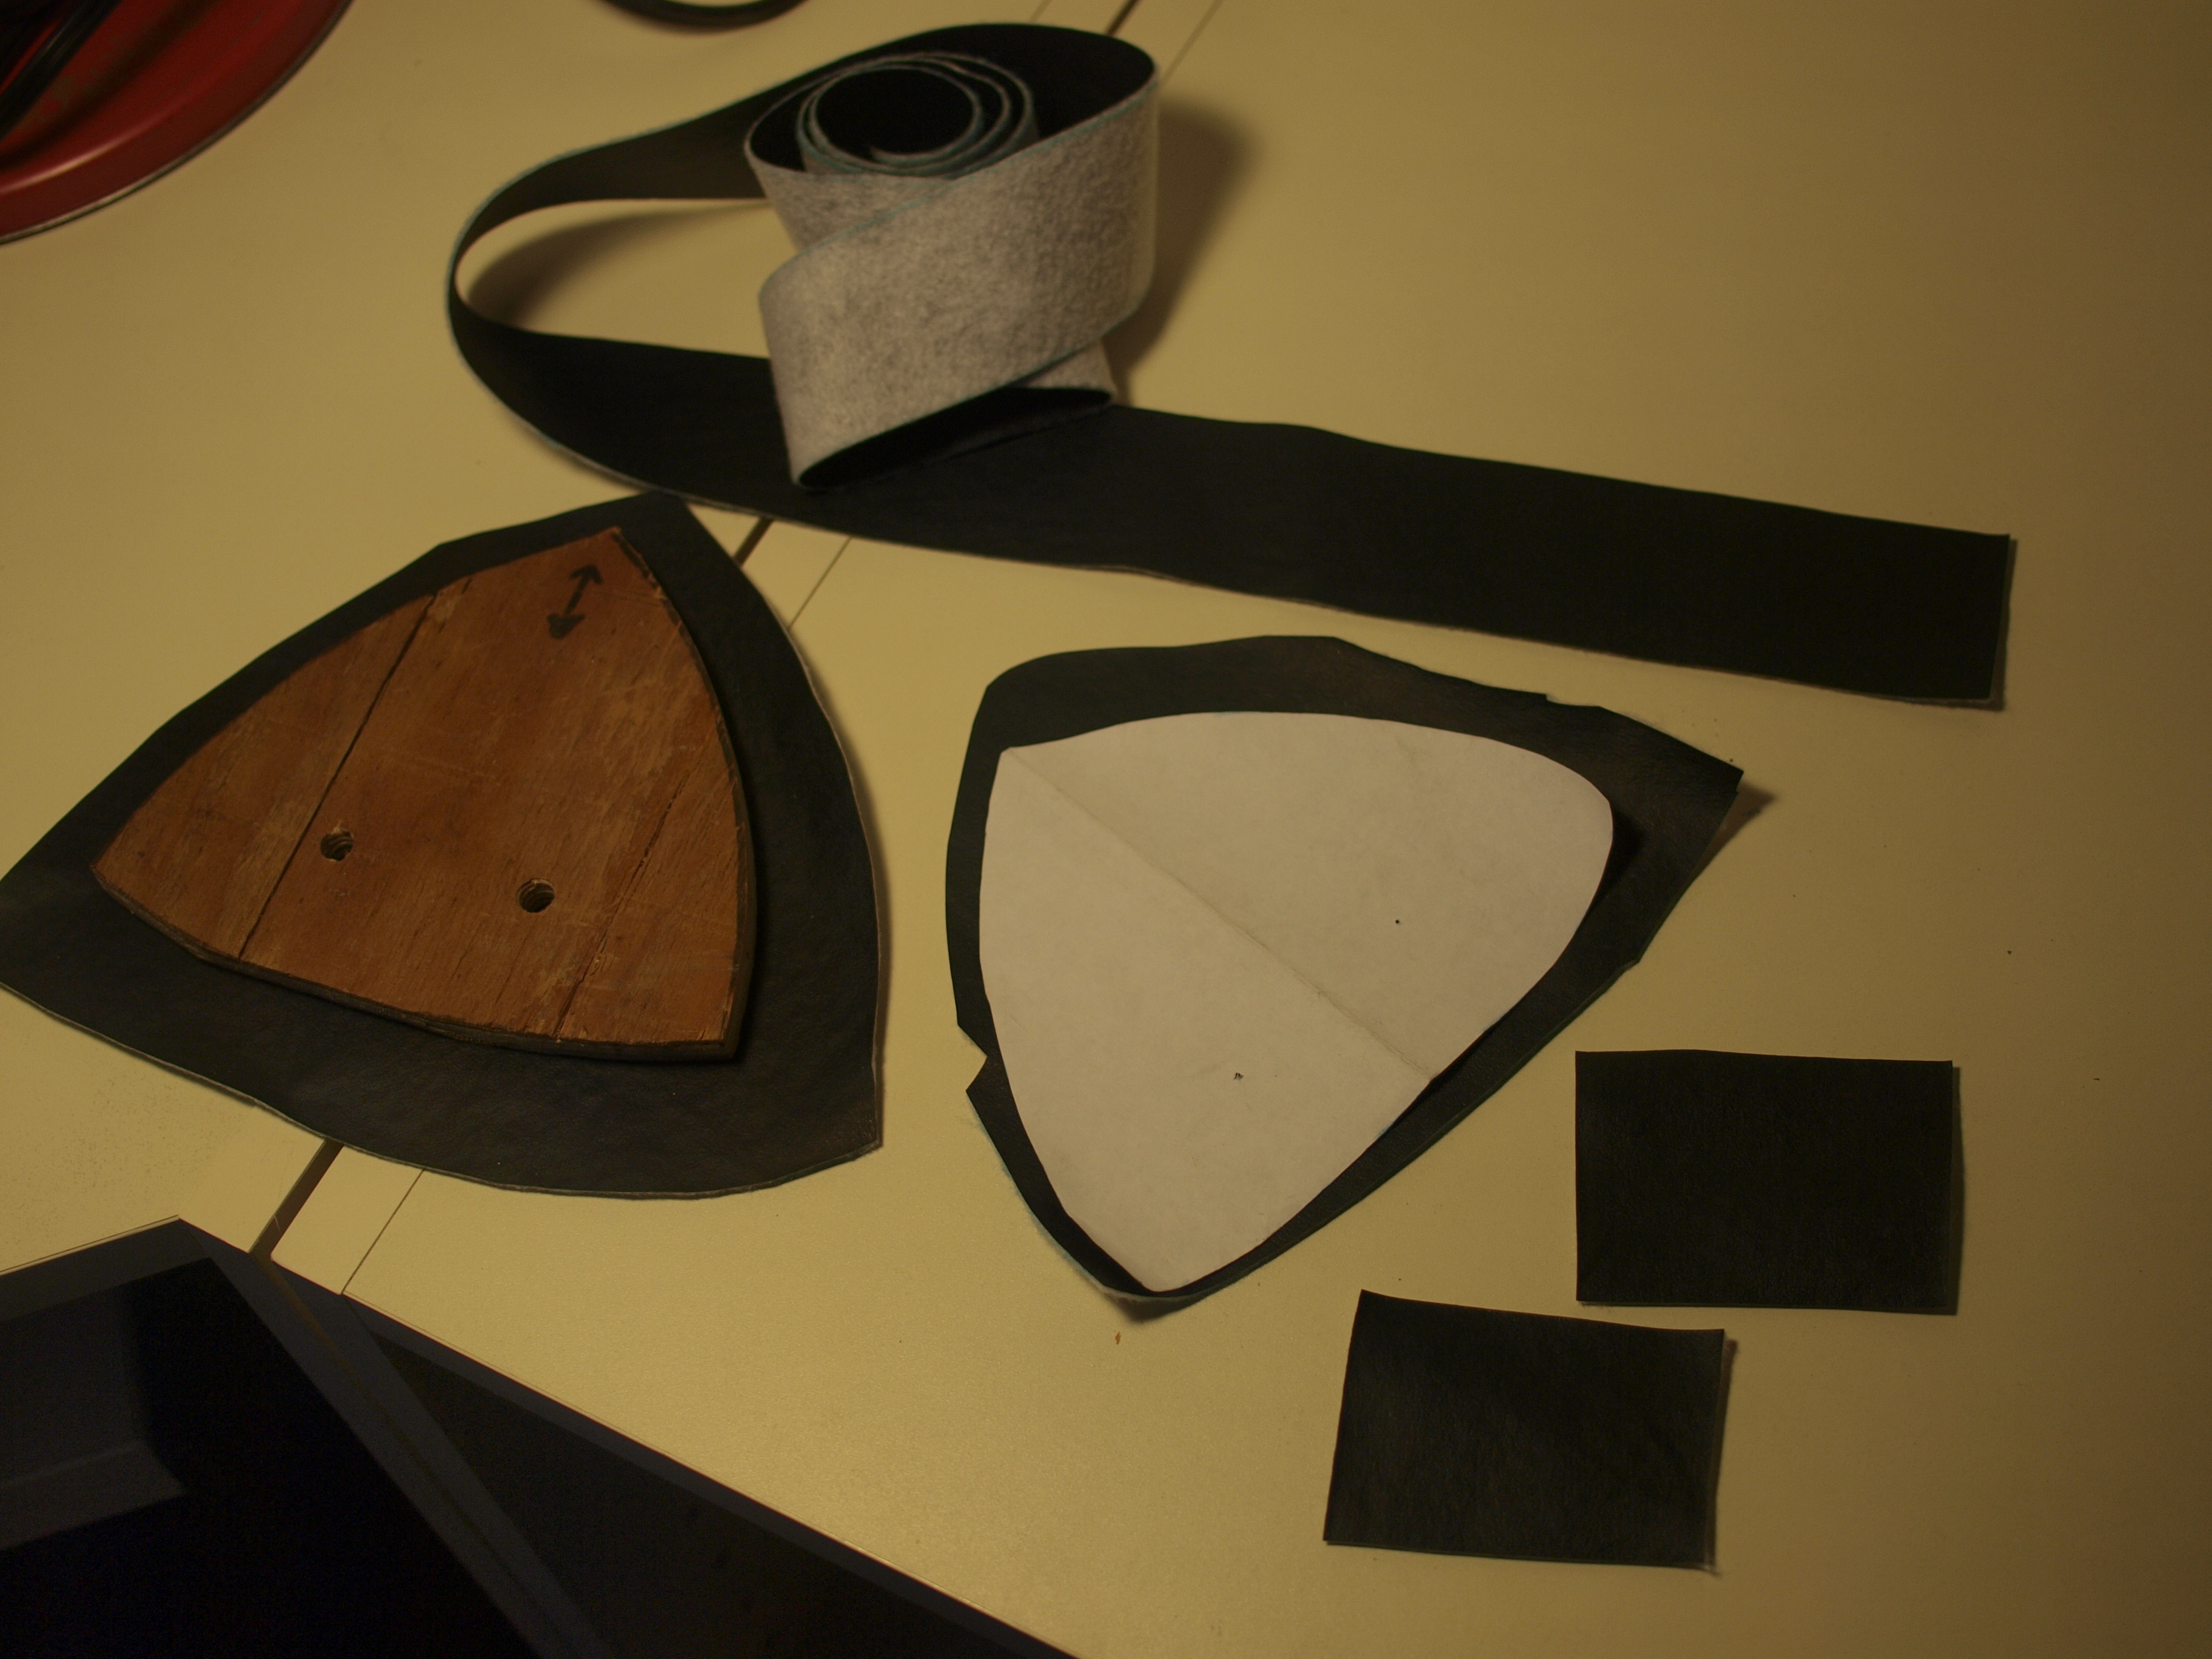
- Make a template of the rotary shape on the seat

Place a paper and press along the edge with nail to get the shape copied
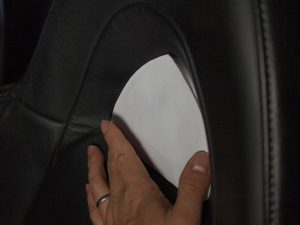
Cut the shape out, then double check one more time
Once it is fit, make the template about 1/4 smaller to accommodate the thickness of the fabric - Make the Plywood Backing
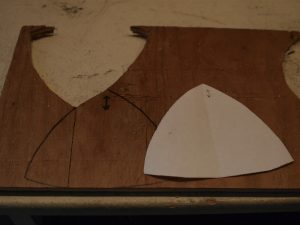
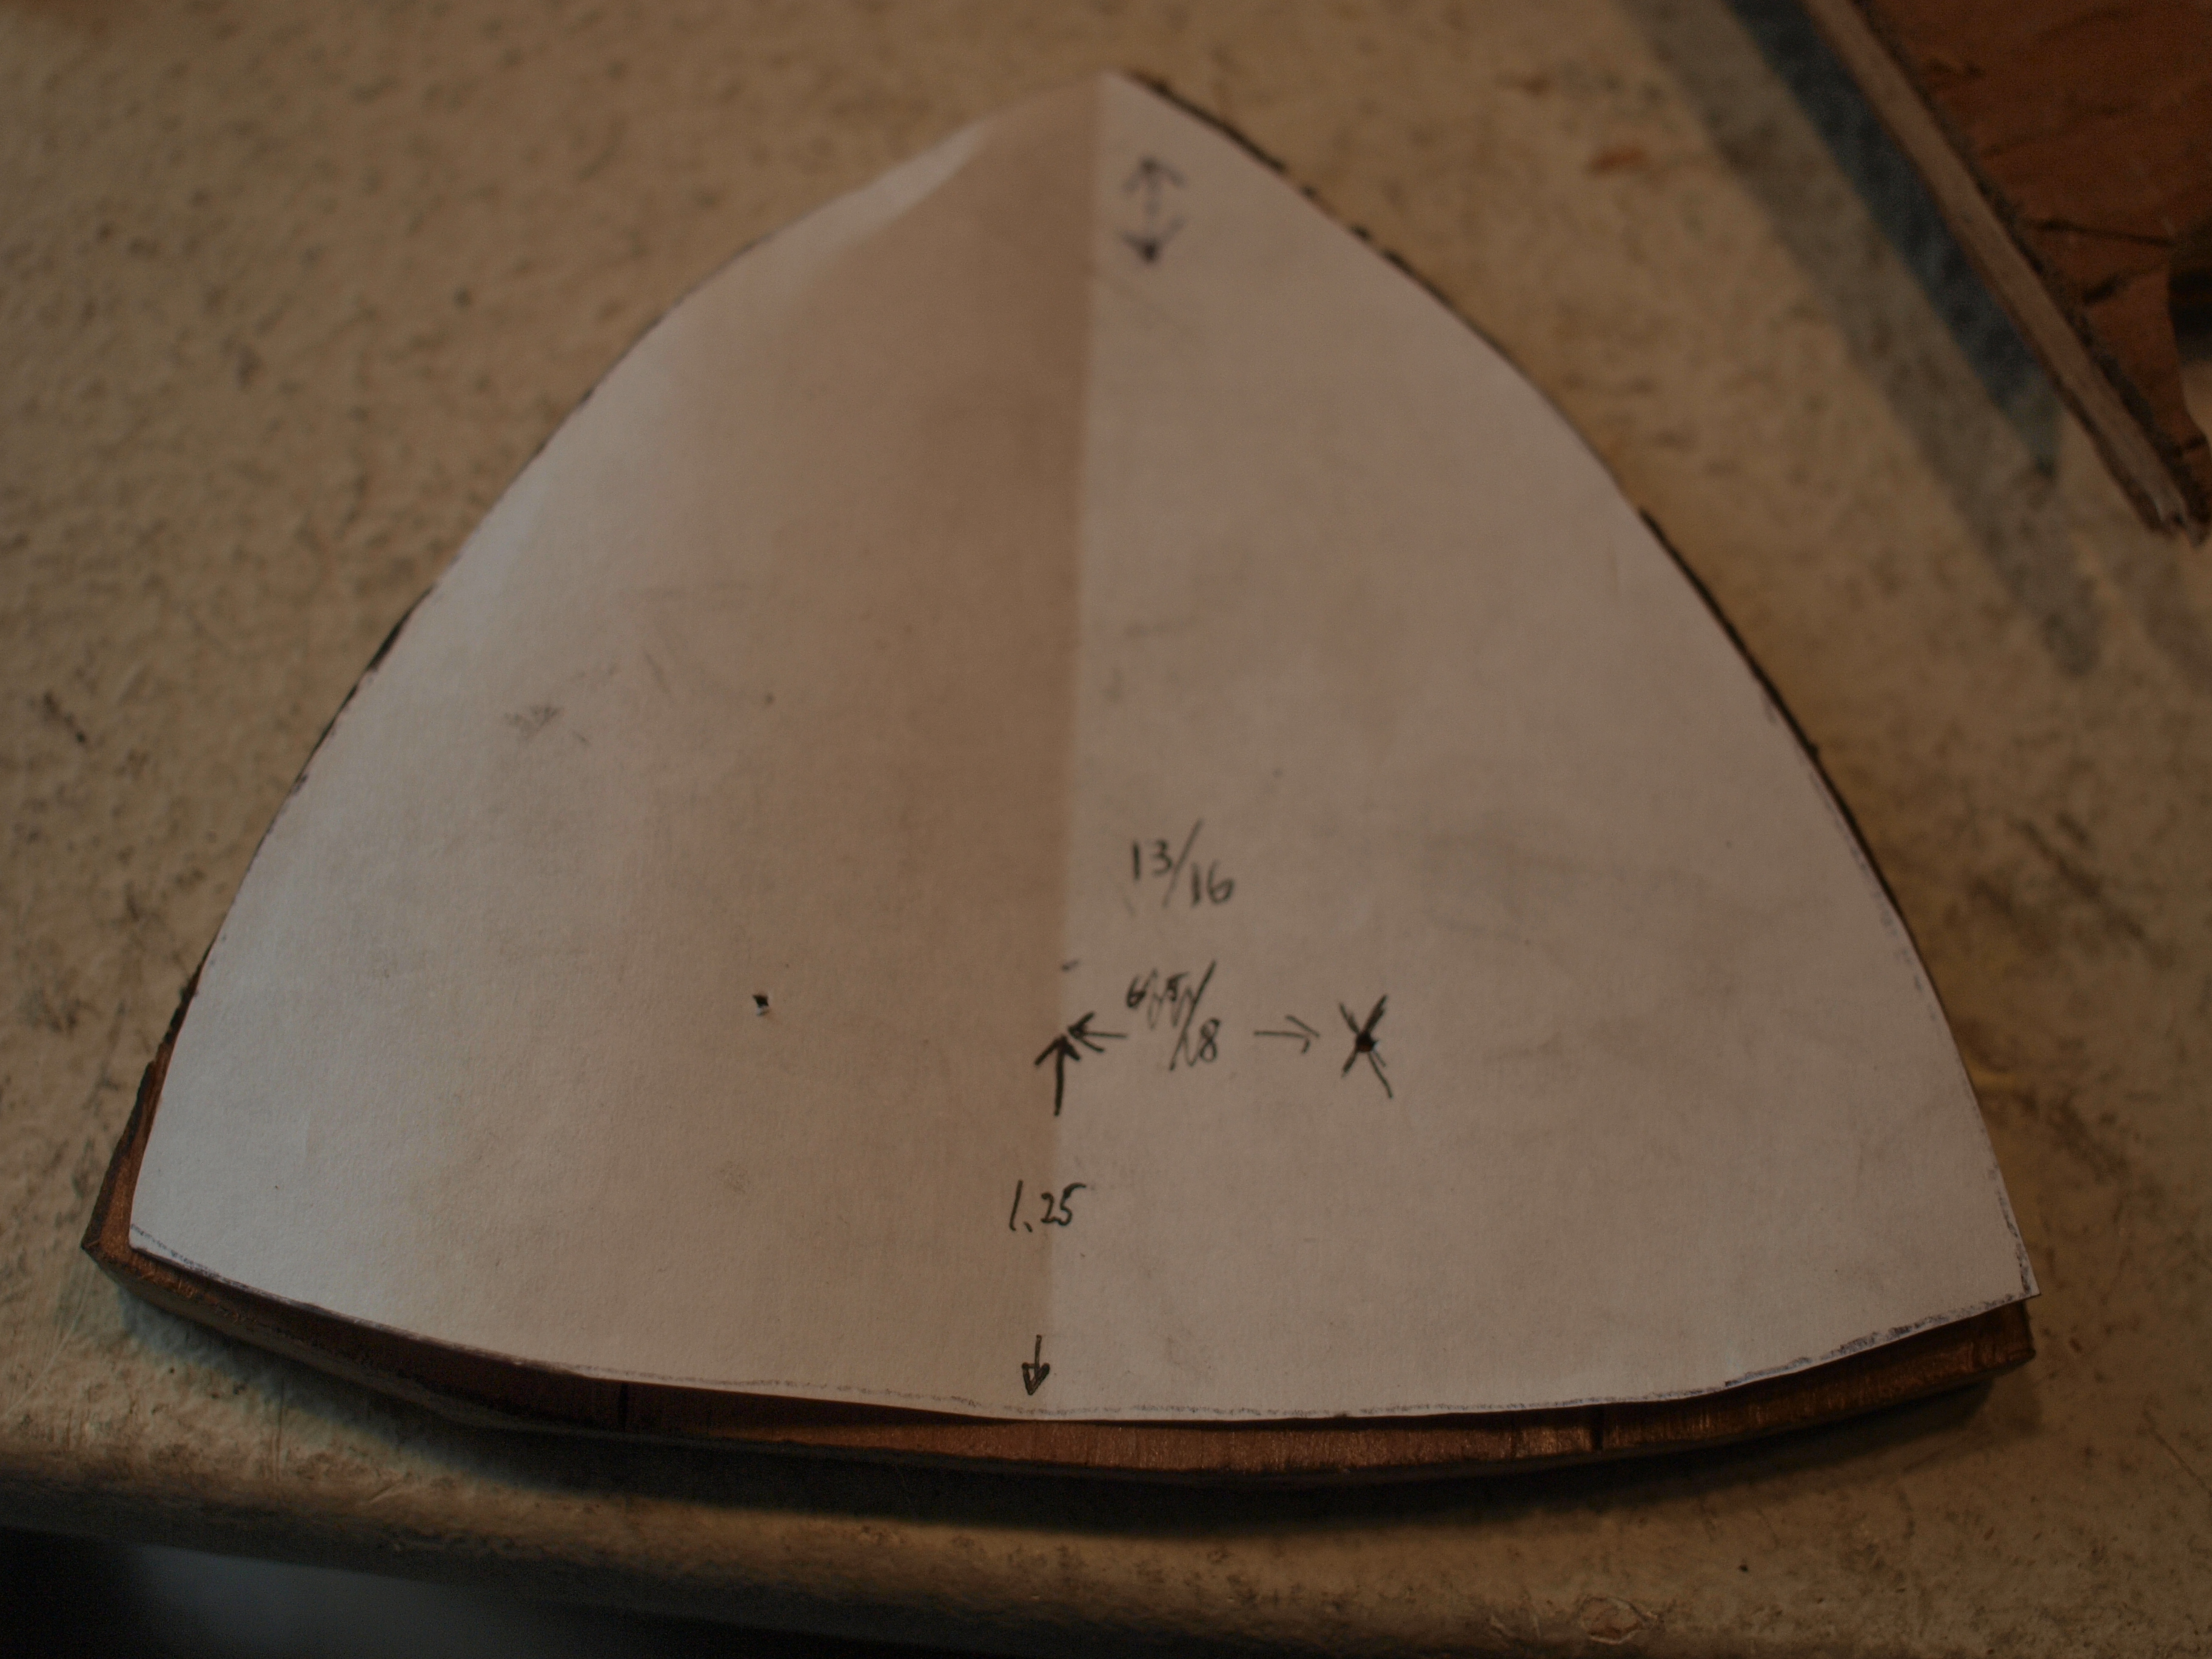
Transfer the shape to a plywood
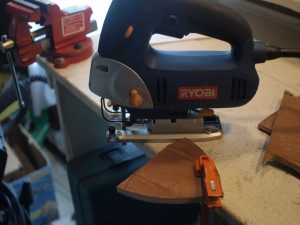
Using Jigsaw cut the shape out

Here’s the measurement of where to drill holes
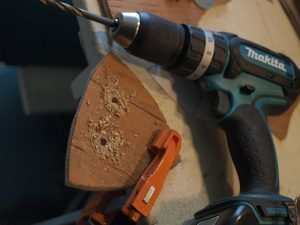
Drill holes base on the template. - Prepare the Rod

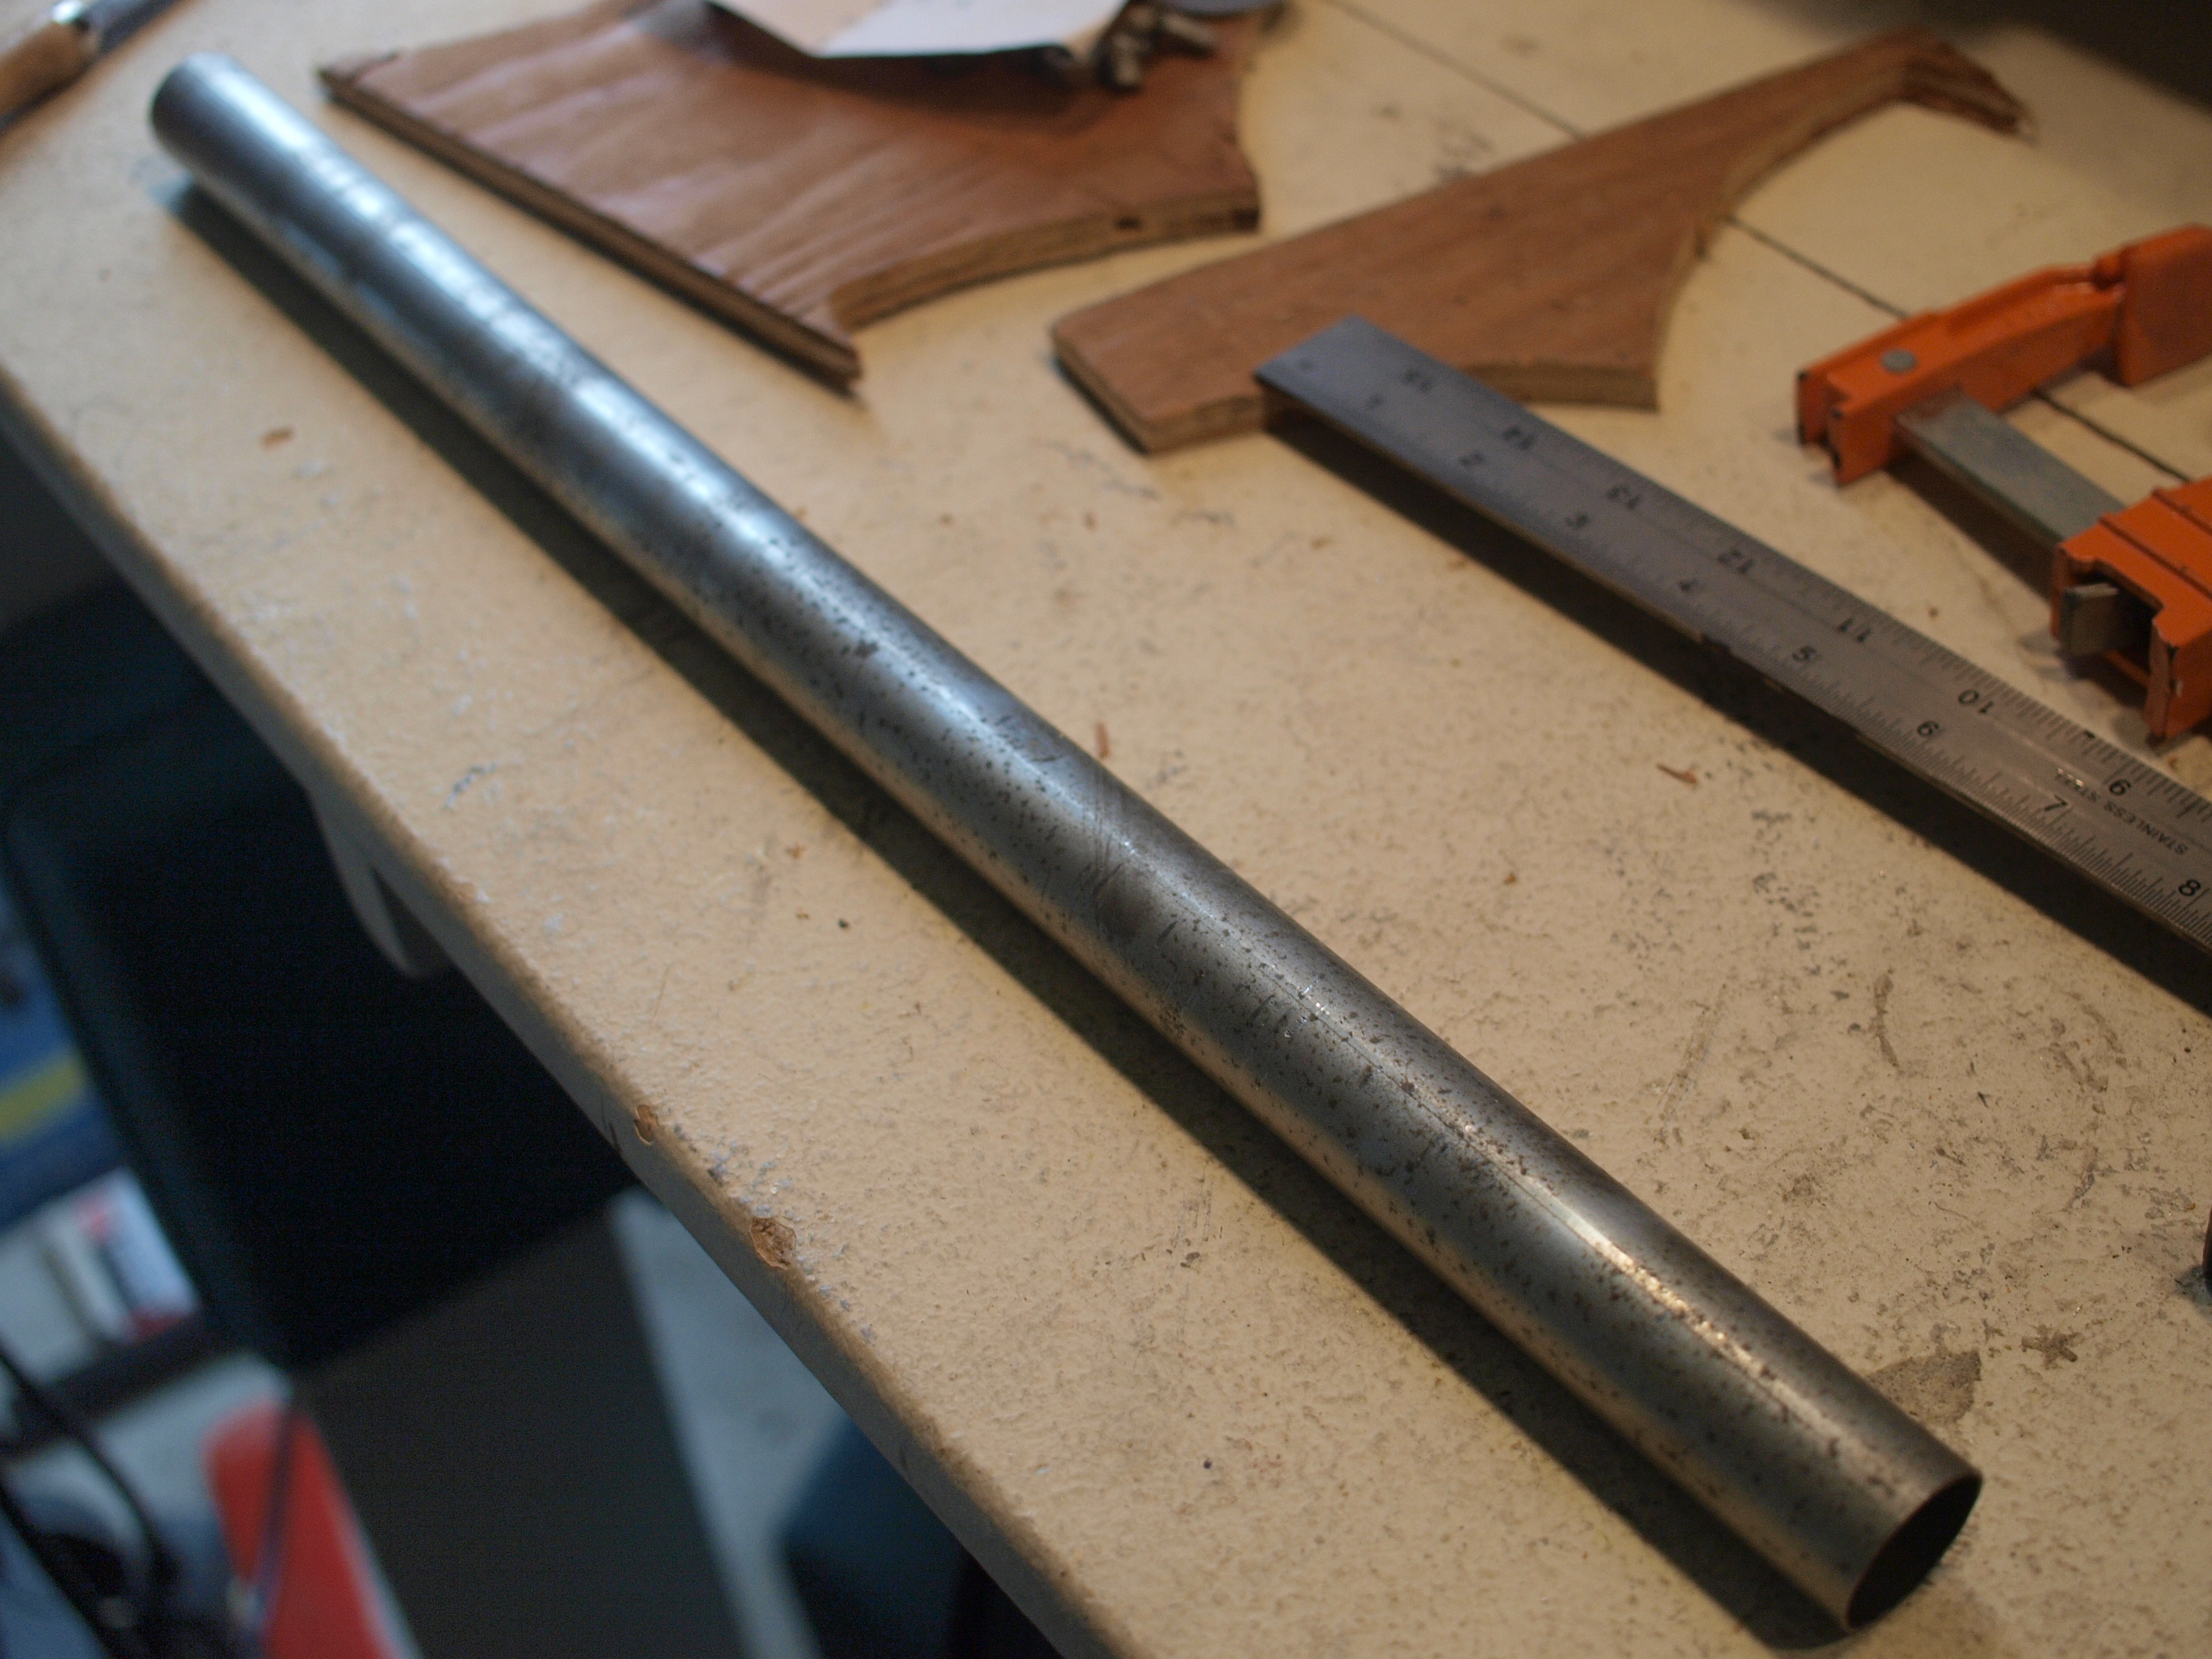
Cut a closet rod to your desired length. If you mount on passenger side, should be around 18-20″, for driver side mounting, should be a little longer.

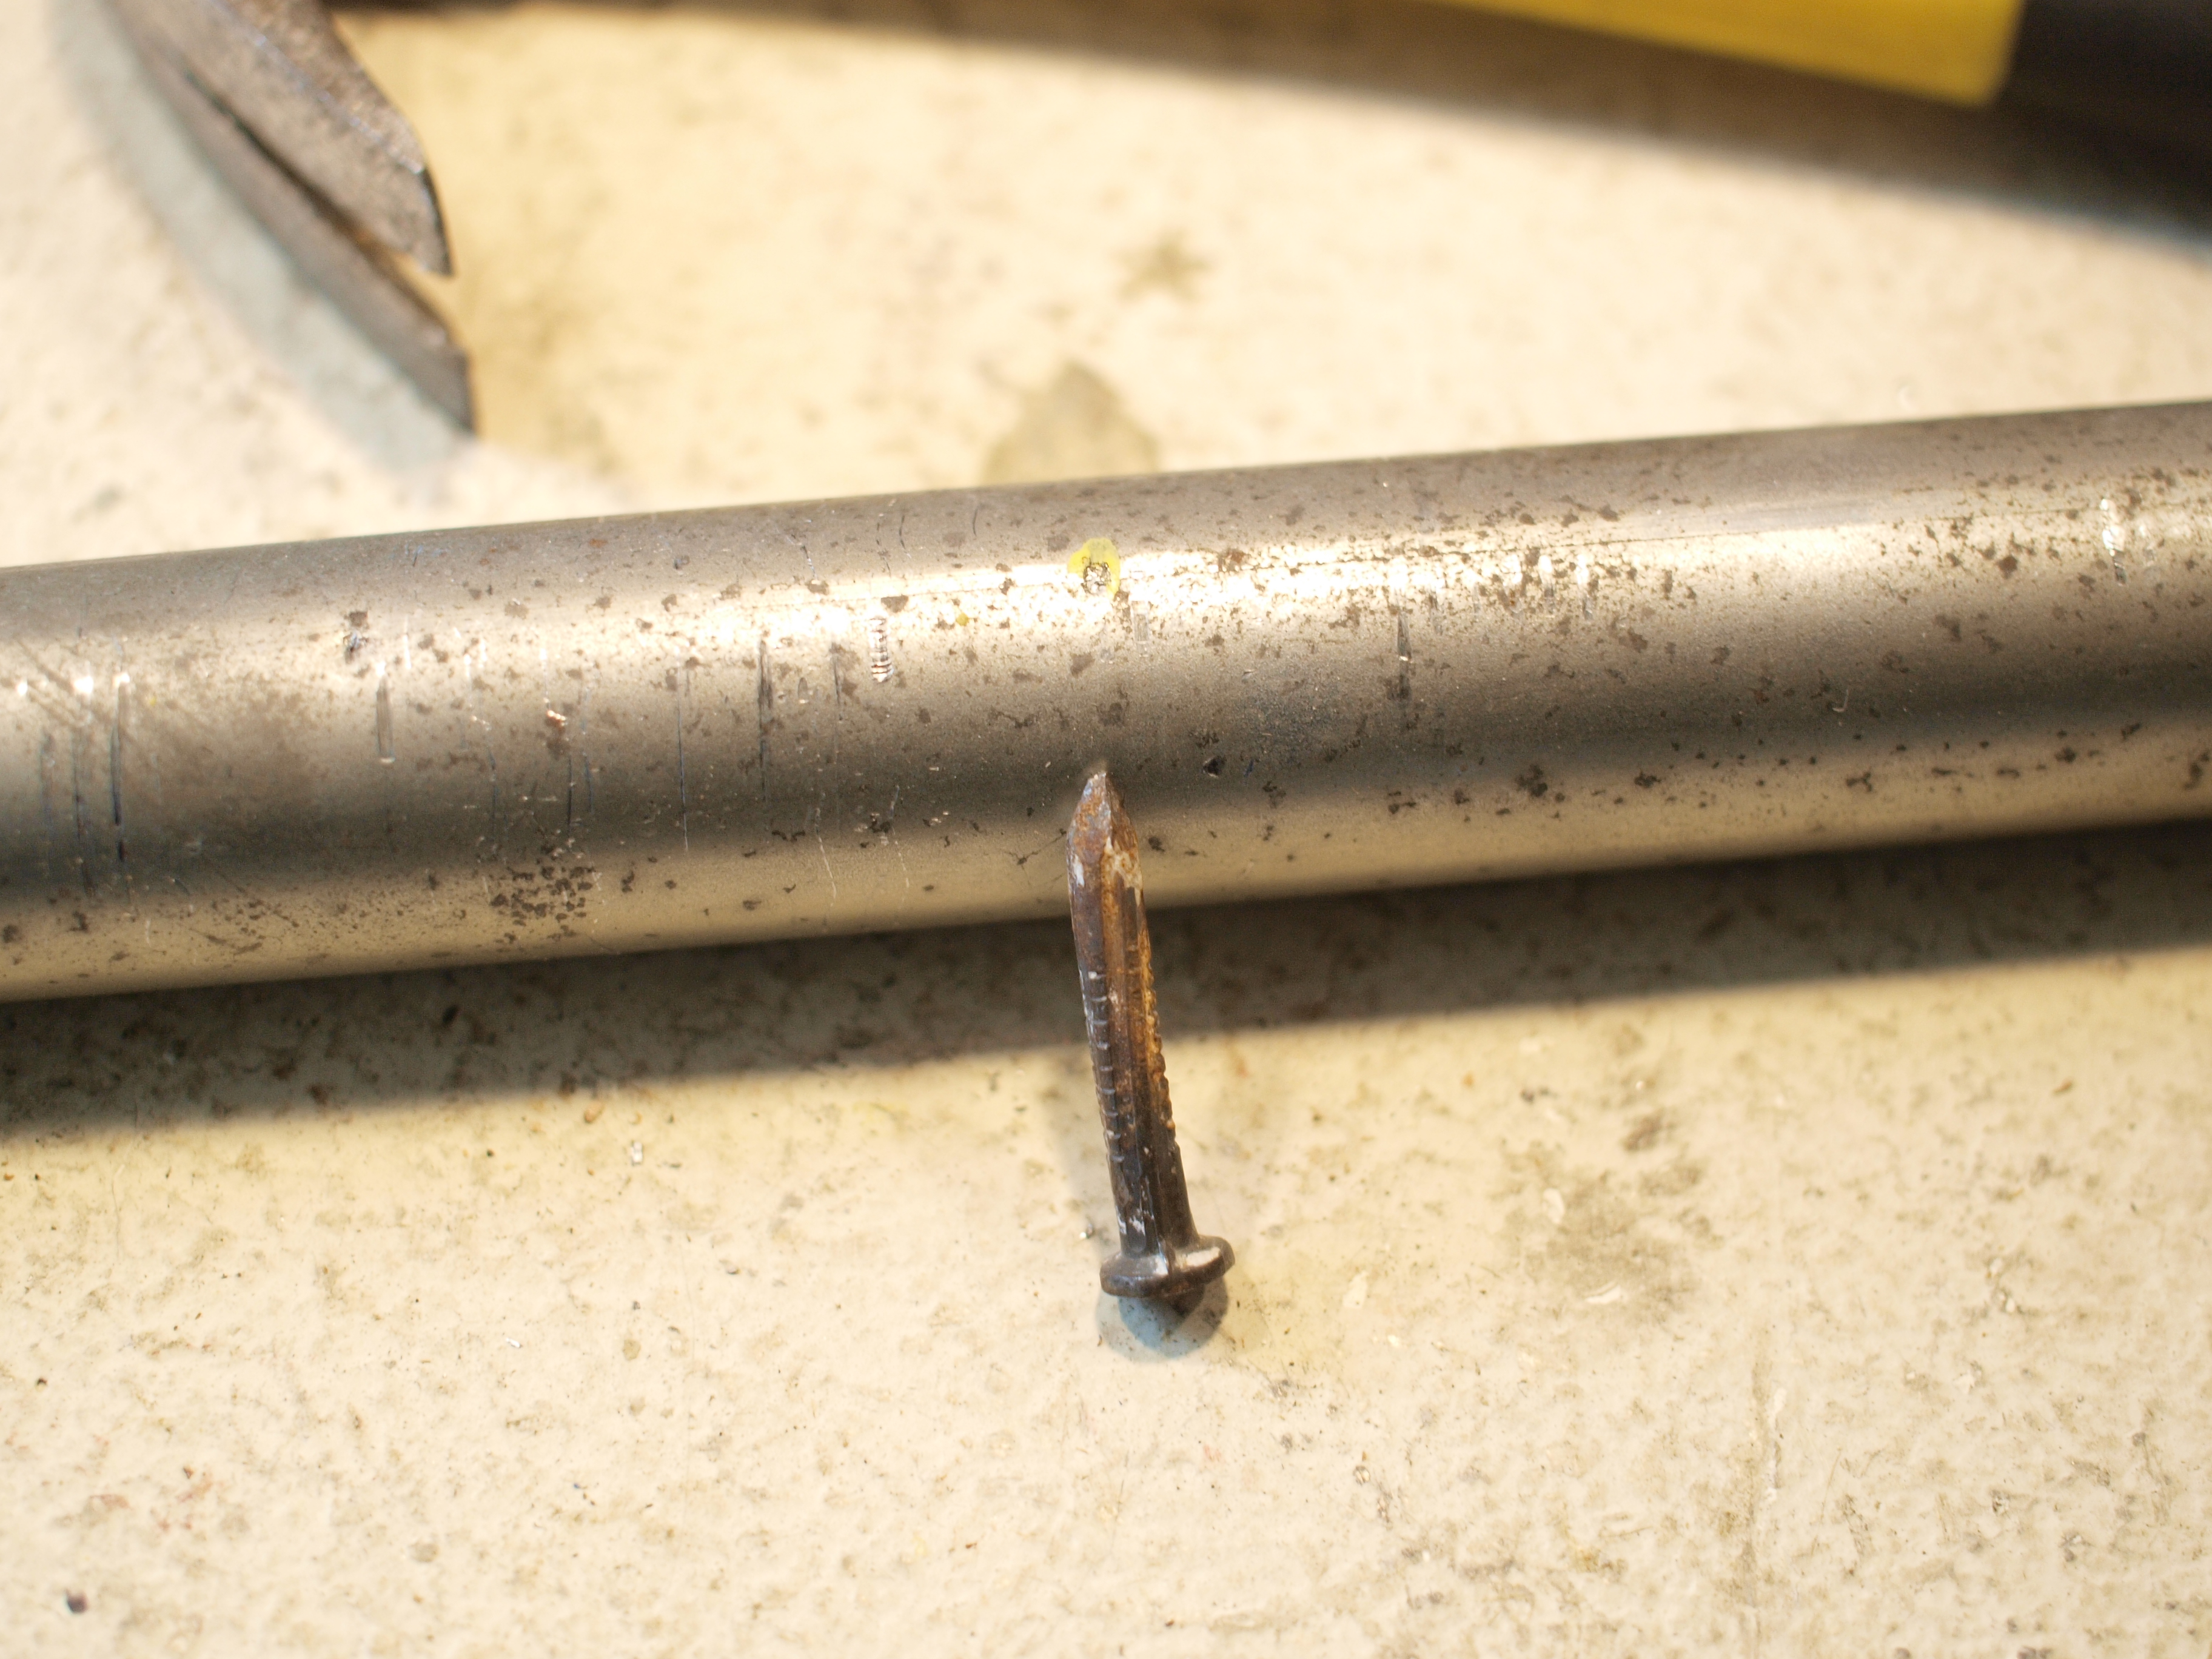
punch a dent about 4 to 5 inches from one end, and another 1-5/8″ from the first hole (match with the template for the plywood)
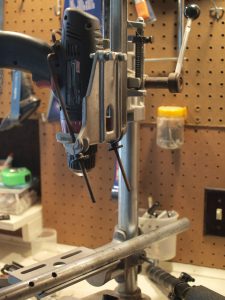
I use drill press (ish !?) to make two hole perfectly lined up, but please please let me know if there’s easier way! - Now the MANLY part. Preparing the fabric.

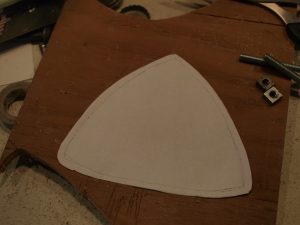
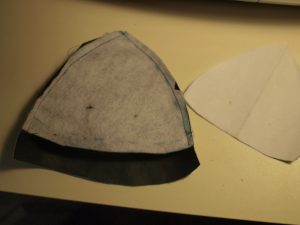
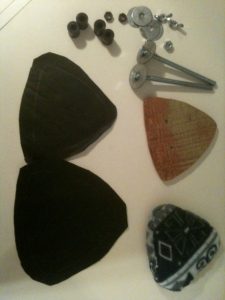
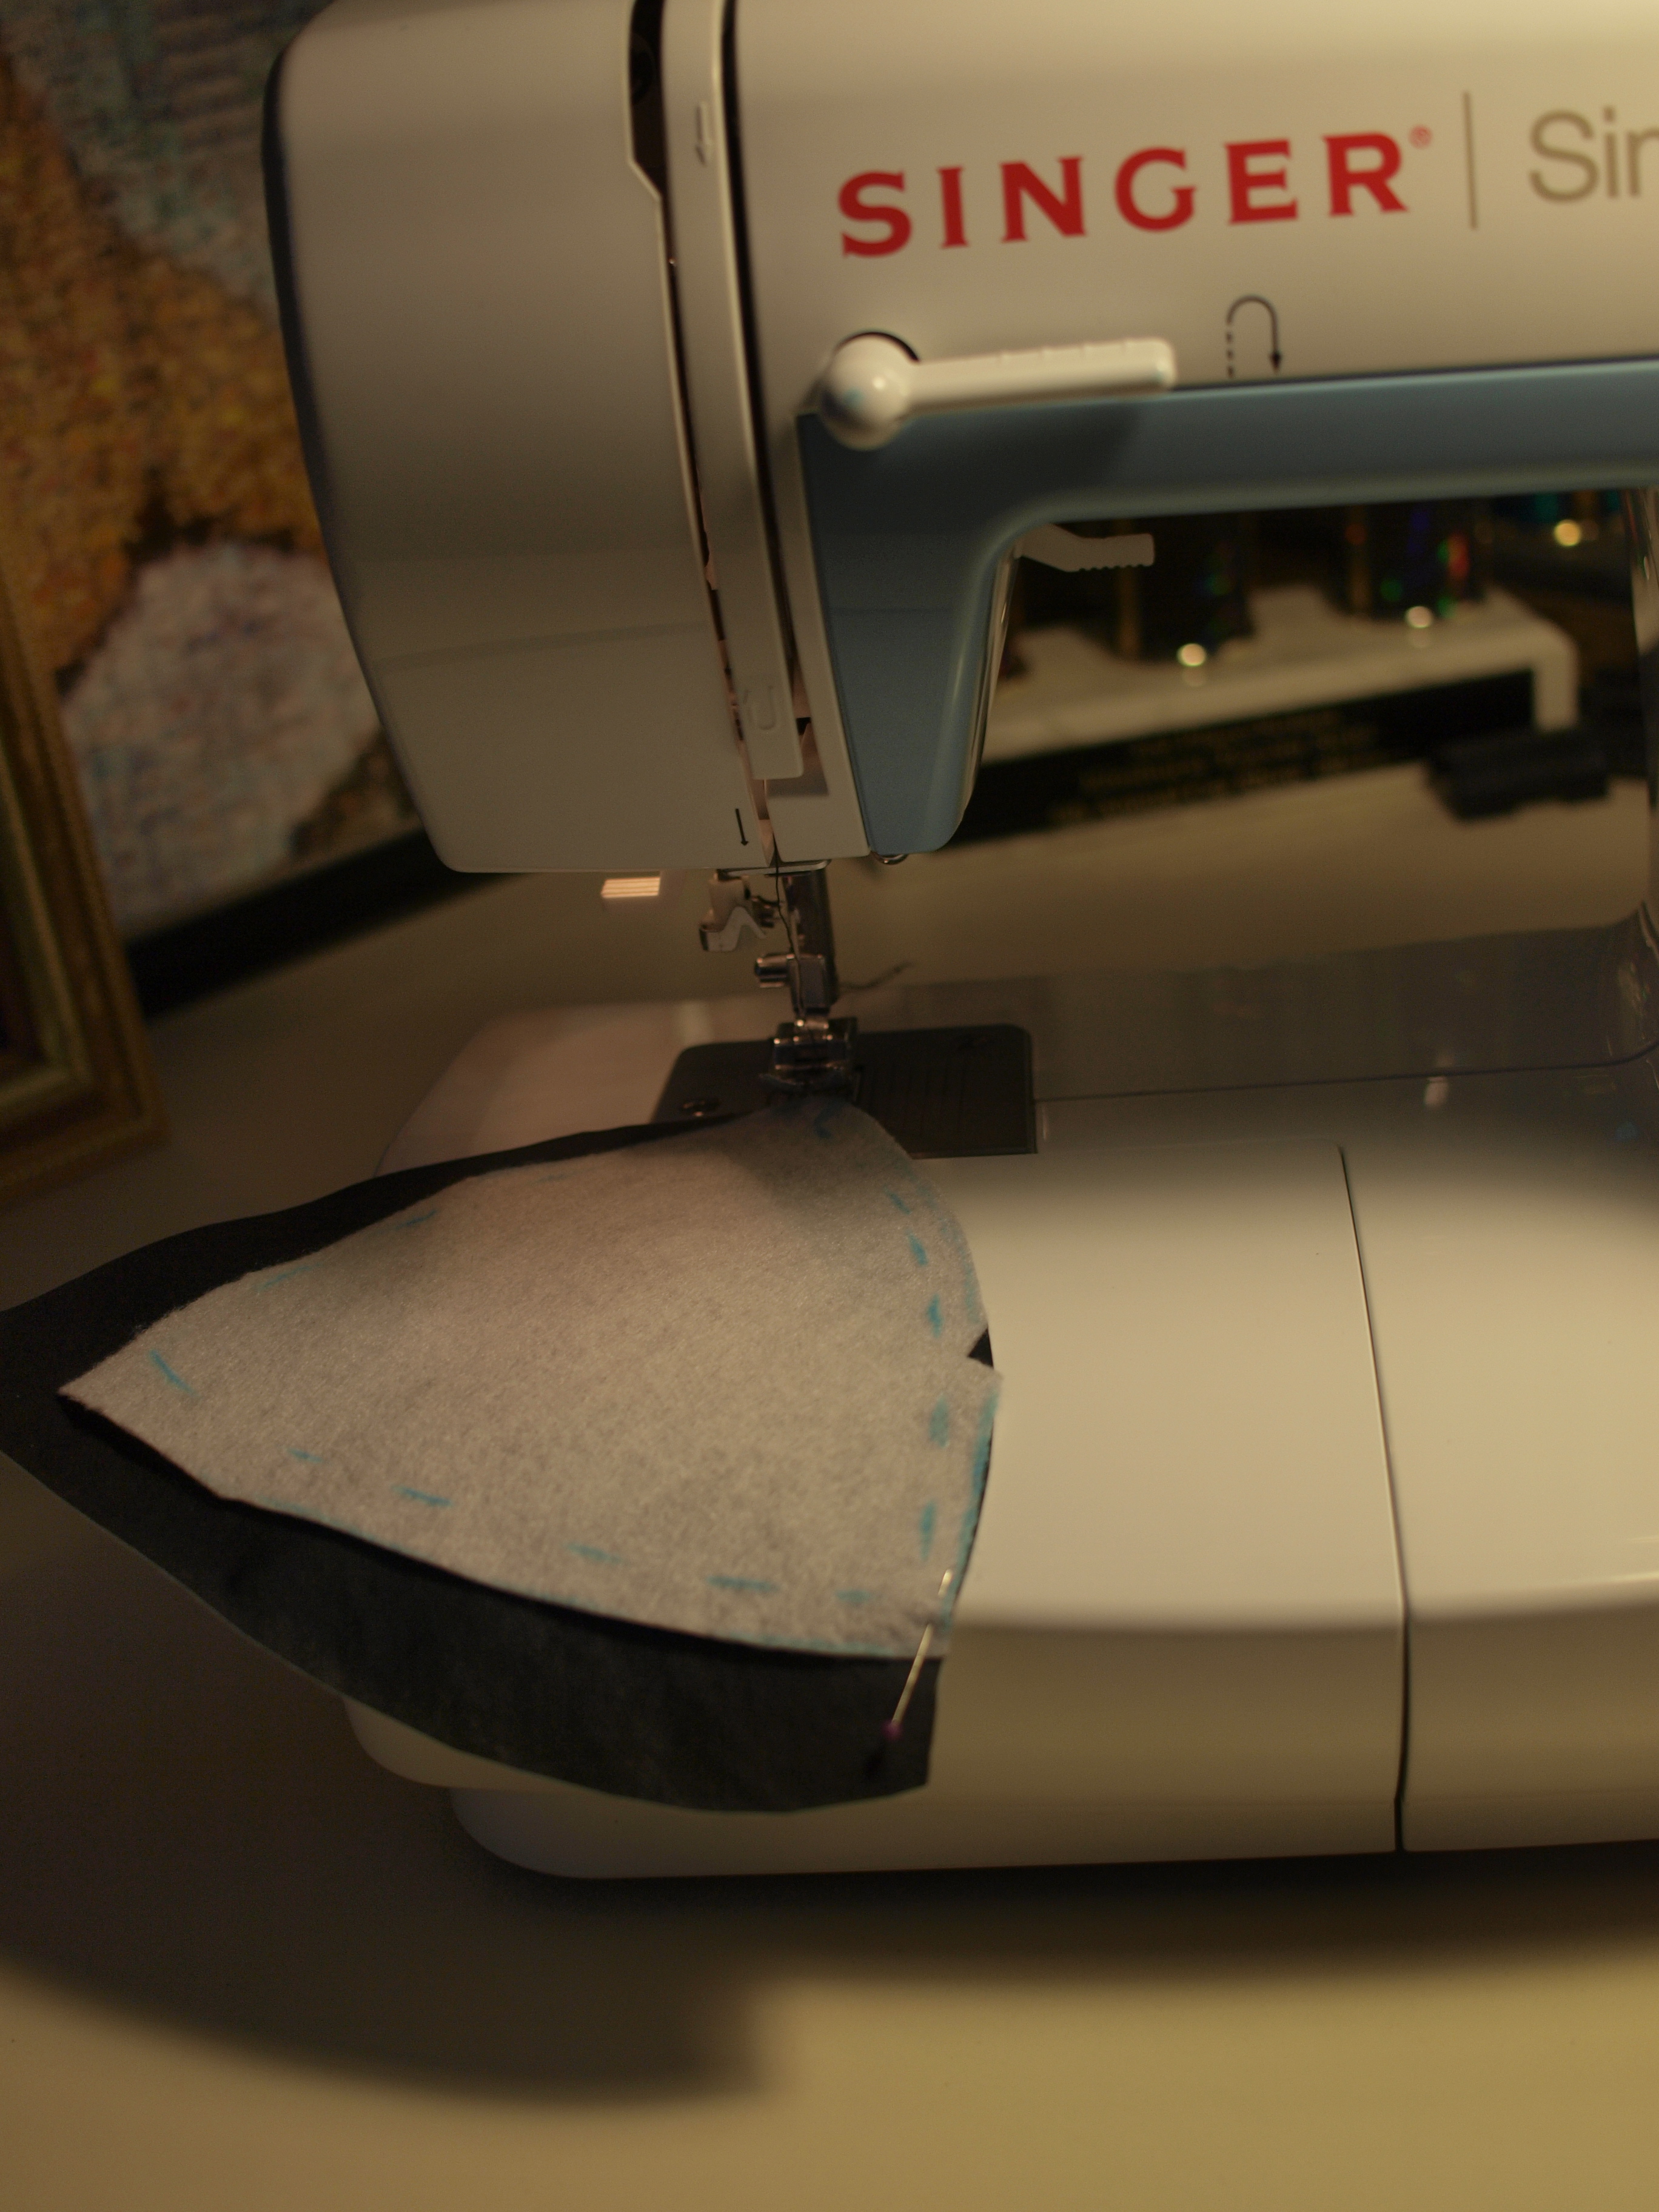
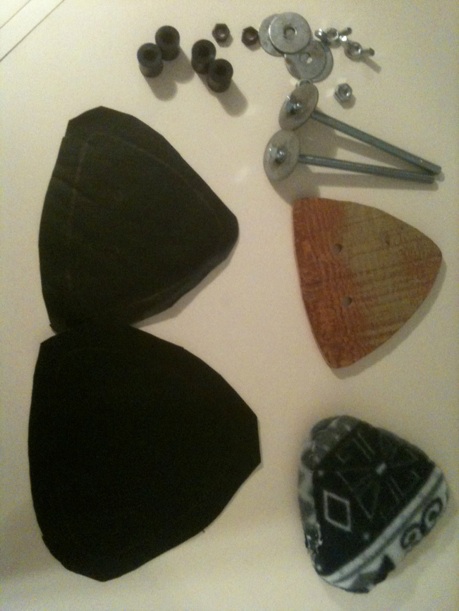
Use a same template cut out two rotary shapes. one is 1/4″ larger than the template (for backside) with two holes for the mounting hardware (which I forgot), and the other should be 1/2″ larger (for the front).
Also, cut a strip about 2″ wide (forgot to measure the length but about 36″ long should be good, and two 2″ squares (it’s rectangular in this picture)

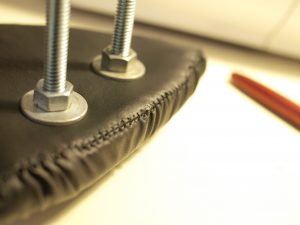
sew the top two edges together, inside out. It will not be flat, since front one is larger than the back one.
Since I forgot to make holes for the hardware before sewing, I did it after
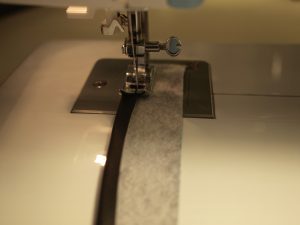
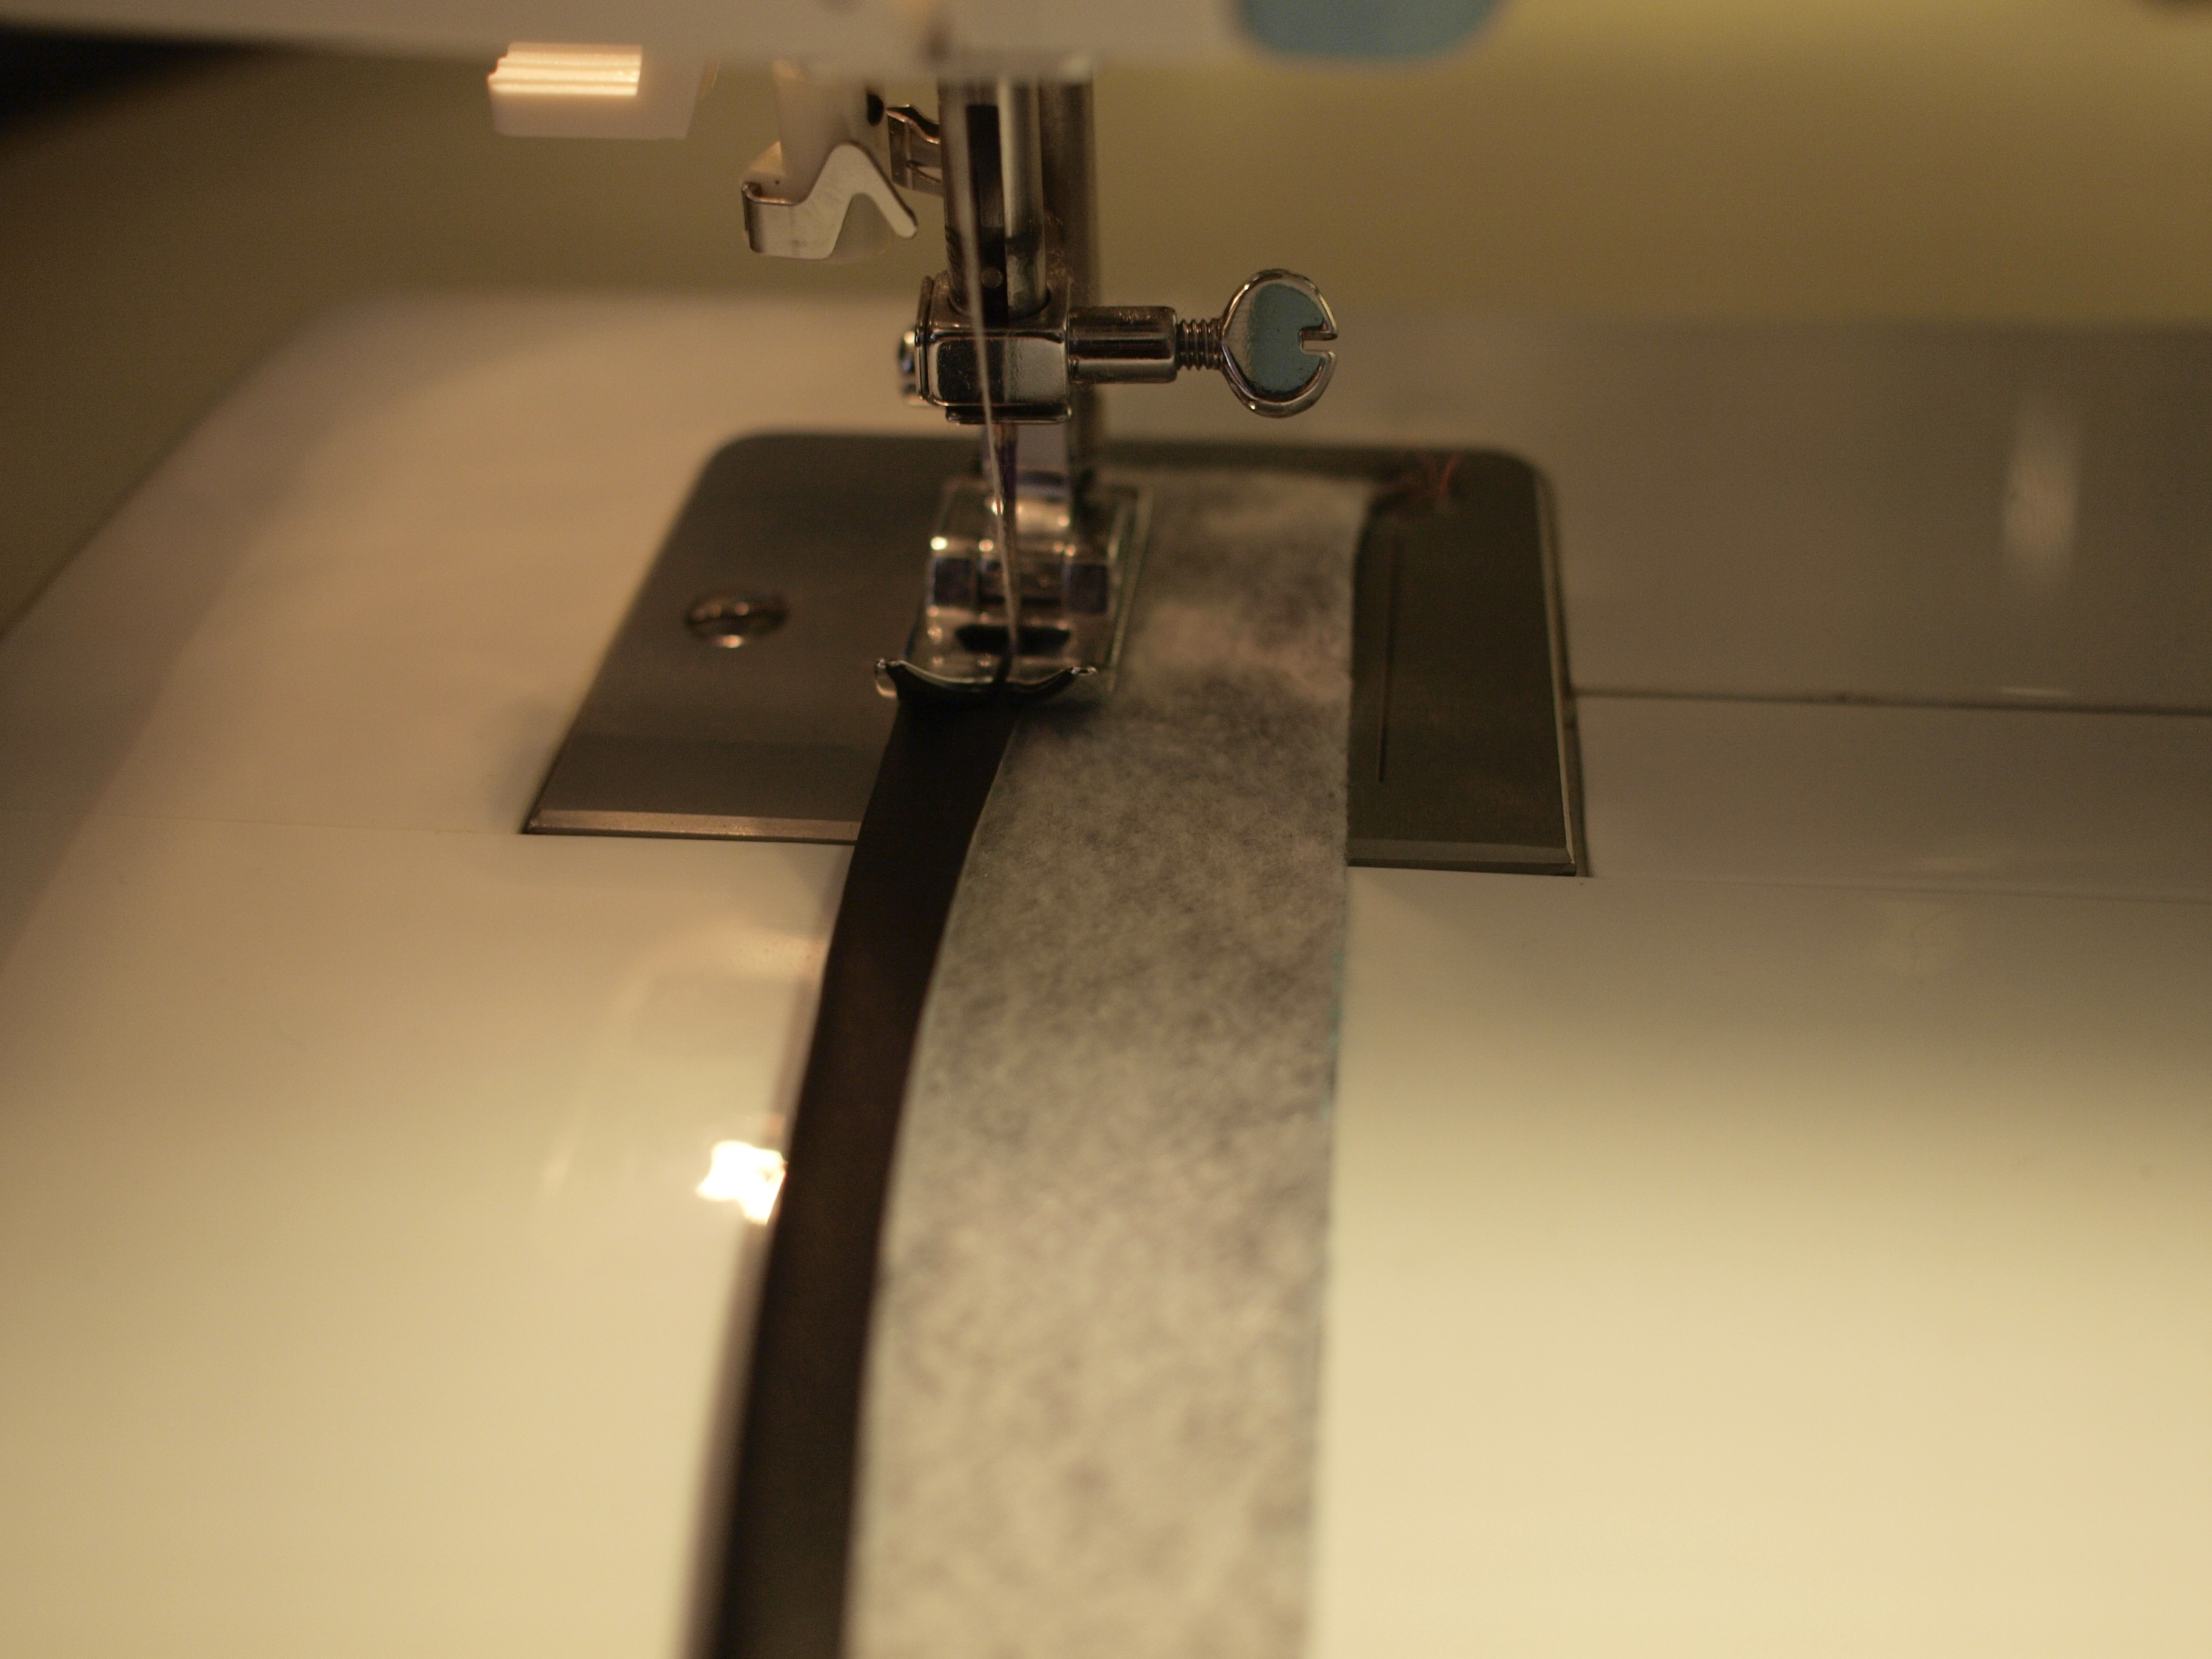
Fold the one side of the strip and sew.
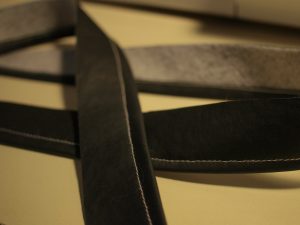
it doesn’t have to be perfect. small flaw won’t show much… - Assemble the headrest part.

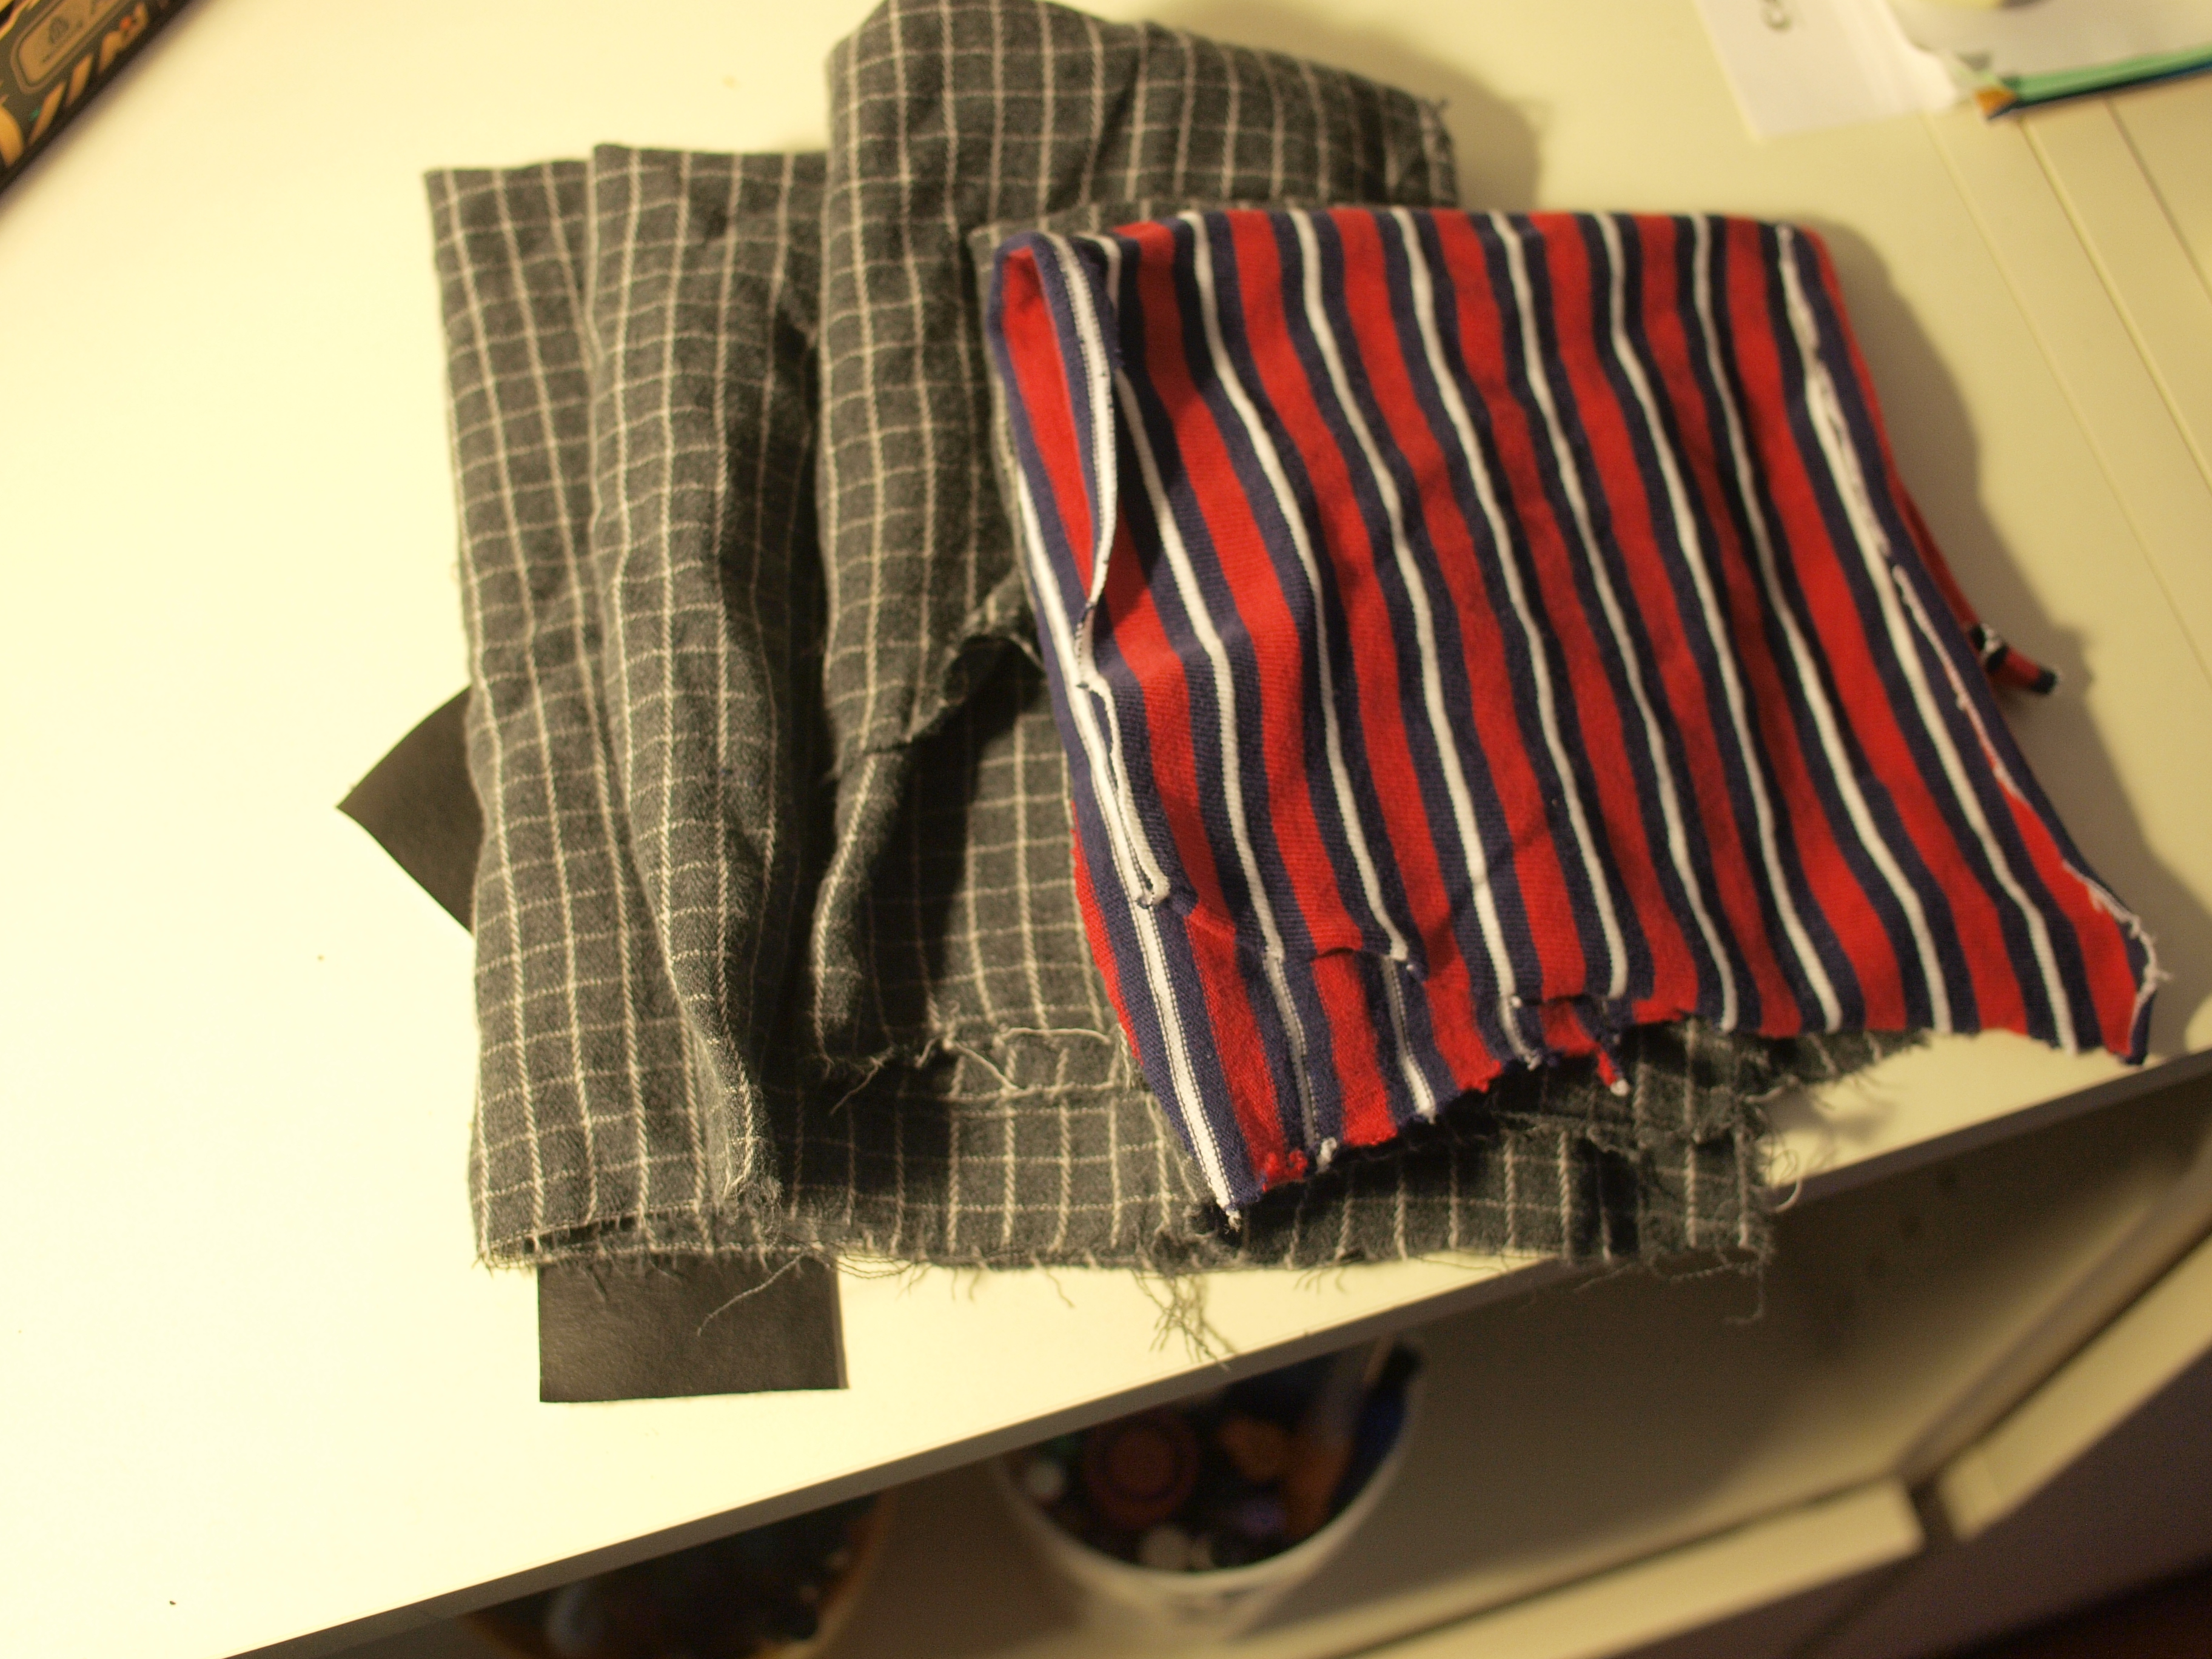
get some disposal fabrics ready for stuffing. (I used my old shirts)
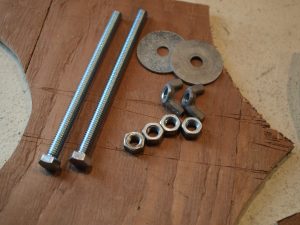
Here are the mounting hardwares. (Minus two more washers)
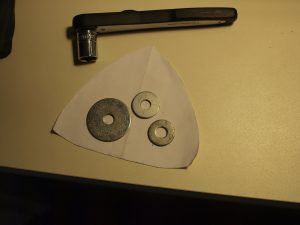
Two more washers I forgot to take picture earlier. I used two smaller ones (the large one is for comparison), but can be the same size)
Cover the edges with fabric, so that it’s easier to slide into the cover.

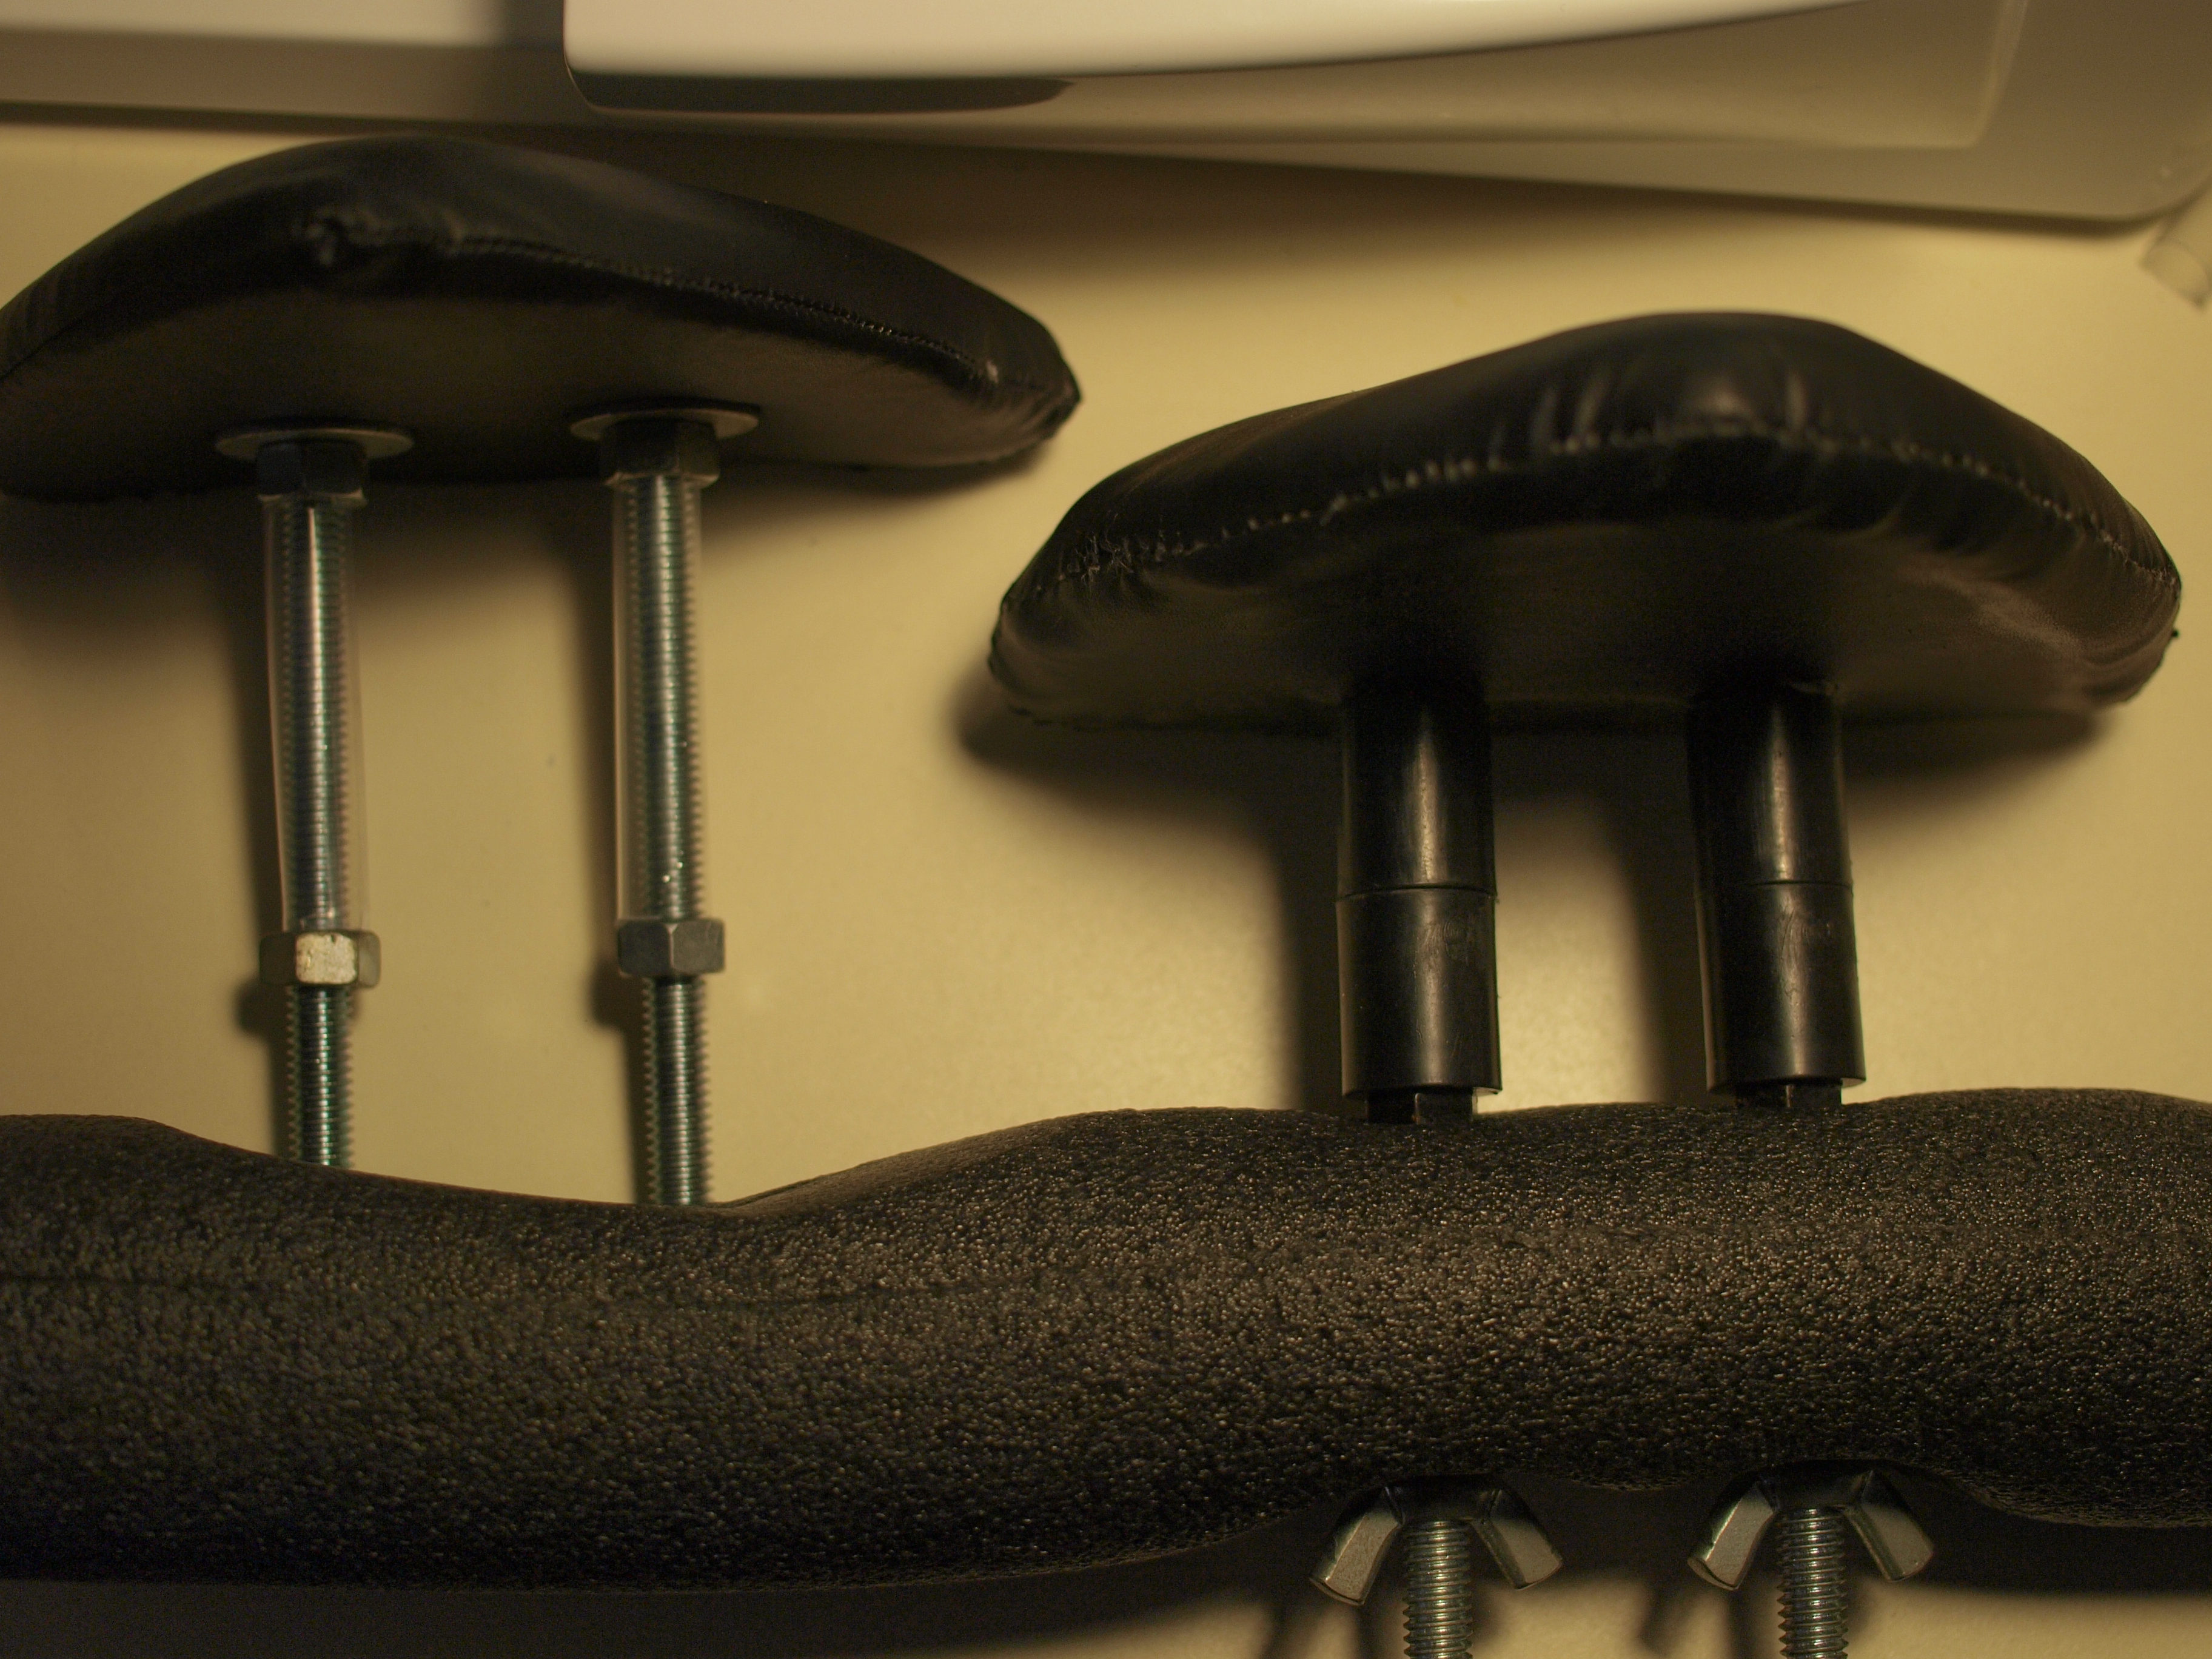
Slide the Plywood the cover made earlier, then screw the bolts in
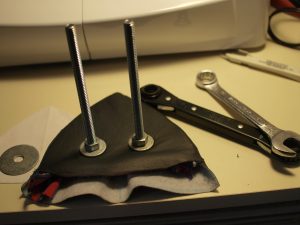
Place the washer and bolts
This is an old picture, but using old fabric fold in to triangle (right bottom)
Stuff the fabric folded into triangle, then saw the last edge by hand. This may be the hardest (patience wise) part…
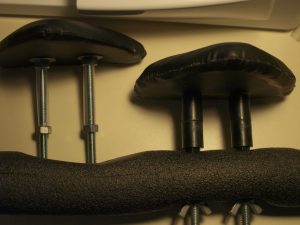
Place spacers over the bolts and tighten with nuts. (I didn’t have the spacer, so I used clear plastic tube. this is just to protect the seat from rubbing with bolts - Make camera mounting rod
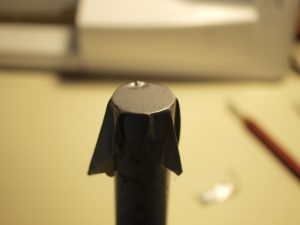
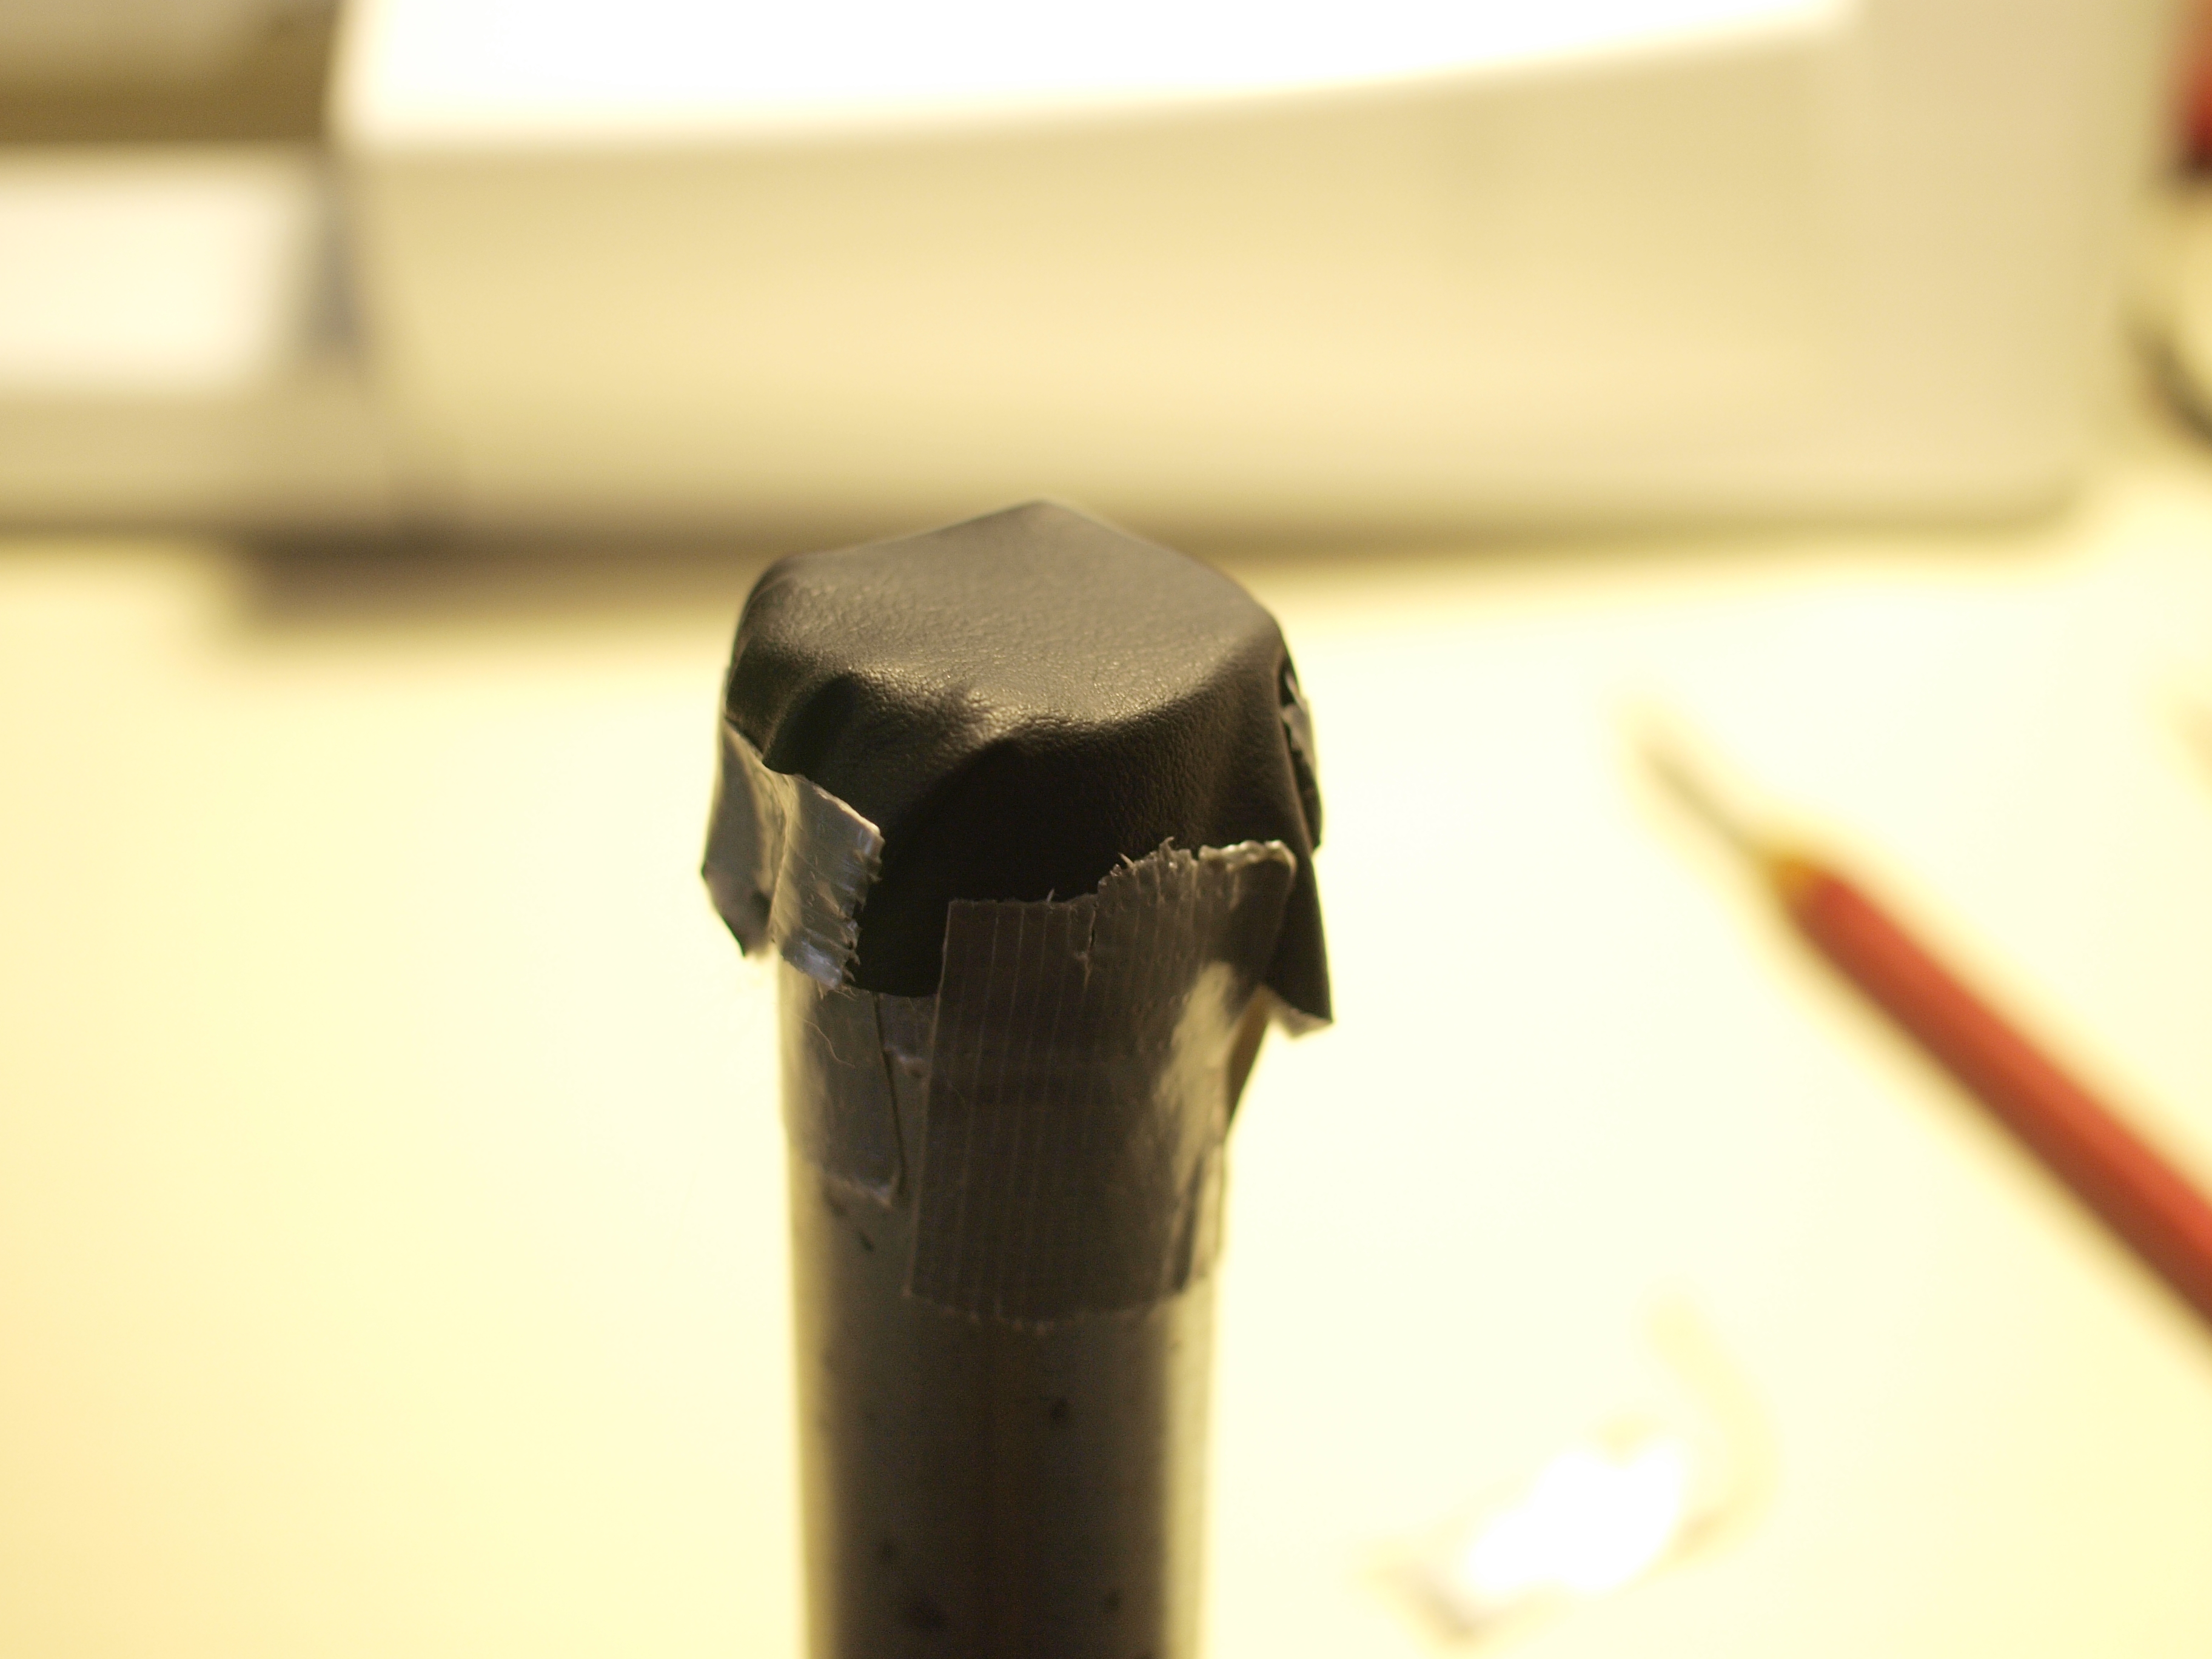
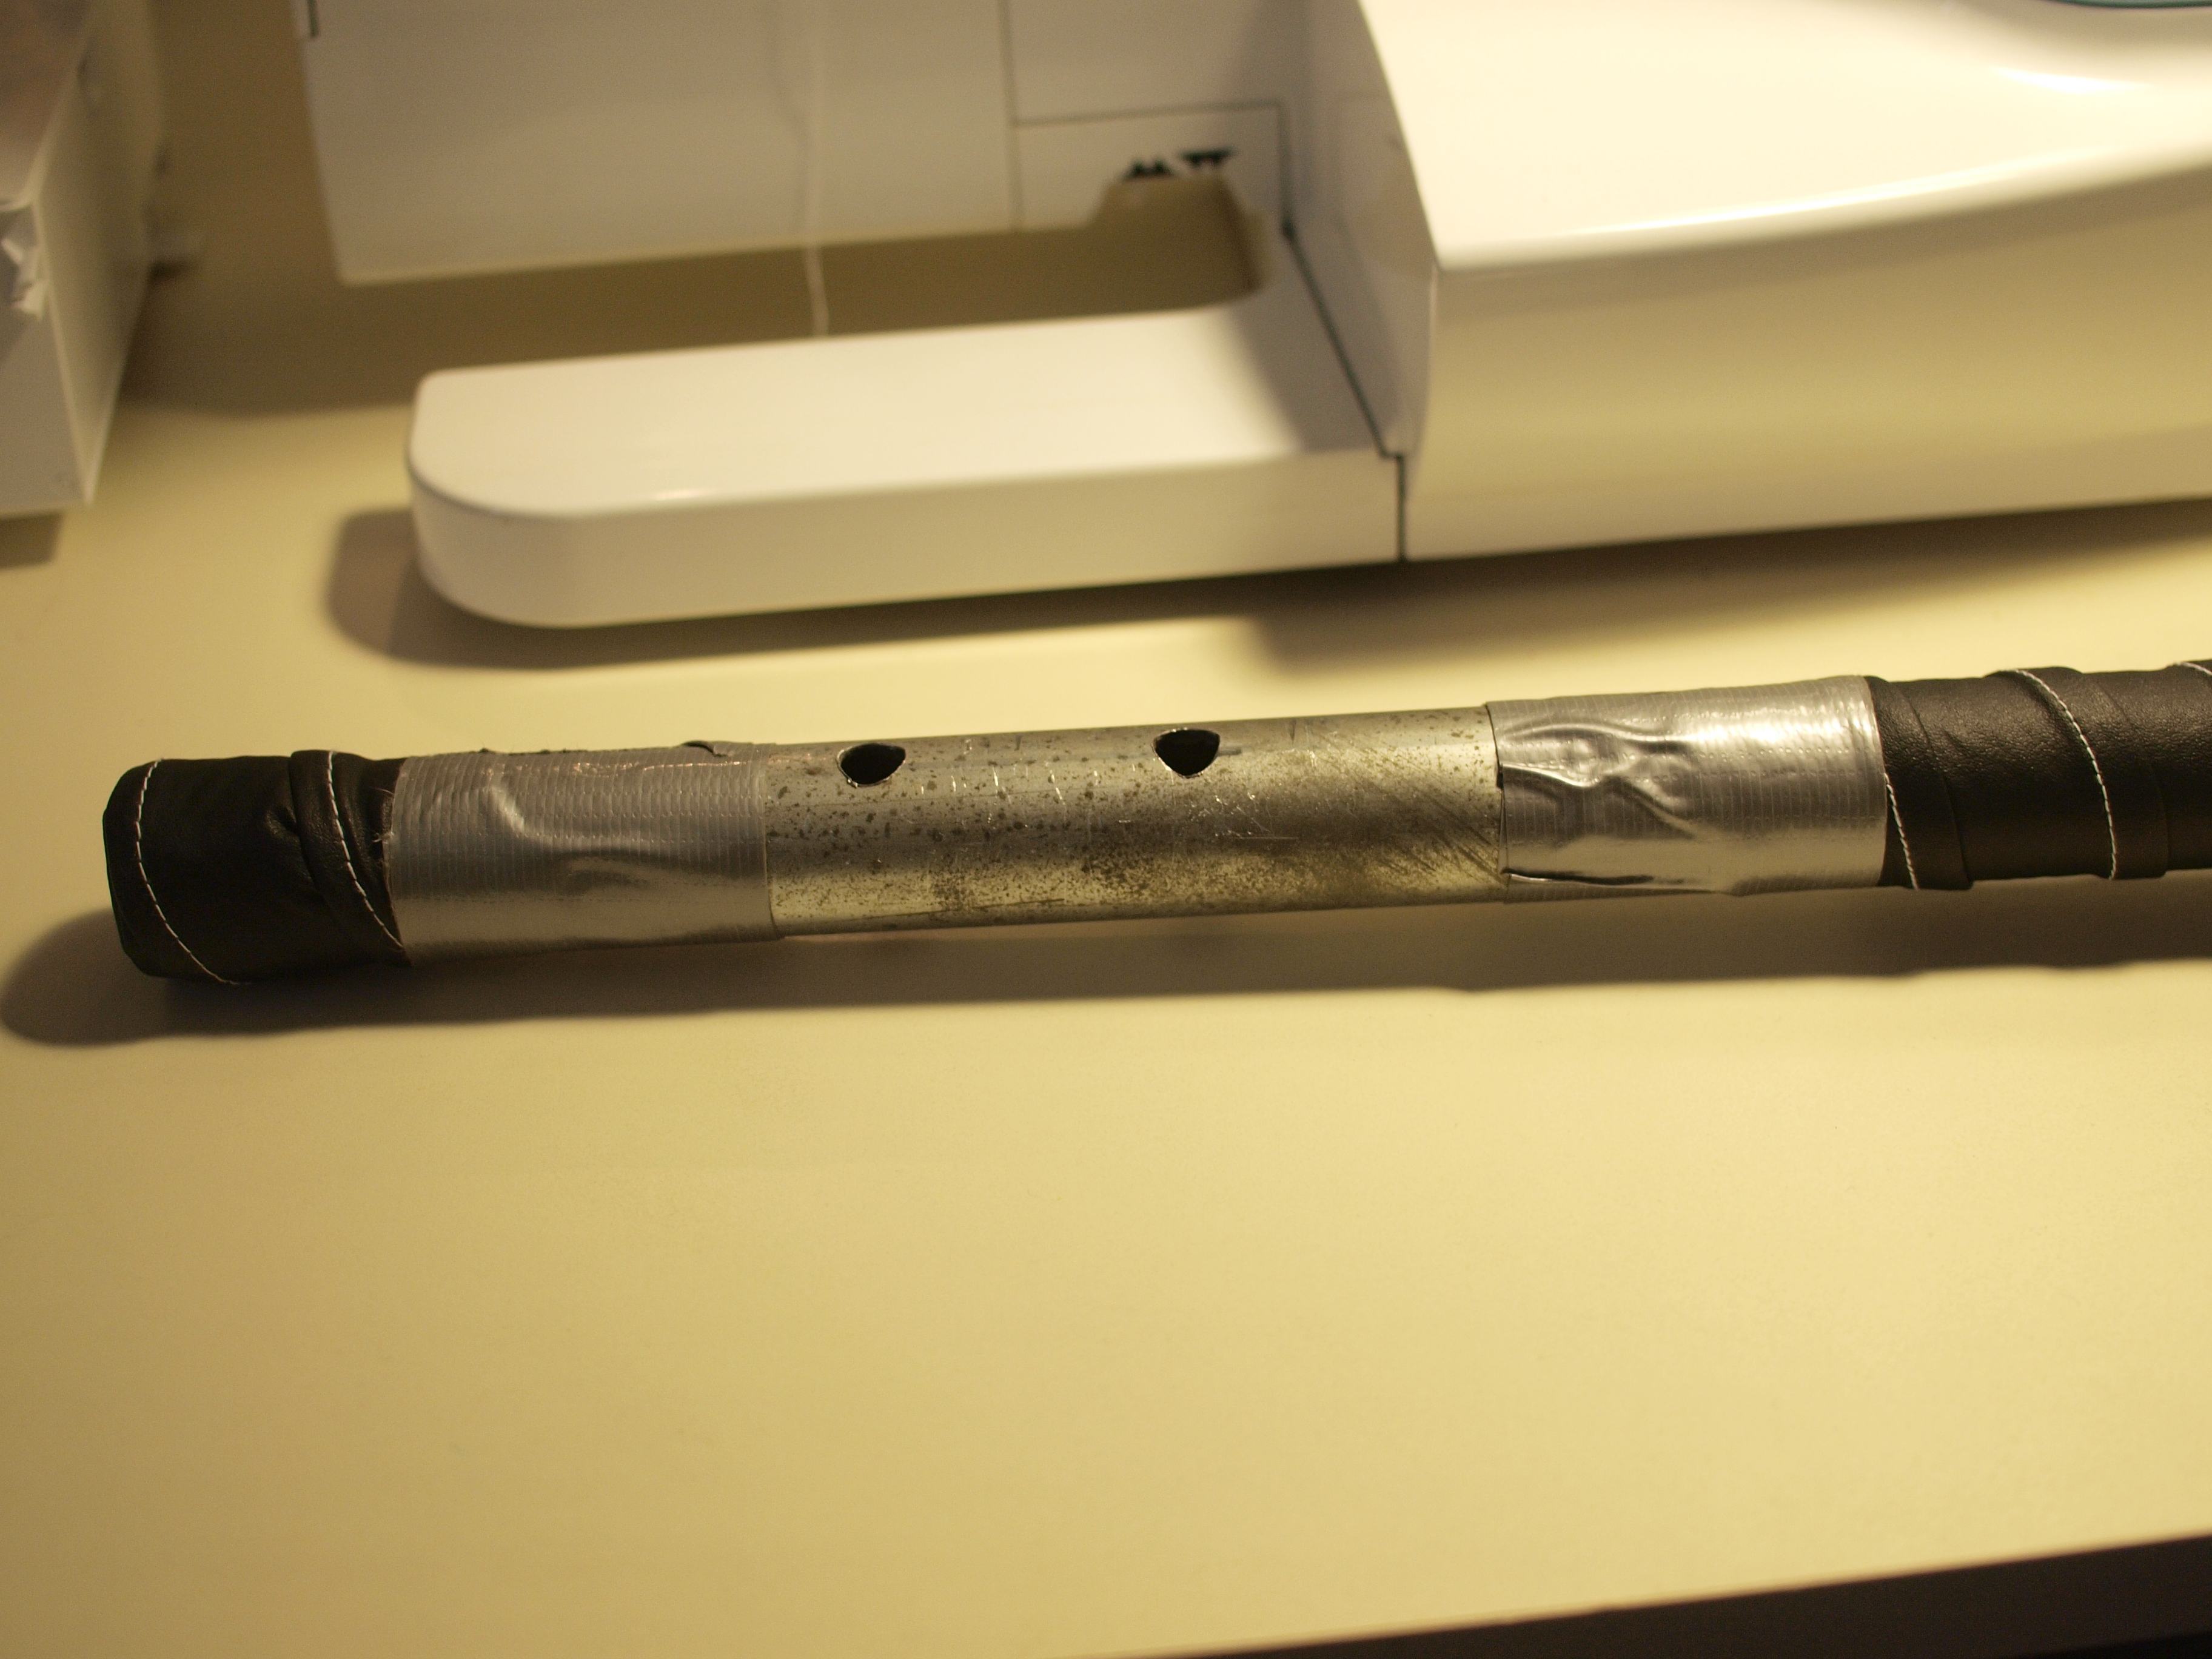
Cover the end with Duct Tape… yes.. it fixes everything!
Cover with the small square piece and hold it in place with tape.

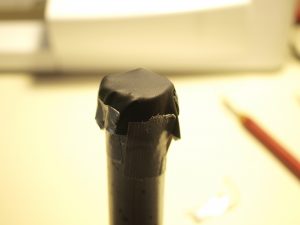
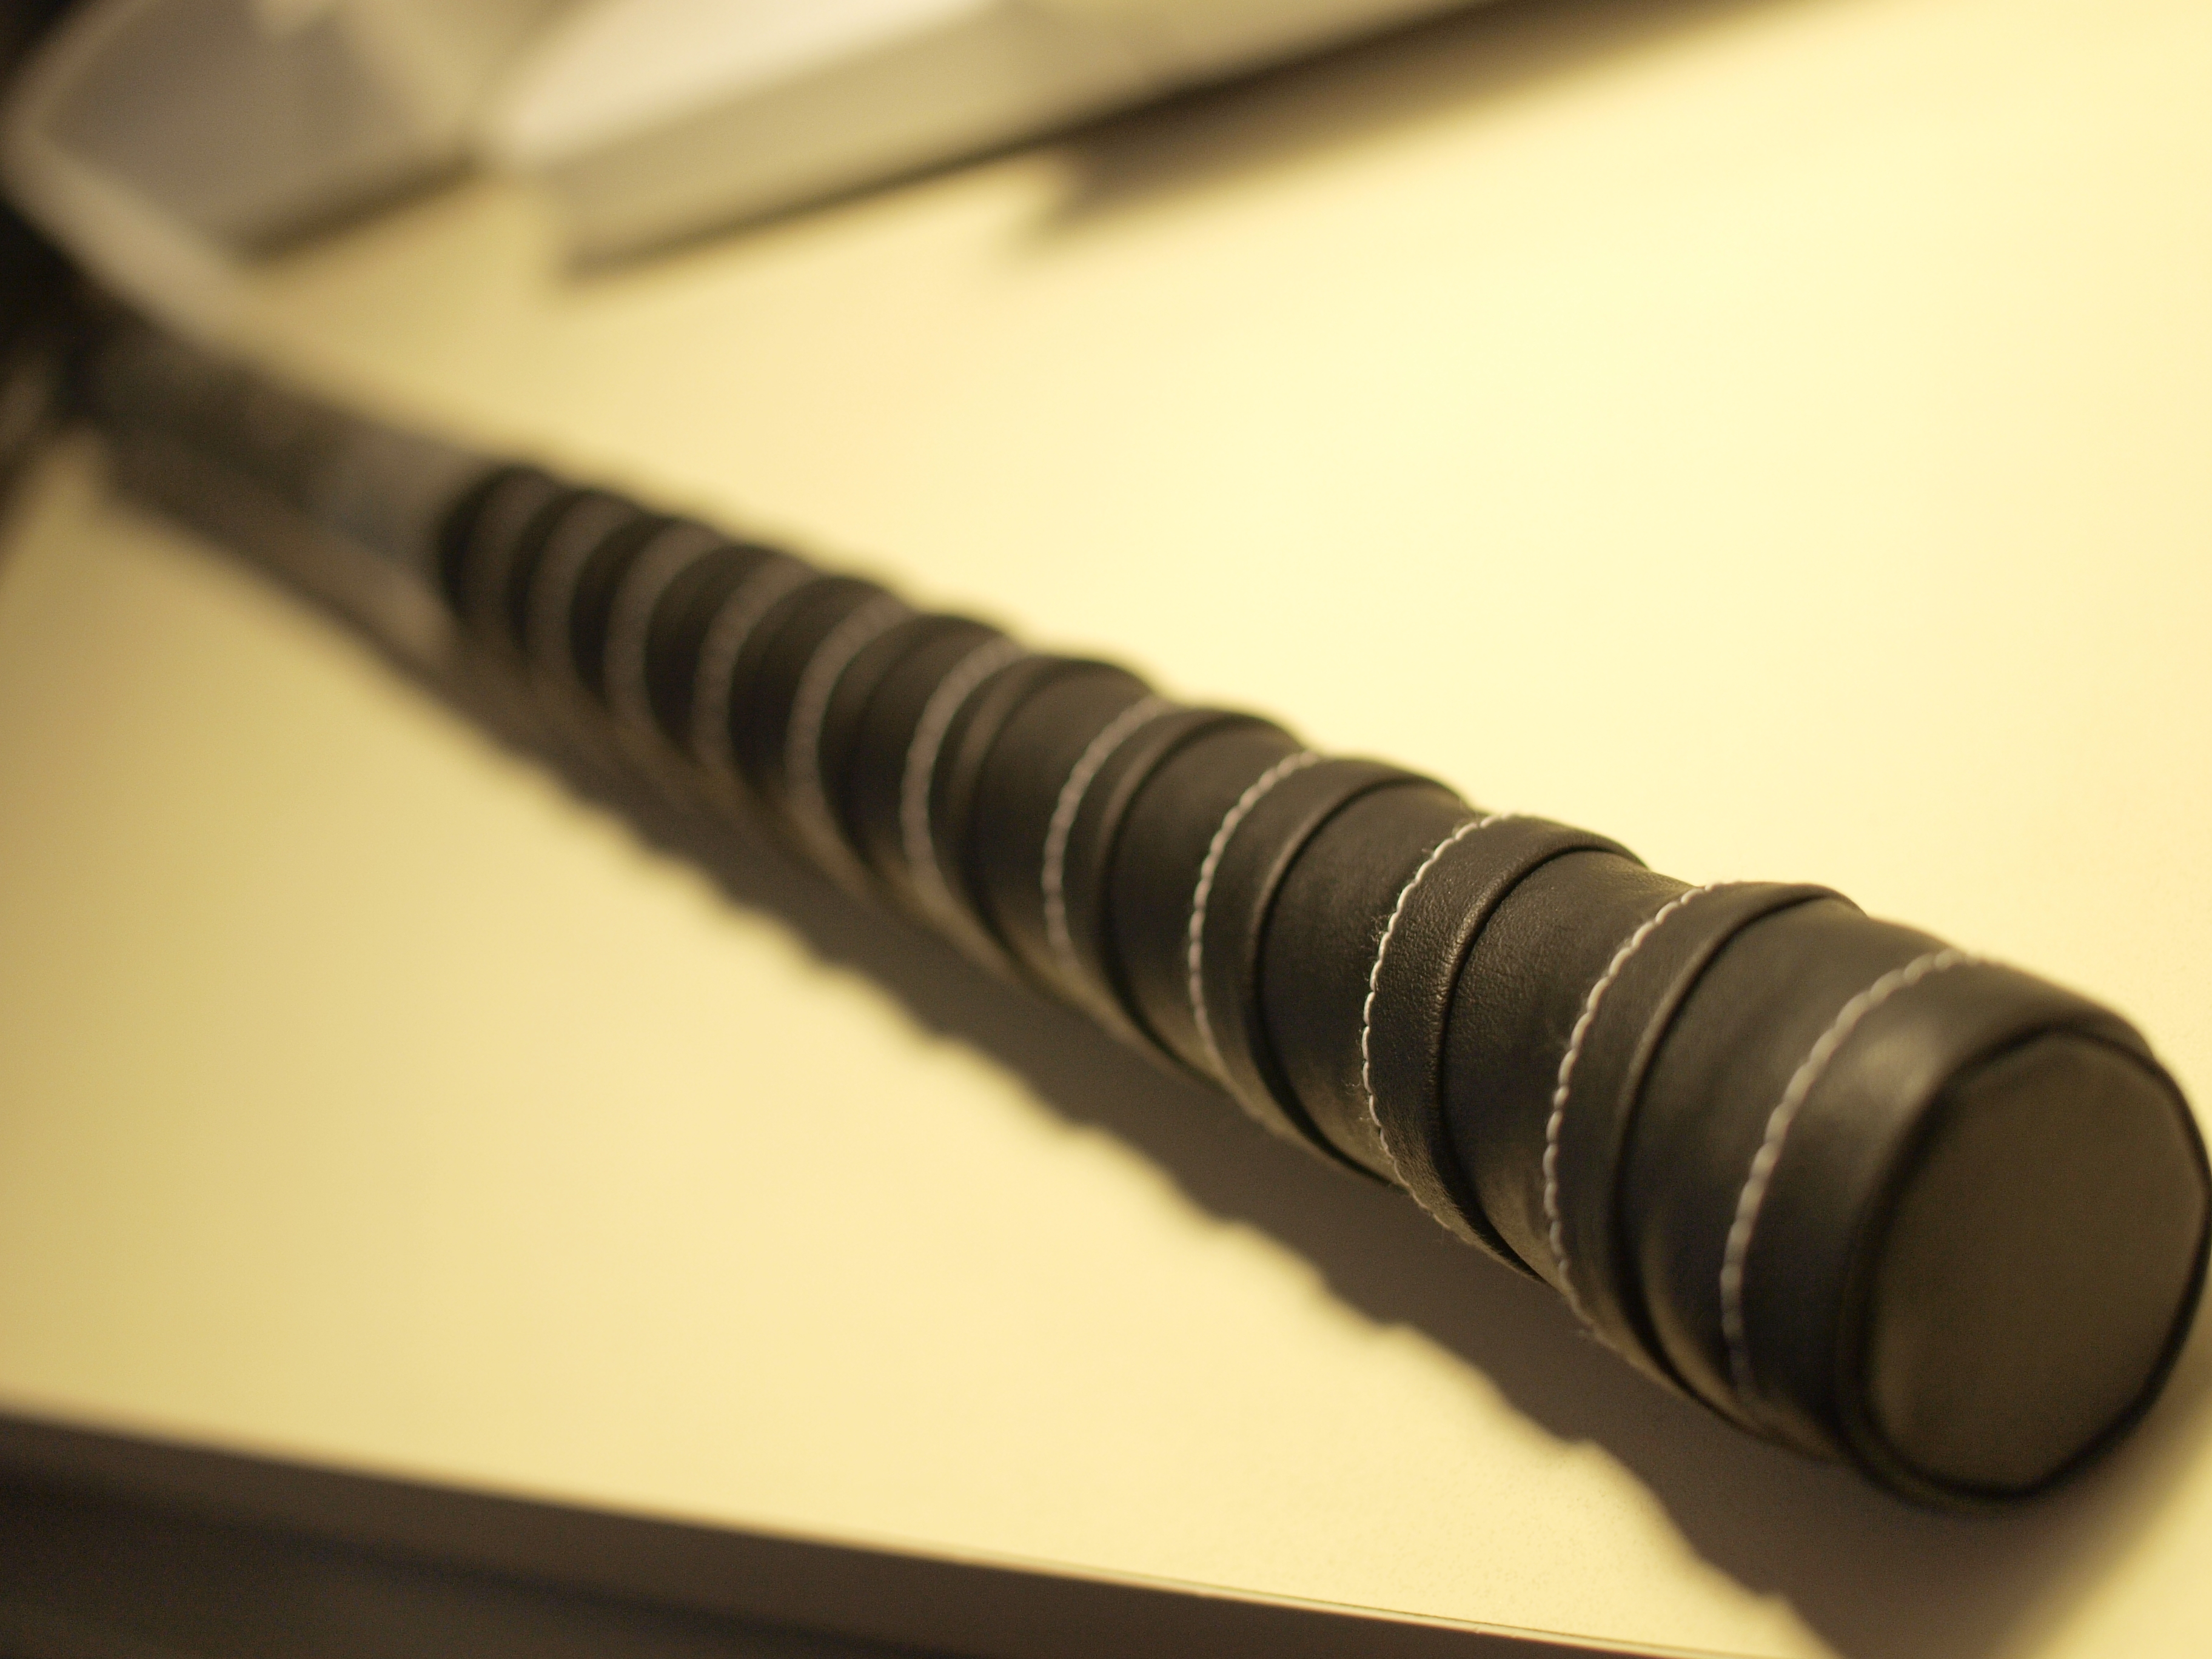
Wrap the rod with the strip. Keep it tight.
Wrap both end, and then hold it in place with duct tape.
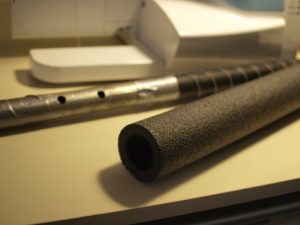
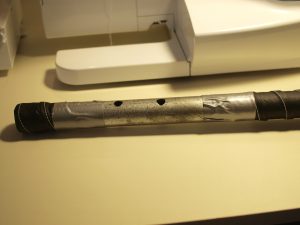
Cut a insulation form tube to one foot, place on the rod, use double sided form tape to keep it in place - Now it’s ready to be mounted! it will take a little while before the form pad settles.
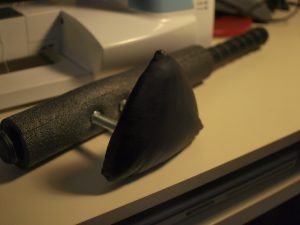
All you need is to attach a camera mount for bike.


This whole thing takes me 3 to 4 hours. If anyone would like, I can make one. Material cost is somewhere around $10. So make me an offer. What does 3-4 hours of labor worth for you?