Since we started owning our first highlander back in 2006, we had some issues with brake rotor glazing especially when we take a long haul through mountains on the way to the east coast, or when we have our biannual Colorado visit with full passengers and tons of luggages. The symptom is something often misdiagnosed as warped rotors; vibration under braking. It happens when the brakes are used under heavy load and exceeded their optimum temperature range. Brake pads melt, and glaze over the rotor and that causes vibration.
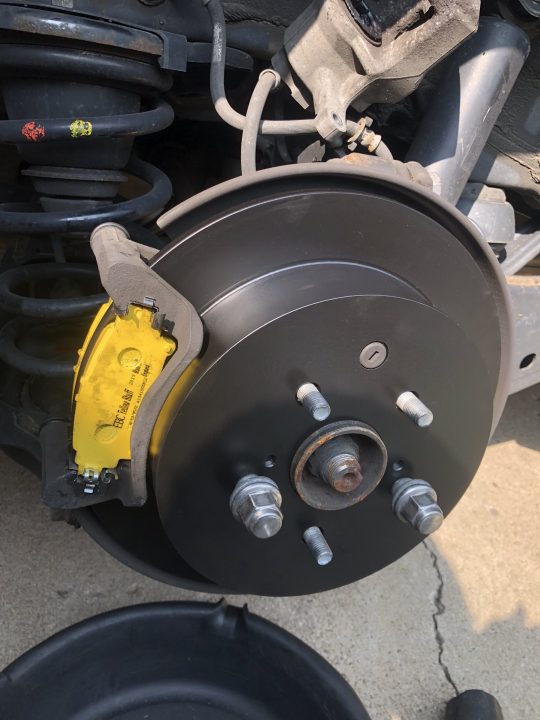
Though you can find tons of accessories for the Highlander any days, it’s not easy to find any performance upgrade for the car. Of course, it’s a family hauler, not a tow vehicle or a race car… After an extensive search only “performance” options I could find was the EBC (aside from paying over $1000 just for pads to order custom made towing pads). Their selection include Ultimax (OE replacement), Green Stuff (Spirited Driving pads), Yellow Stuff (racing pads!), and Extra Duty (towing vehicle). After long debate (by myself), I decided on the Yellow Stuff, for the High Temp range and the balance between the Wear Life/Noise, and the Price… They are not cheap, and wears quick both pads as well as rotors, but I never had any glazed rotors issue ever since, and most importantly, they stops the heavy highlander on dime!
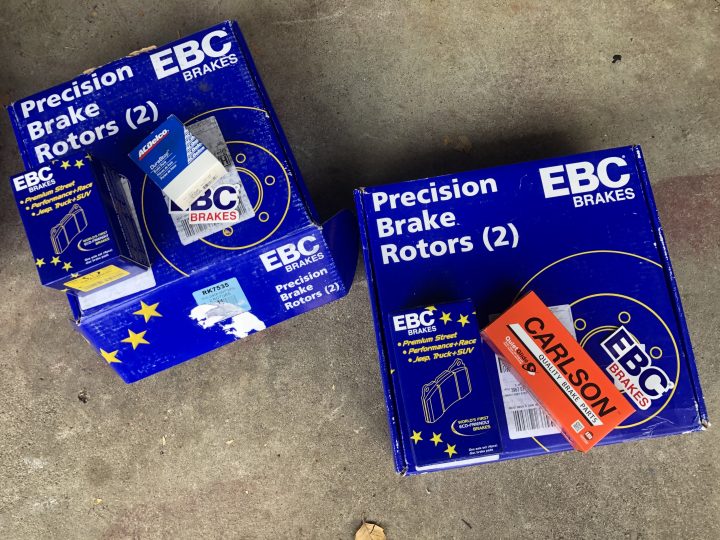
Here are the parts I ordered this time (I only changed the rear, but ordered full set as I will need the front at some time soon…)
- Front Pads/Rotors set: https://amzn.to/366V71W
- Front Hardware: https://amzn.to/3kL1wDY
- Rear Pads/Rotors set: https://amzn.to/308JeVd
- Rear Hardware: https://amzn.to/3kGzjOy
You will also need:
- Your favorite Brake Cleaner: https://amzn.to/368ySbY
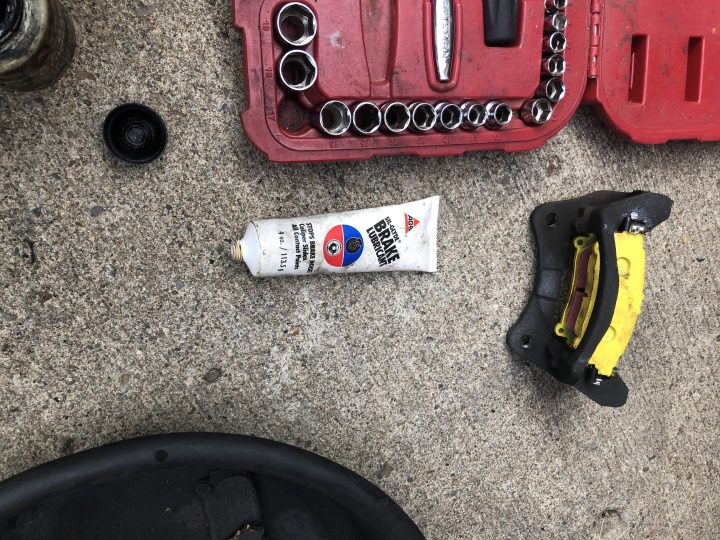
- Brake Grease: https://amzn.to/2RZiuC8 (my current favorite)
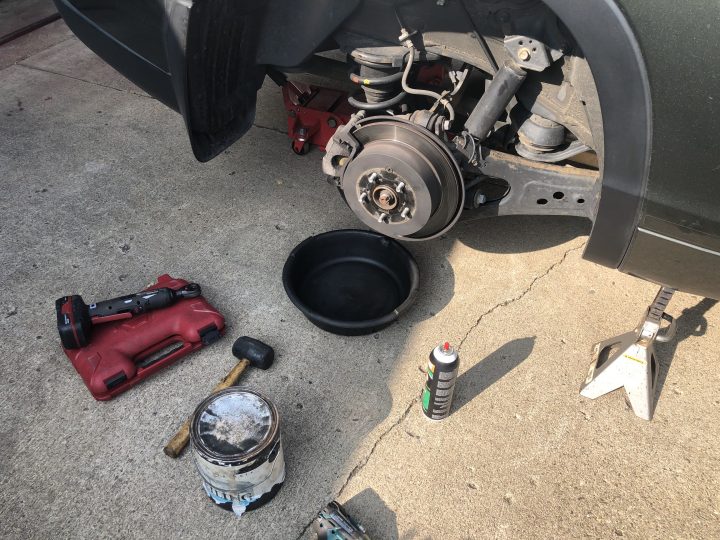
For rear rotor and pads change, you will need:
- Jack / Jack stands (Do NOT ever work under car without Jack stands!)
- 21mm impact socket / impact wrench (to remove wheels)
- BIG C-clamp
- 14mm and 17mm sockets, wrenches, etc
- Trusty Rubber Mallet
- Wire Brush
Step by steps (only for the rear this time)
- Jack up the Car, place on jack stands, and remove wheels (if you are not using impact wrench, make sure to loosen the lug before you completely get the wheels off the ground)
- Inspect tires (for nails, uneven wear, etc), all the suspension components, brake lines, etc to make sure everything is in good condition
- Always work one side at a time! If you press caliper piston on one corner while another piston is not placed on the rotor, it will push the piston all the way, and you will end up with huge headache! Yes I have seen someone did that before… and if you are reading, you know who you are… 😉
- Place C-Clamp over brake caliper (on backside) and brake pad (in front), and slowly squeeze to compress the caliper. It would be the best practice if you open bleeder valve and let the pressure escape instead of pushing it back to the brake lines, but well, I was lazy and I didn’t do so…
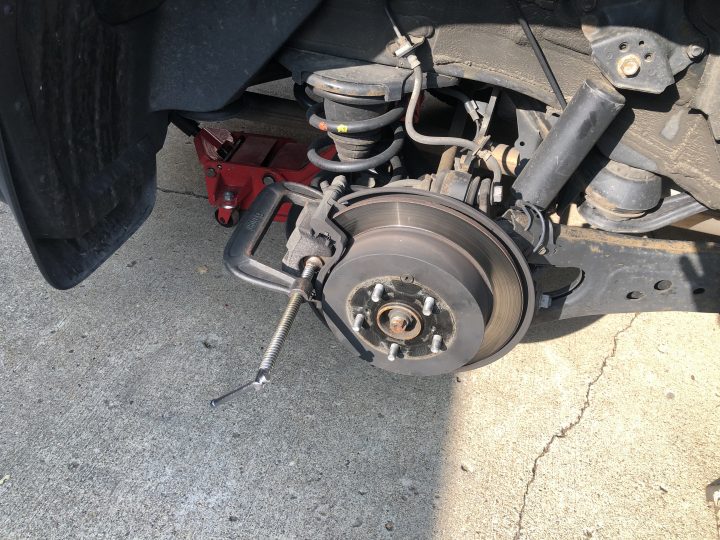
- Loosen two 14mm bolts to remove the caliper.
- Pay attention to the rubber seal around the caliper piston, and try not to pinch it, push caliper piston all the way in using old brake pads and c-clamp (make sure that the brake fluid reservoir is not full, otherwise you will have mess in your engine bay…)
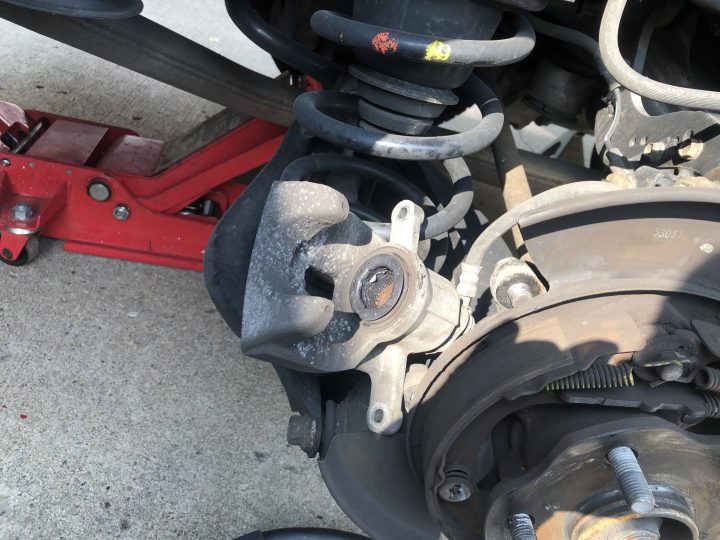
- Place the caliper on top of the control arm, while be careful not to stress the brake line
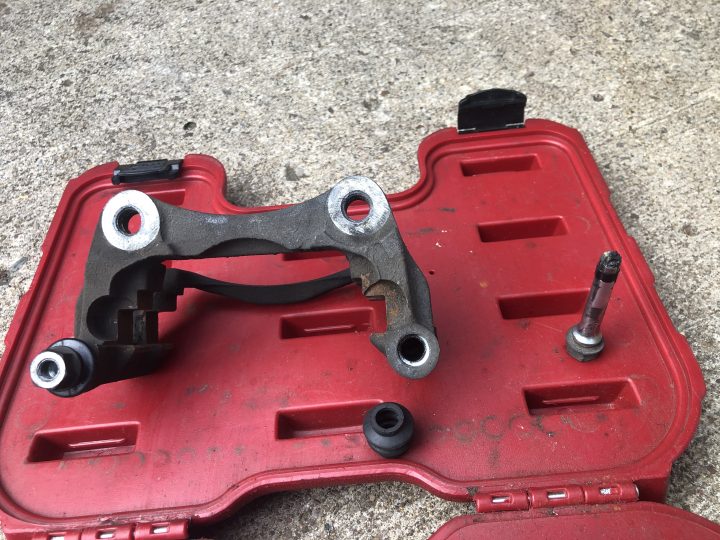
- Remove two 17mm bolts to remove the caliper bracket
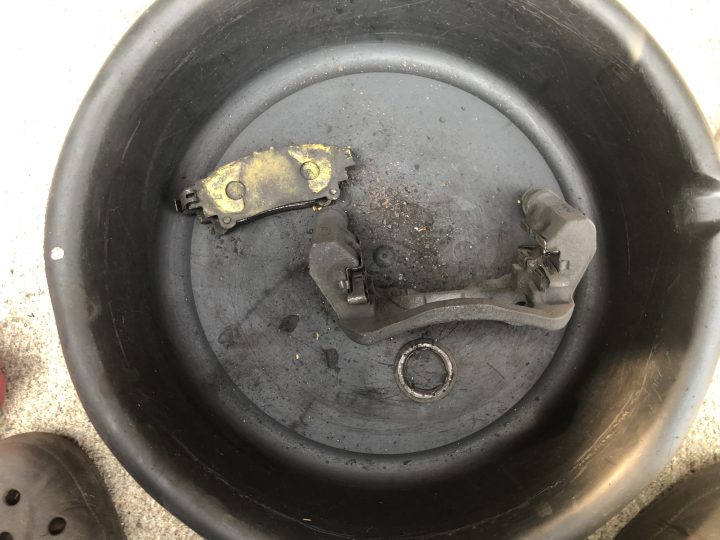
- Use wire brush, clean off any brake dusts and old grease, grime etc, and then wash it off with brake cleaner.
- Remove caliper pin, replace rubber boots (included in the hardware kit), clean the pin and re-grease and reinstall.
- Install the brake pads shim. EBC uses this odd looking ring that installed on to the caliper piston, instead of a traditional shim.
- Assemble the caliper bracket with new hardware (with brake grease) and install new brake pads (with new wear indicator)
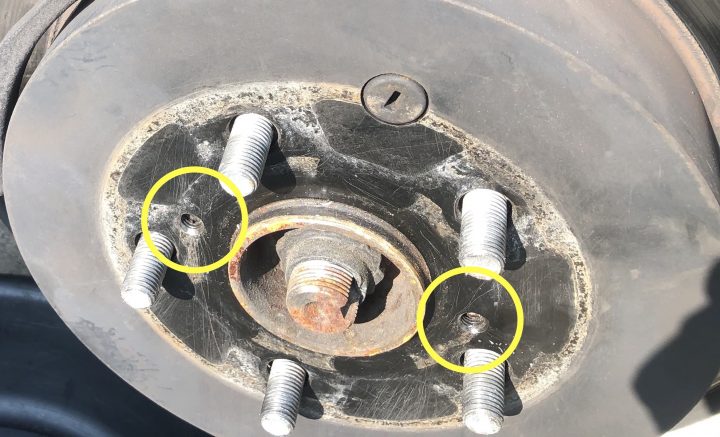
- Remove Rotor and install the new rotor. If your old rotor does not come off easily, first make sure you do not have the parking brake engaged, and then find a bolt that fits to these screw hole. You can insert the bolt to this and as you tighten, it will push the rotor off of the wheel hub.
- Install the caliper bracket
- Install the Caliper
- Install the wheels
- Repeat on the other side 🙂
Remember when you depress the brake pedal for the first time after pads change, it will go all the way to the floor. make sure to pump a couple times to get the caliper piston pushes all the way out to engage the pads to the rotors.
Follow the instruction on brake pads to complete the bed in procedure as well. the brake pads will not perform as it should, without a proper bed in process.
The front brakes are basically the same as the rear, except it has 2 pistons on each side. when you press the pistons in, make sure to press both piston at the same time (using old brake pads).
If you are working on a different car with disk brakes, the details may be different but general process is the same. Some models uses screw in type piston, and if that were the case, having a special tool makes it much easier to press the piston back in. Full kit like this (https://amzn.to/3309h2I)is nice, but I use this simple cube (https://amzn.to/33ZEhiH) for years and it’s been working great. You just need to twist the piston while you are pressing in.
Hope this DIY would be helpful if you’ve never done any brake jobs, but if you are not sure, ask your “car guy” friend to help you with it so that everything is done correctly. Wrongly installed brakes can cost you life, but if you know how to do it correctly, it will save you some money, and mostly, it’s good to work on your own car, and know about how it works and how to fix it.
*Disclaimer: I won’t be responsible for any damage to the car, injury or death caused by following or not following the instruction I posted in this article as well as any other DIY/instructions on this site.
I feel yellow is a bit on the dusty side especially for dailies
not just “a bit” dusty… it’s pretty bad… but the braking ability and fade resistance make the dusty wheel well worth it. 😉
I have them on my G37. It gets a bit better after 2k miles. The dust can be easily wiped away with a bit soapy water tho unlike conventional ferocious dust.
And yes especially with the pads being on the softer side… every time someone else drive my car the brake catches them by surprise: nothing, nothing, and then boom like hitting a wall.