I make this DIY in two sections. I made it step by step, and there are a lot of pictures. (Go to “DIY:Brake Job – Rear –“)
* About Brake Grease: I bought the CRC’s regular brake grease, and found it gets dried over time and seize the caliper pin. Was recommended to try the one without carbon, Verachem Synthetic Caliper Grease, so I’m giving it a try.
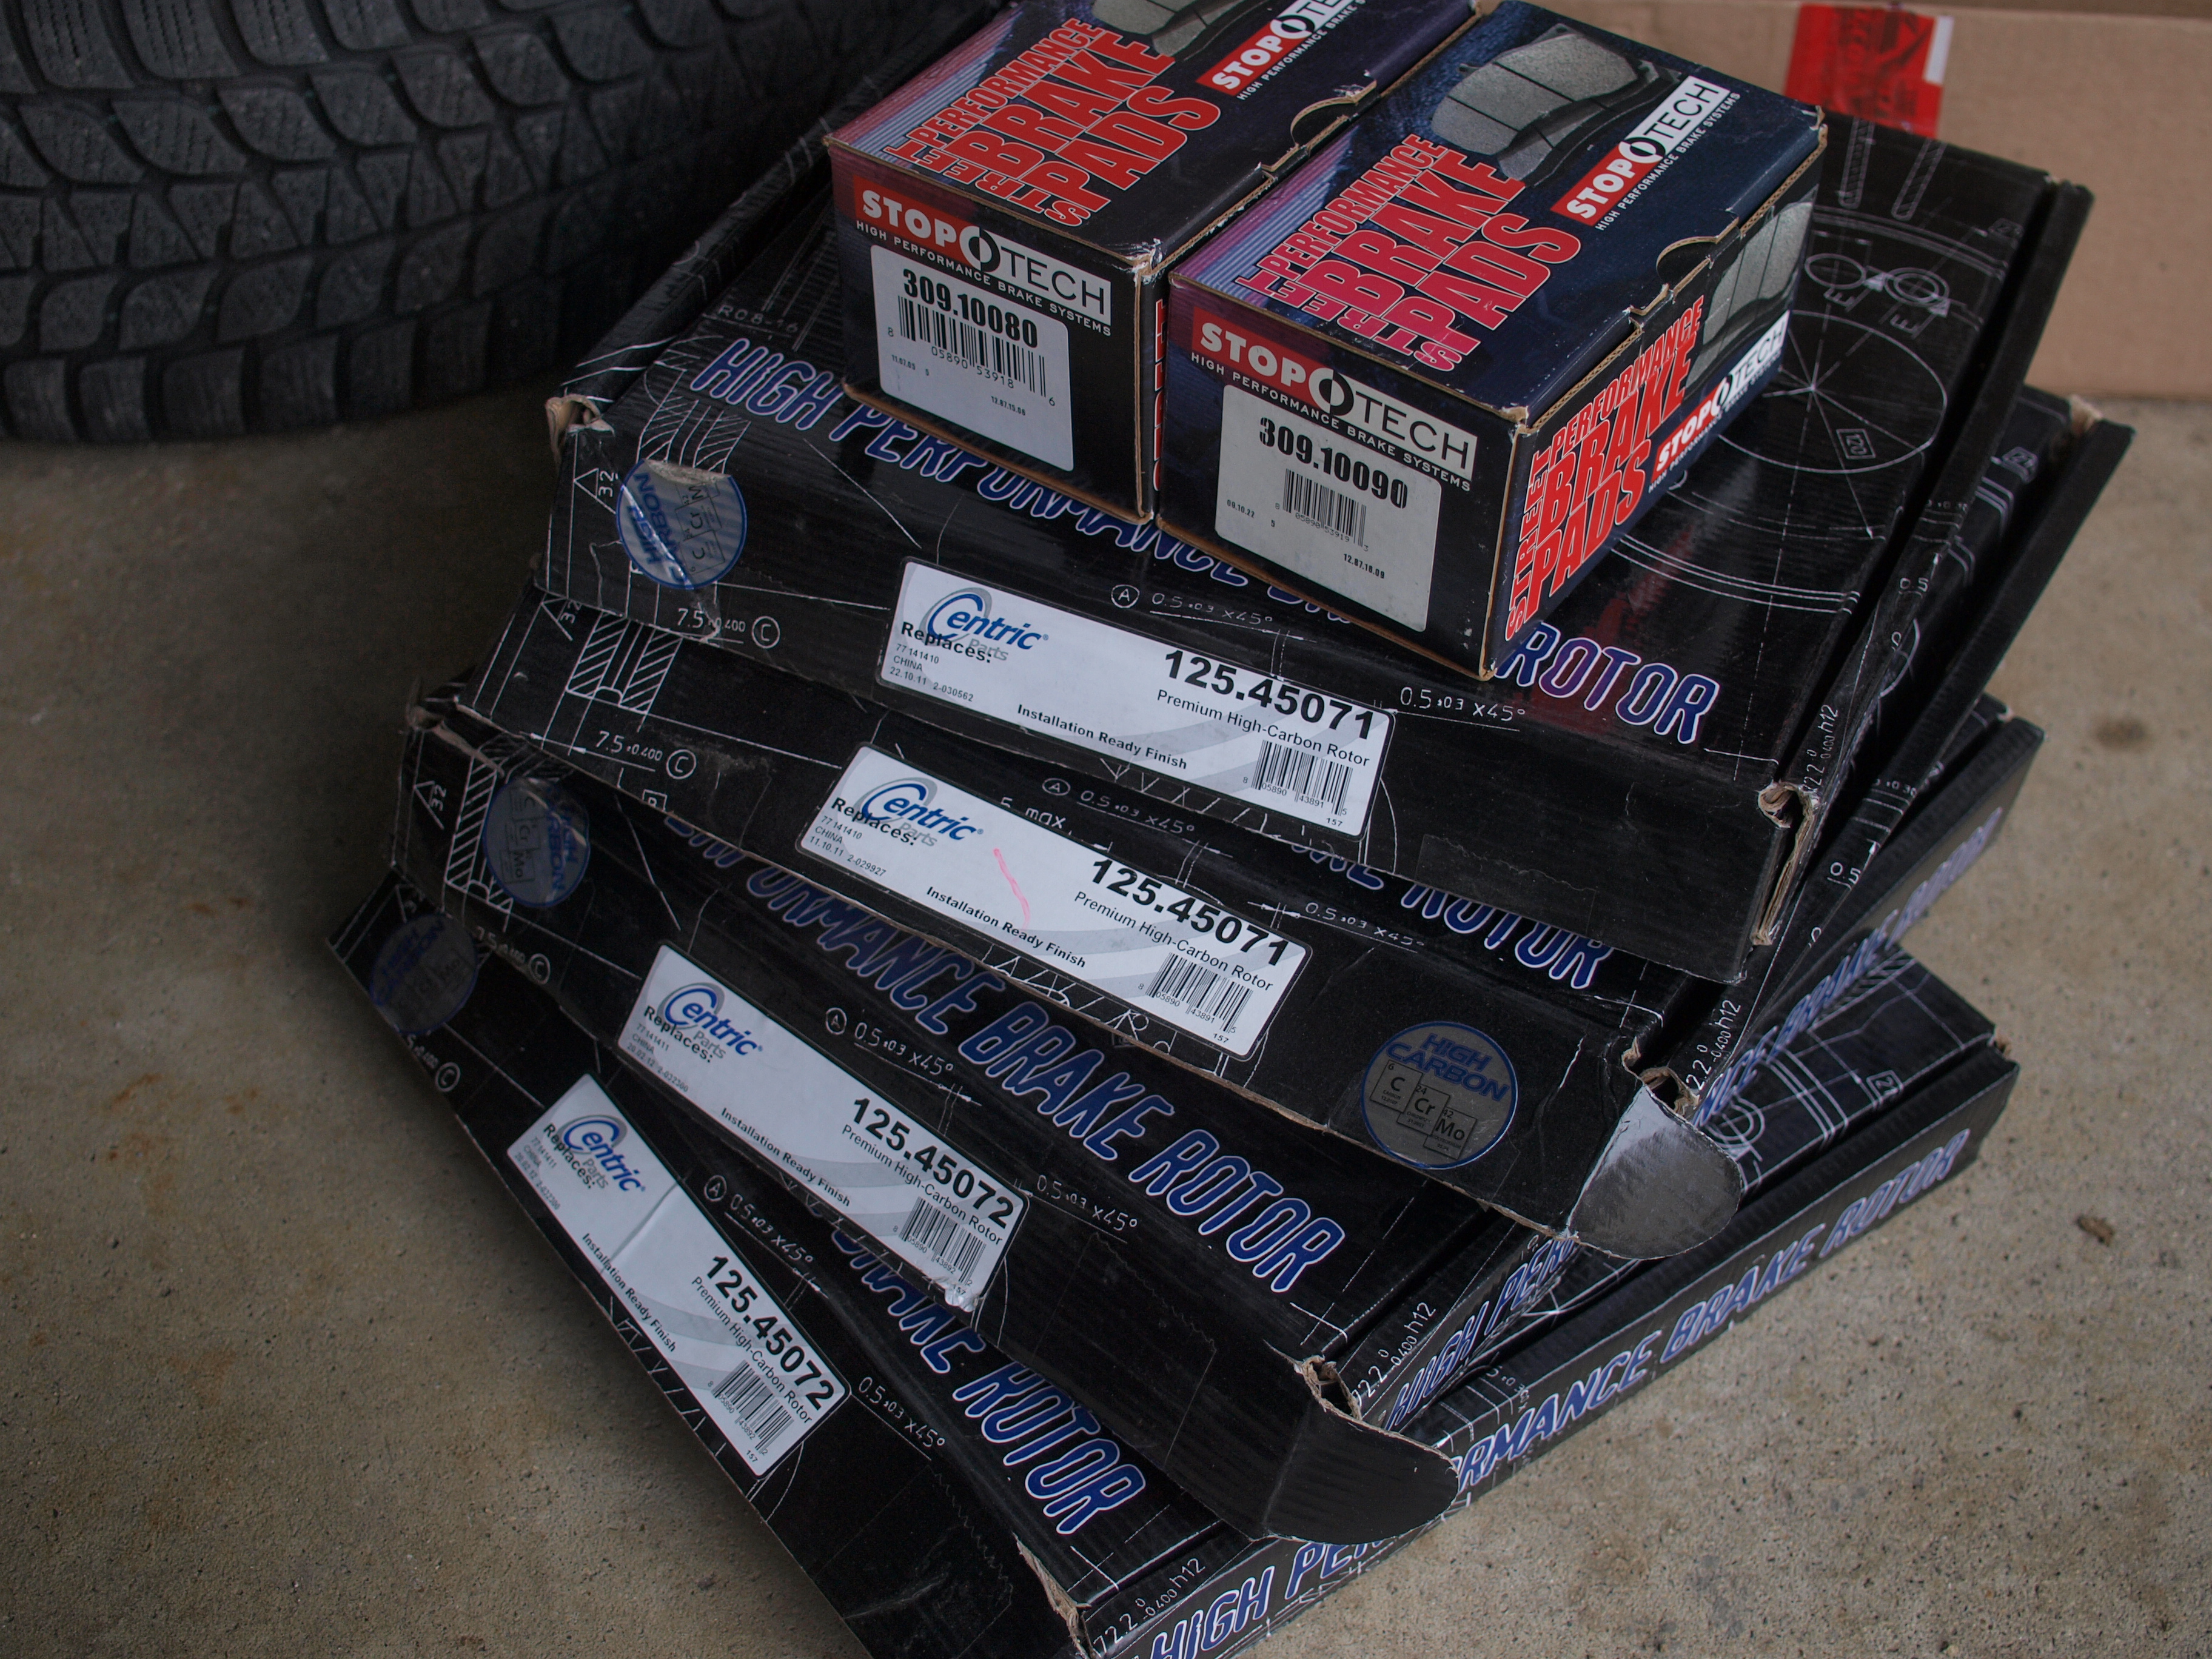
For RX8 w/ Sports Suspension,
125.45071(Rotors) & 309.10090(Pads) for Front.
125.45072 (Rotors) & 309.10080 (Pads) for Rear
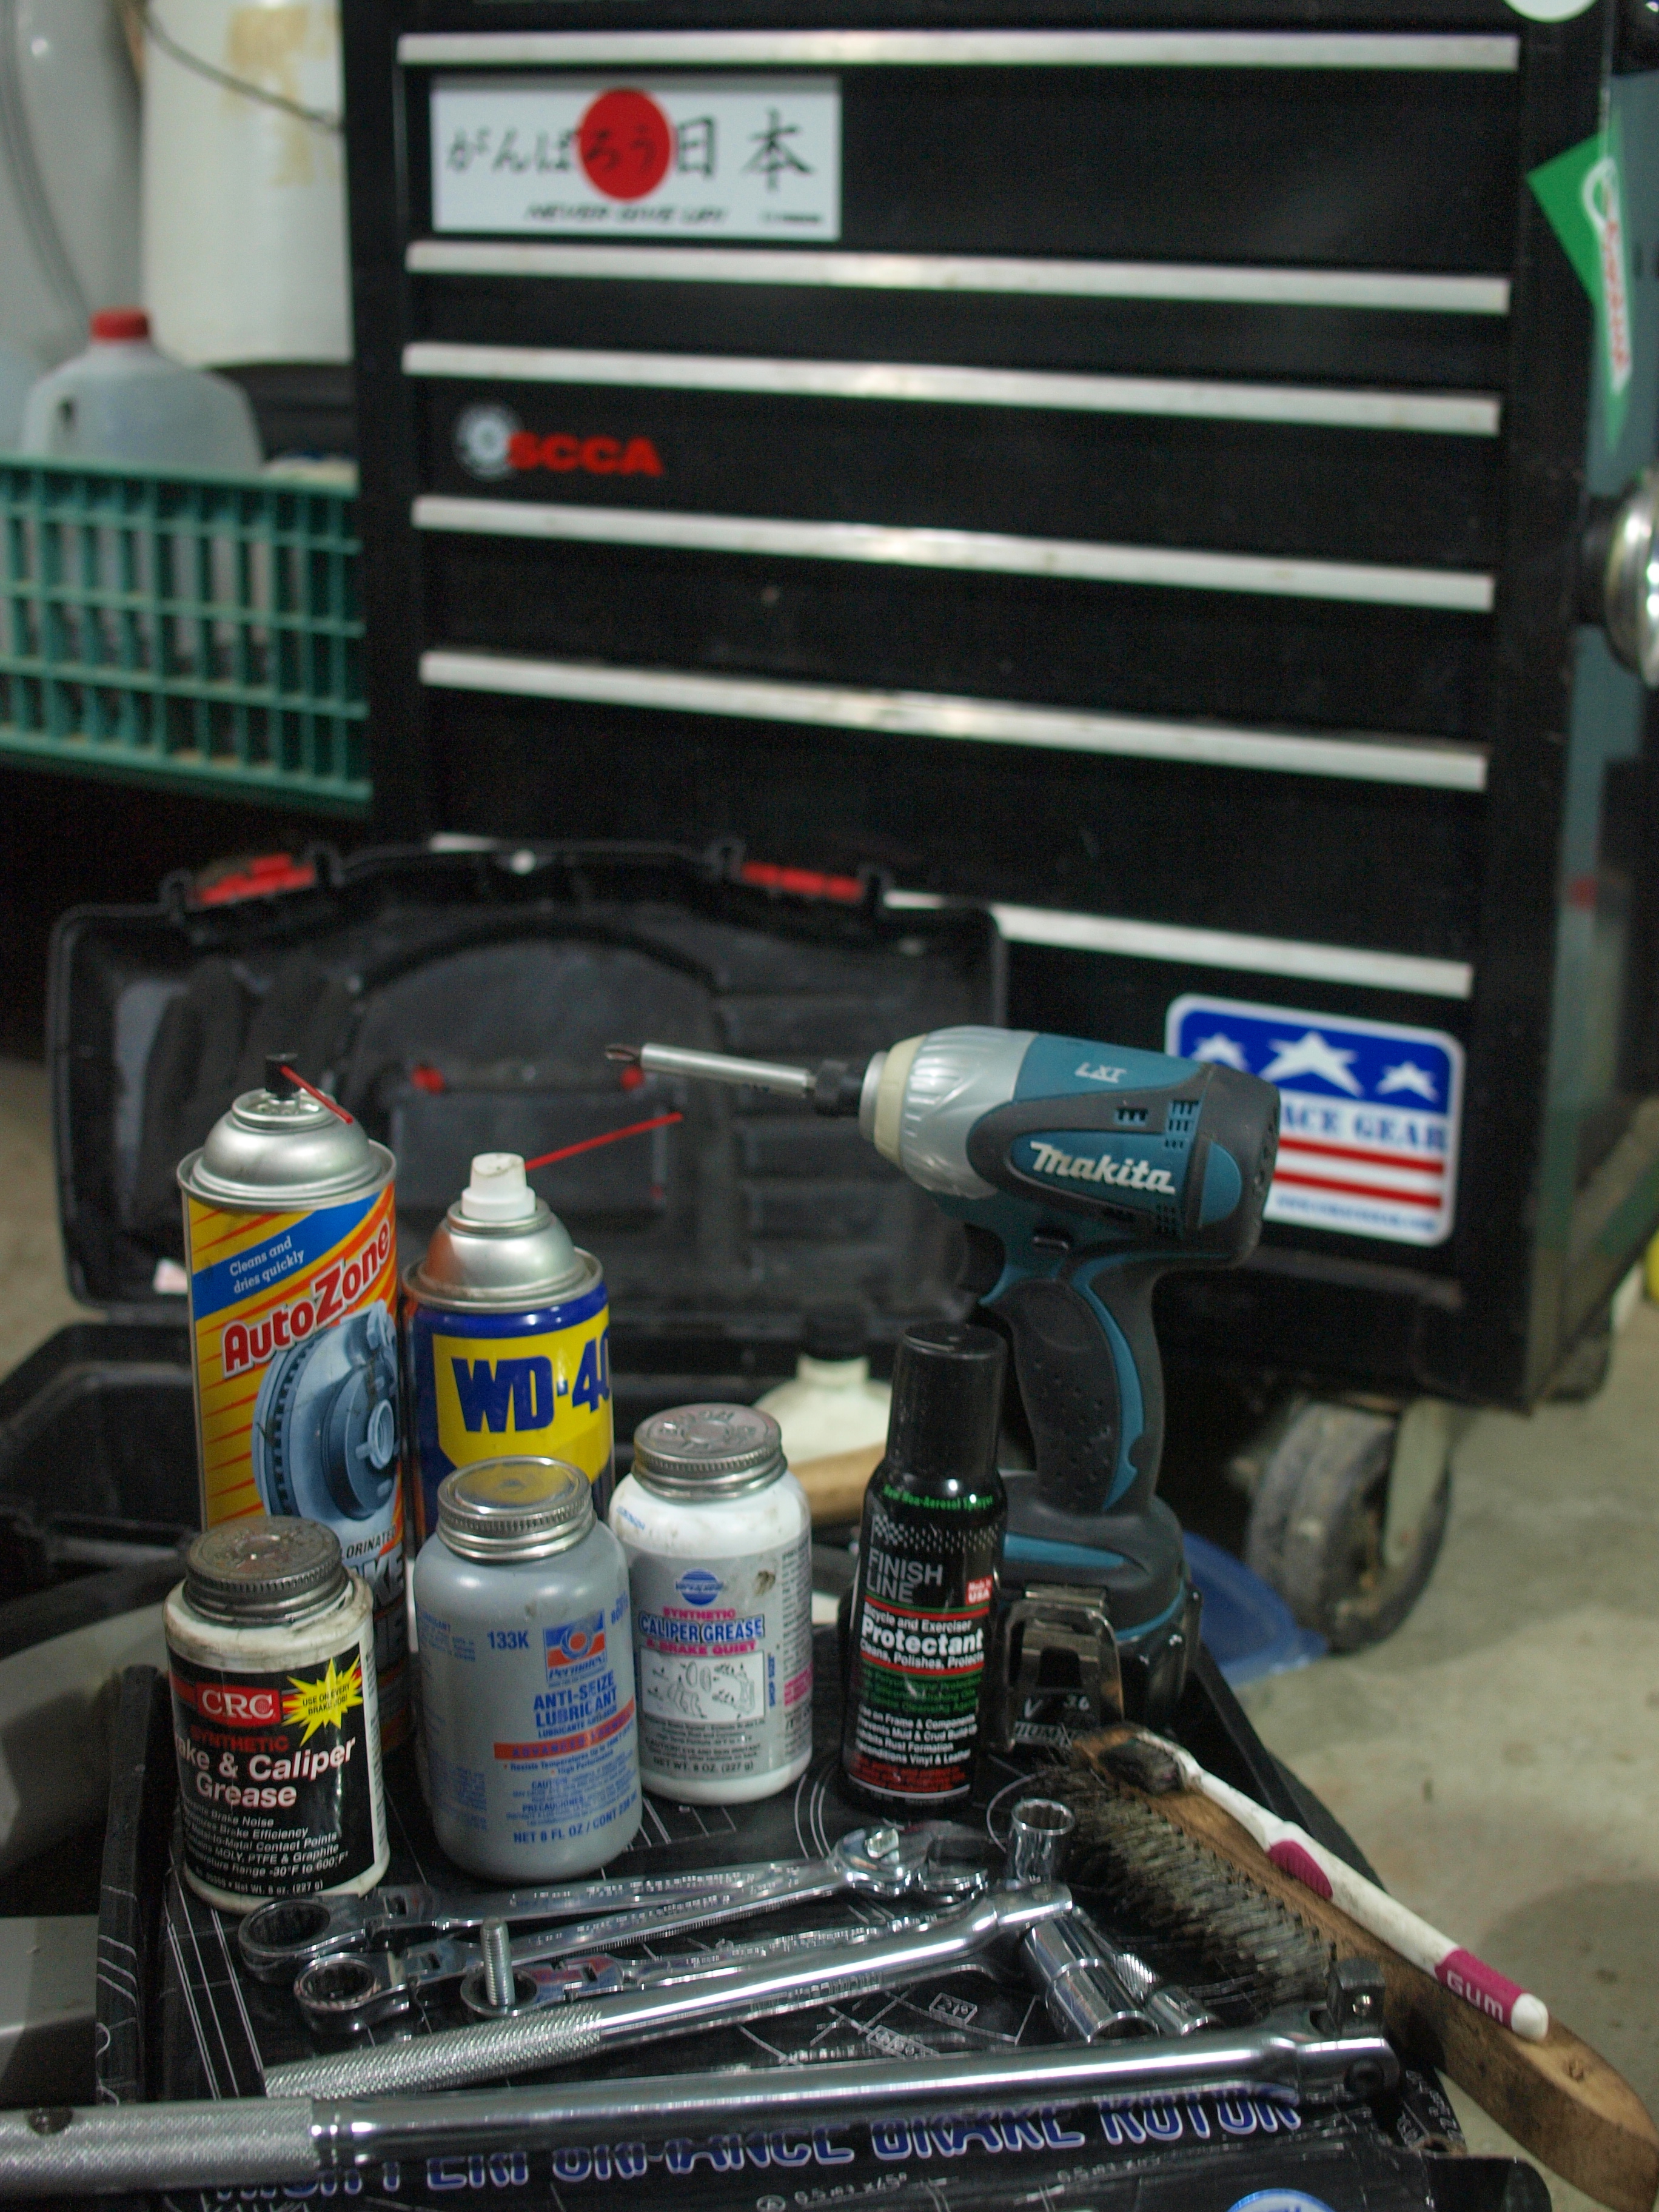
Things yon need for the Front Brake job:
- Parts:
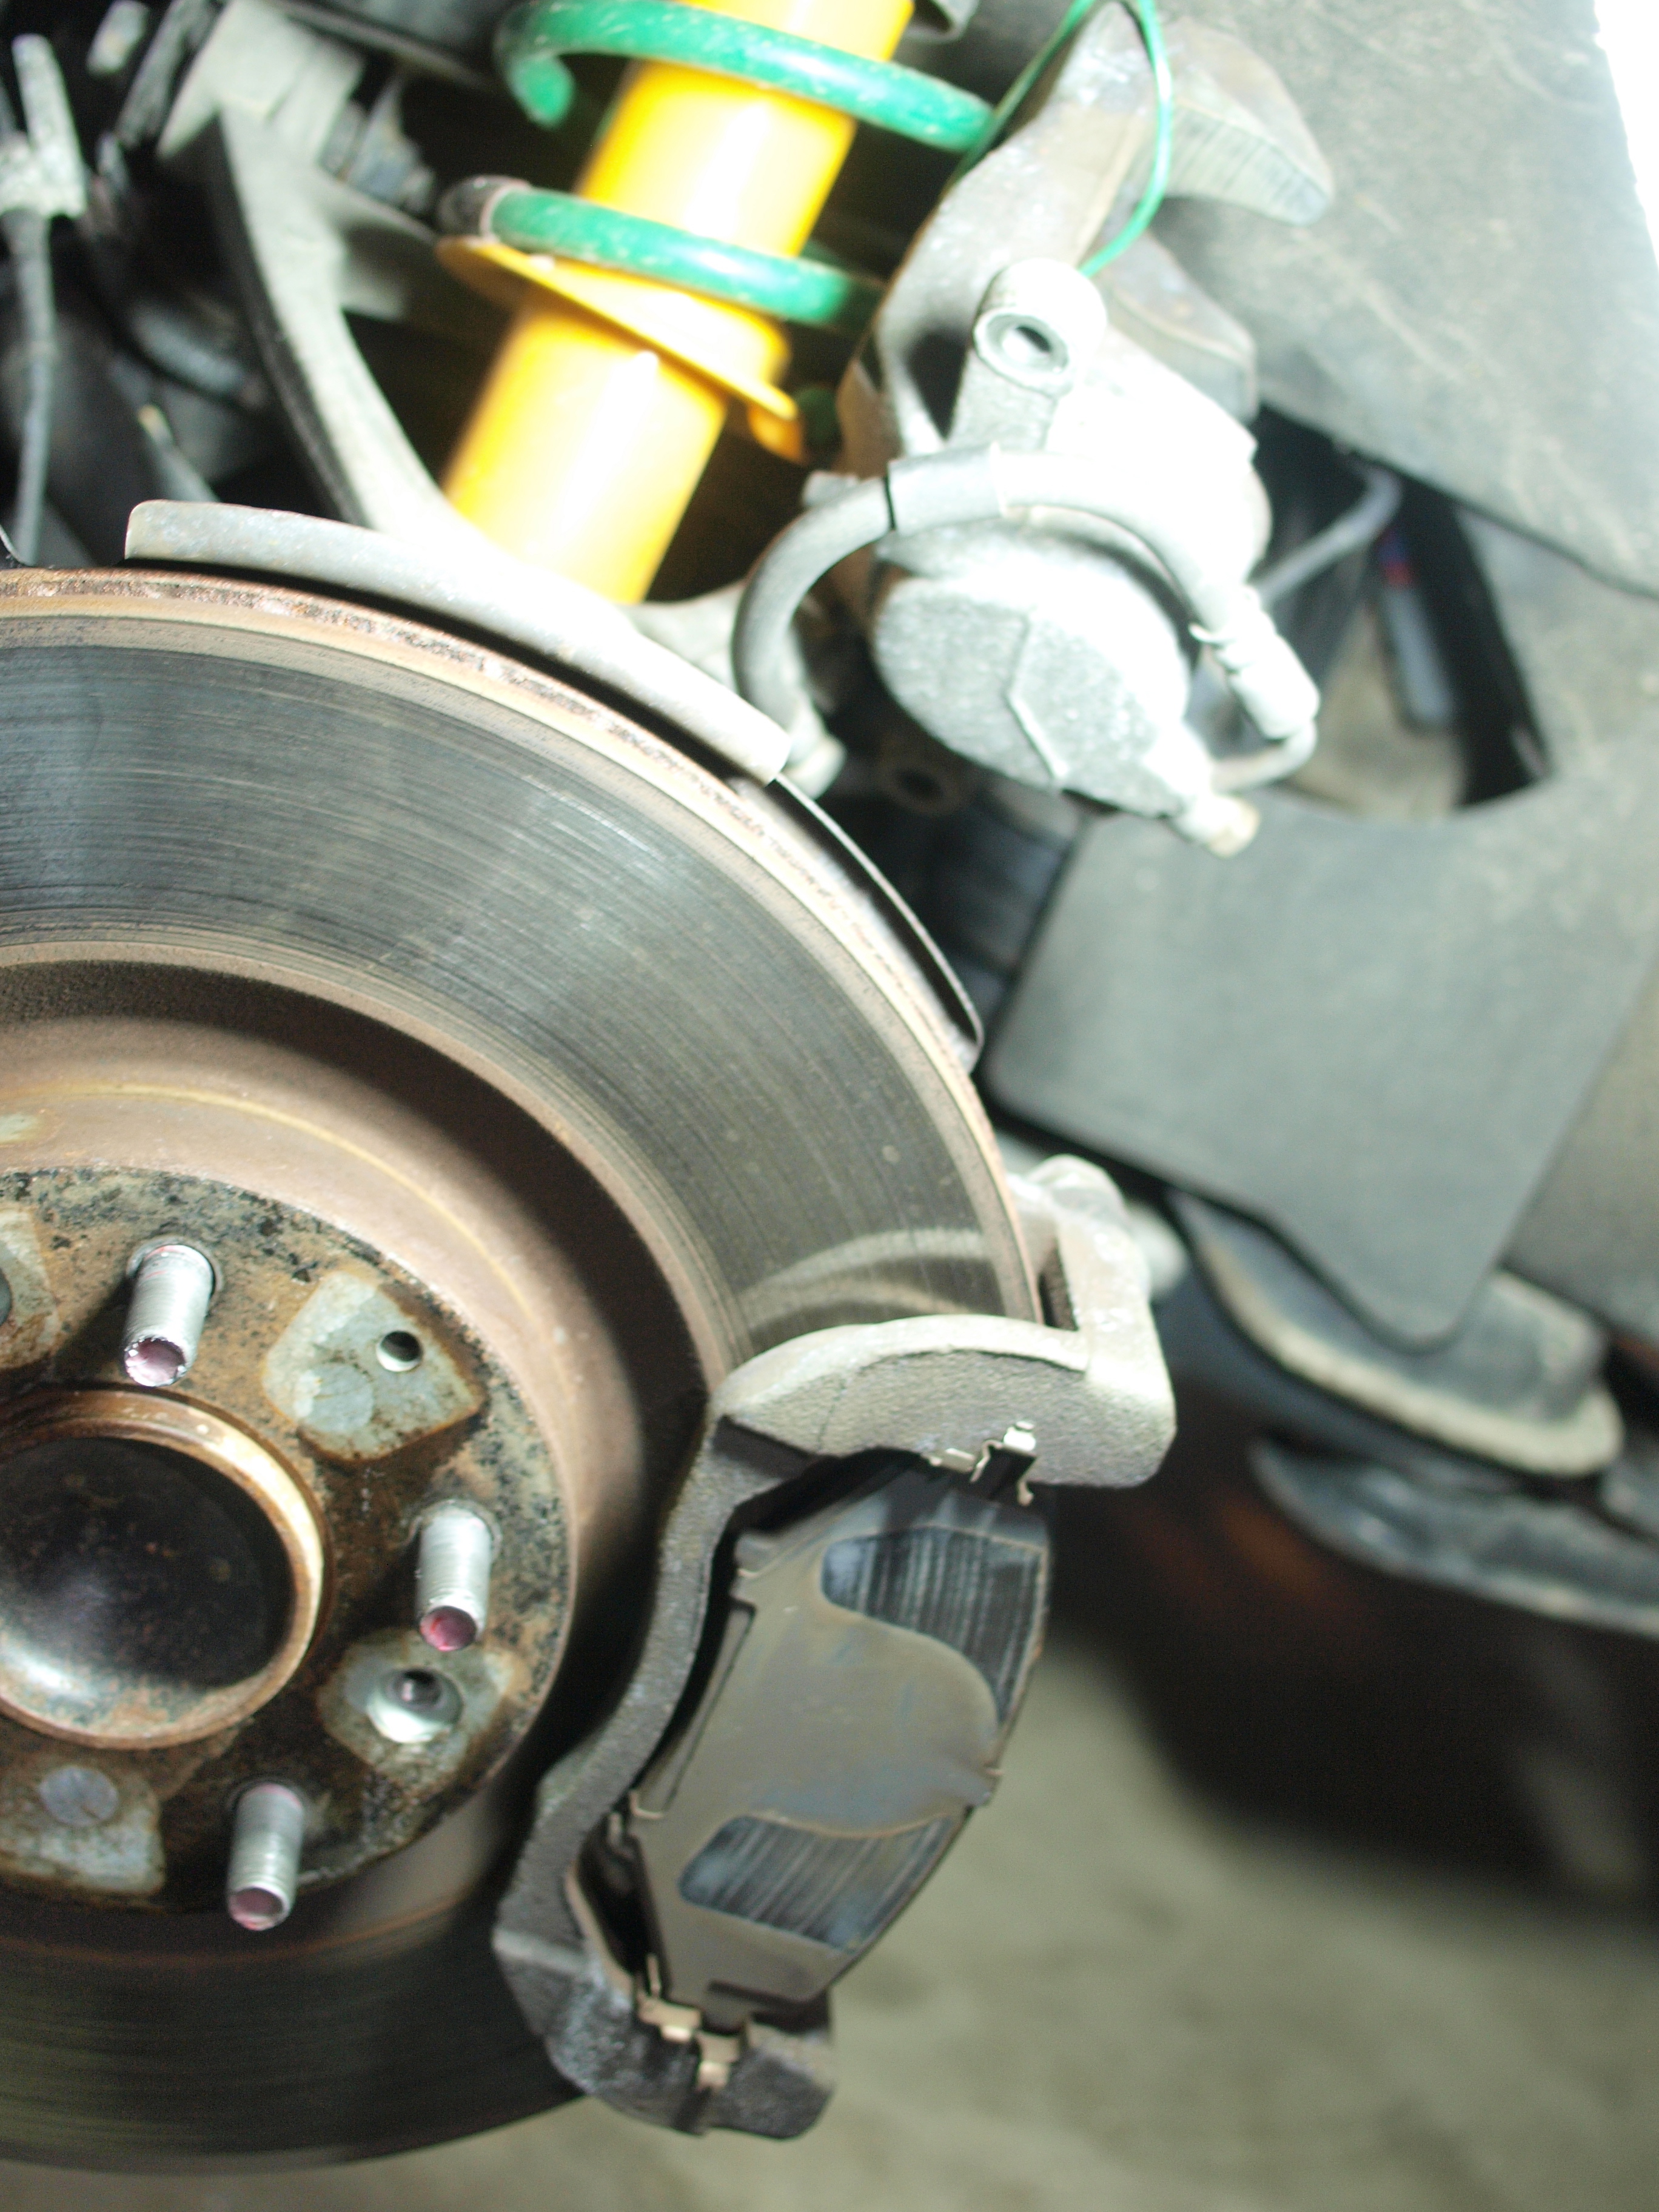
- Brake Rotors(There are two different kinds for standard and sports suspension:For RX-8
)
- Brake Pads (For Rx-8
- Brake Grease
- Brake Cleaner
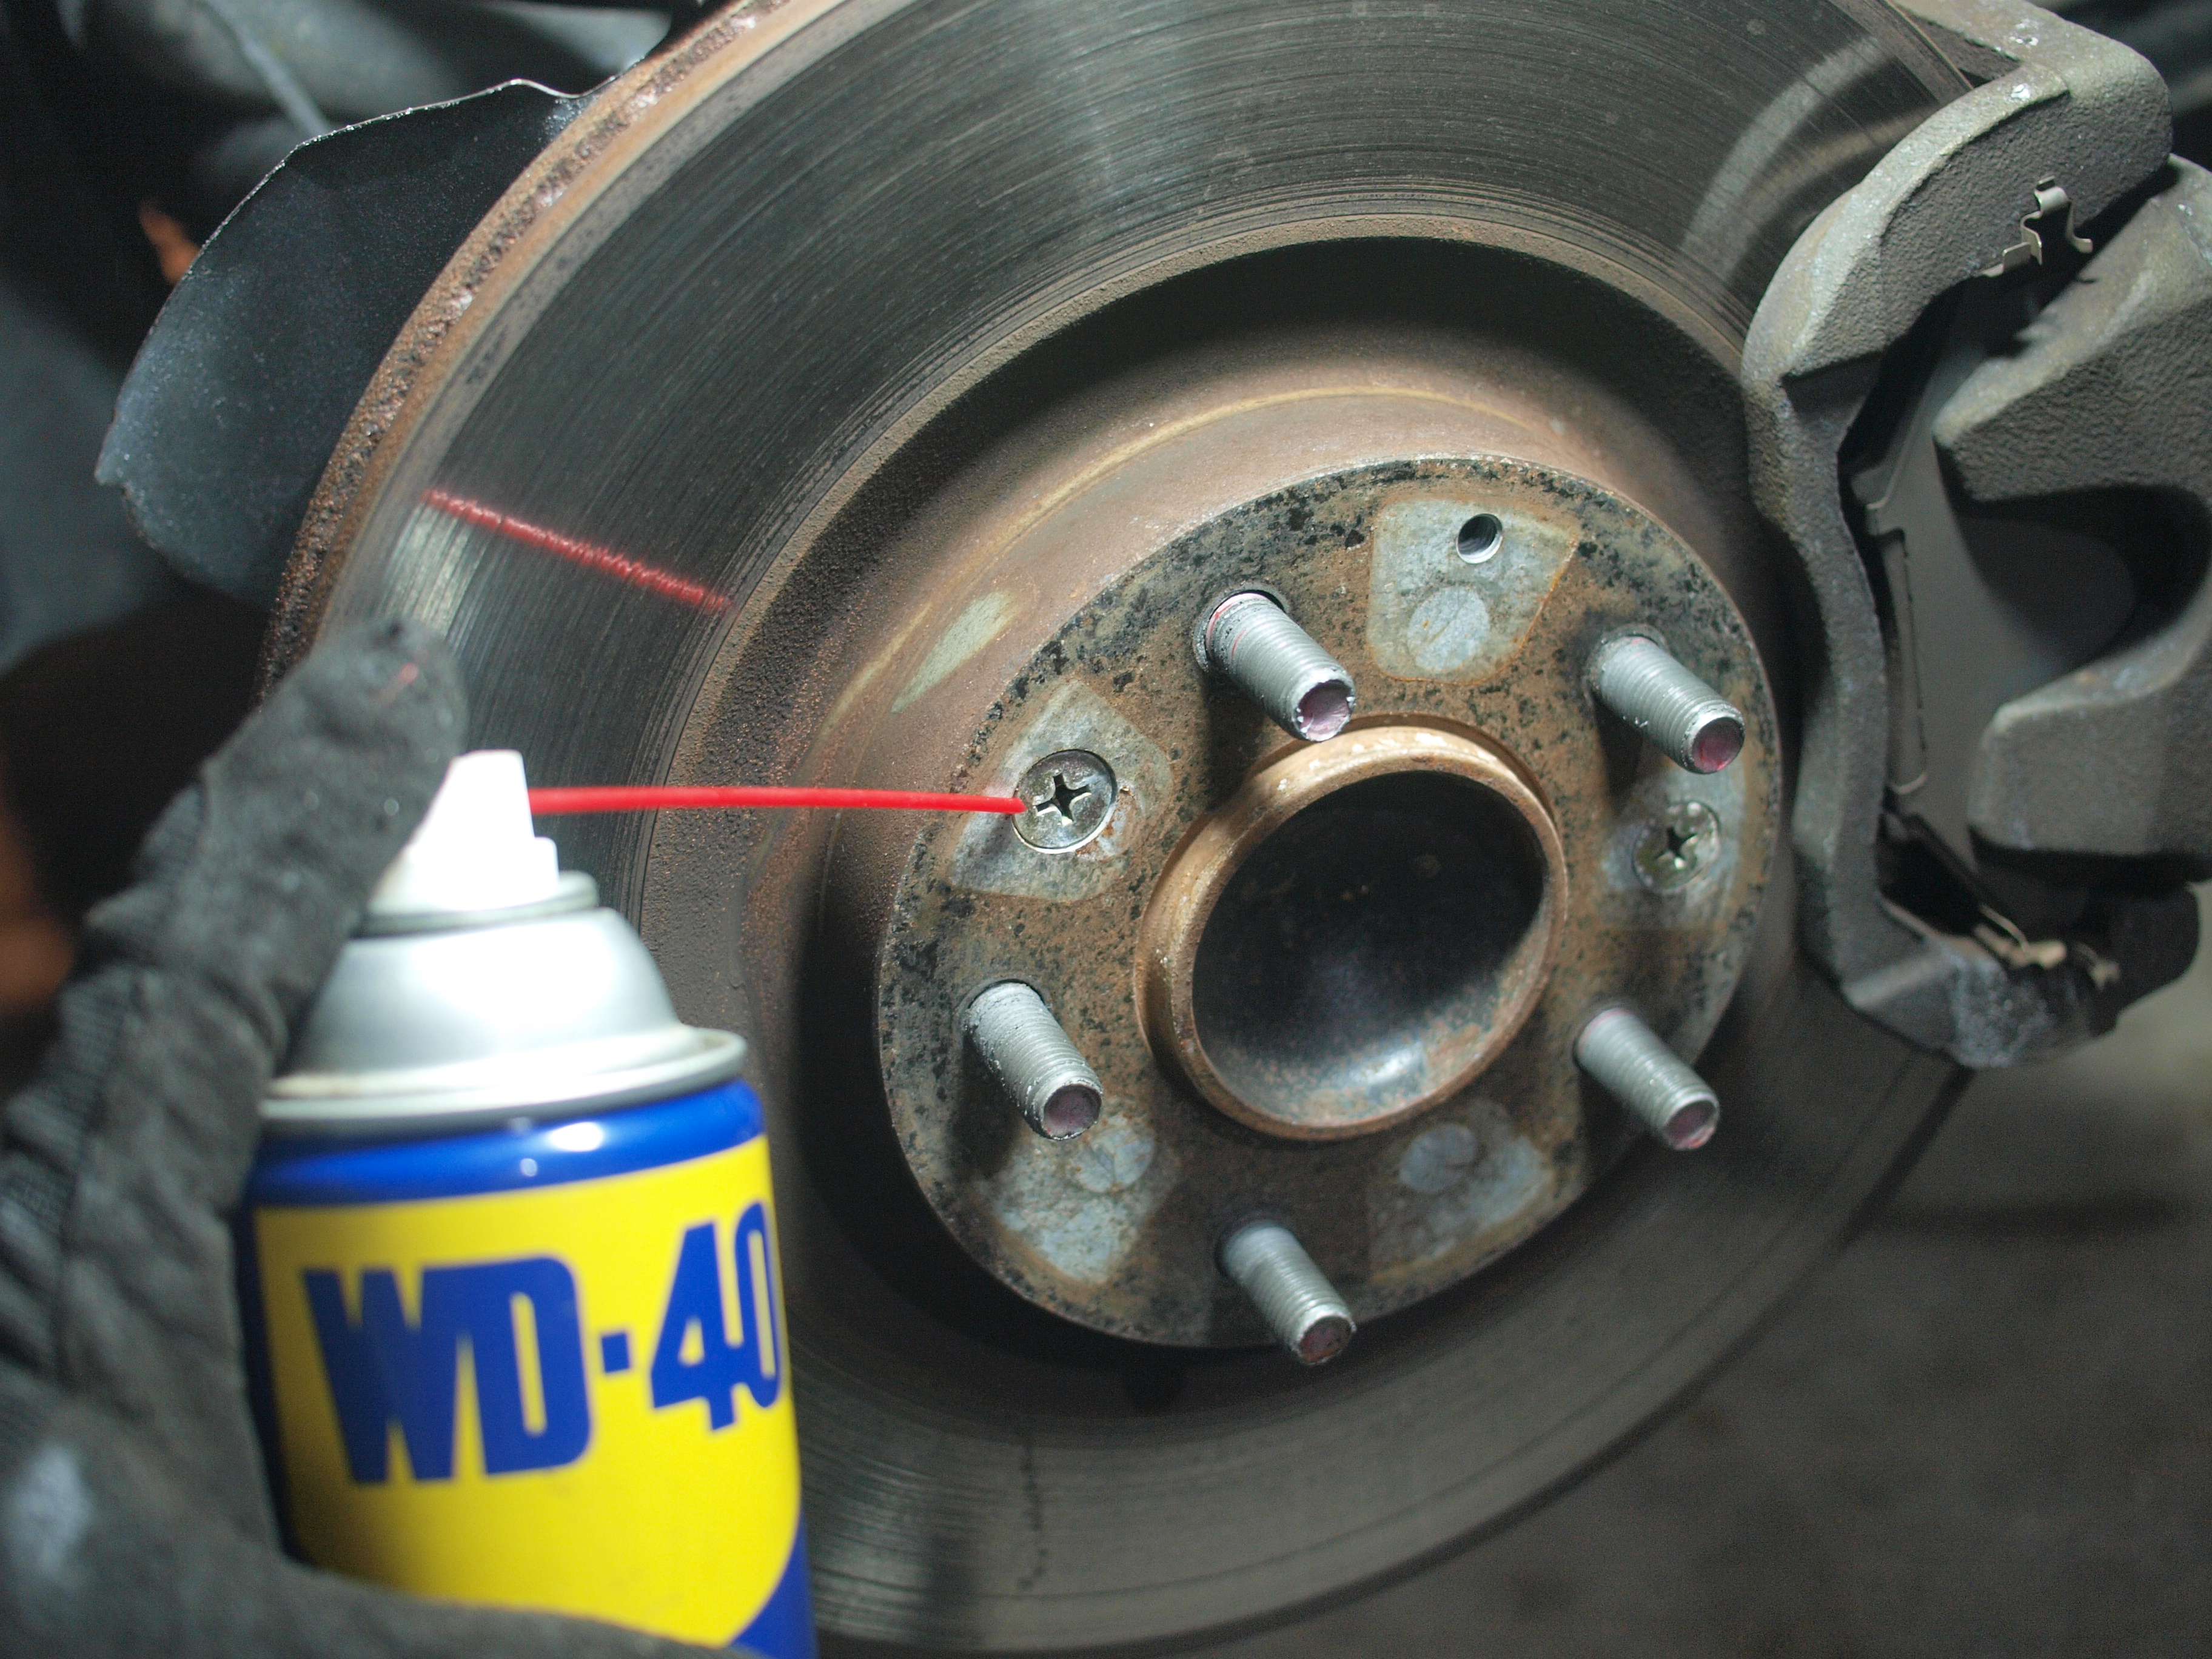
- WD40
- Brake Rotors(There are two different kinds for standard and sports suspension:For RX-8
- Tools:
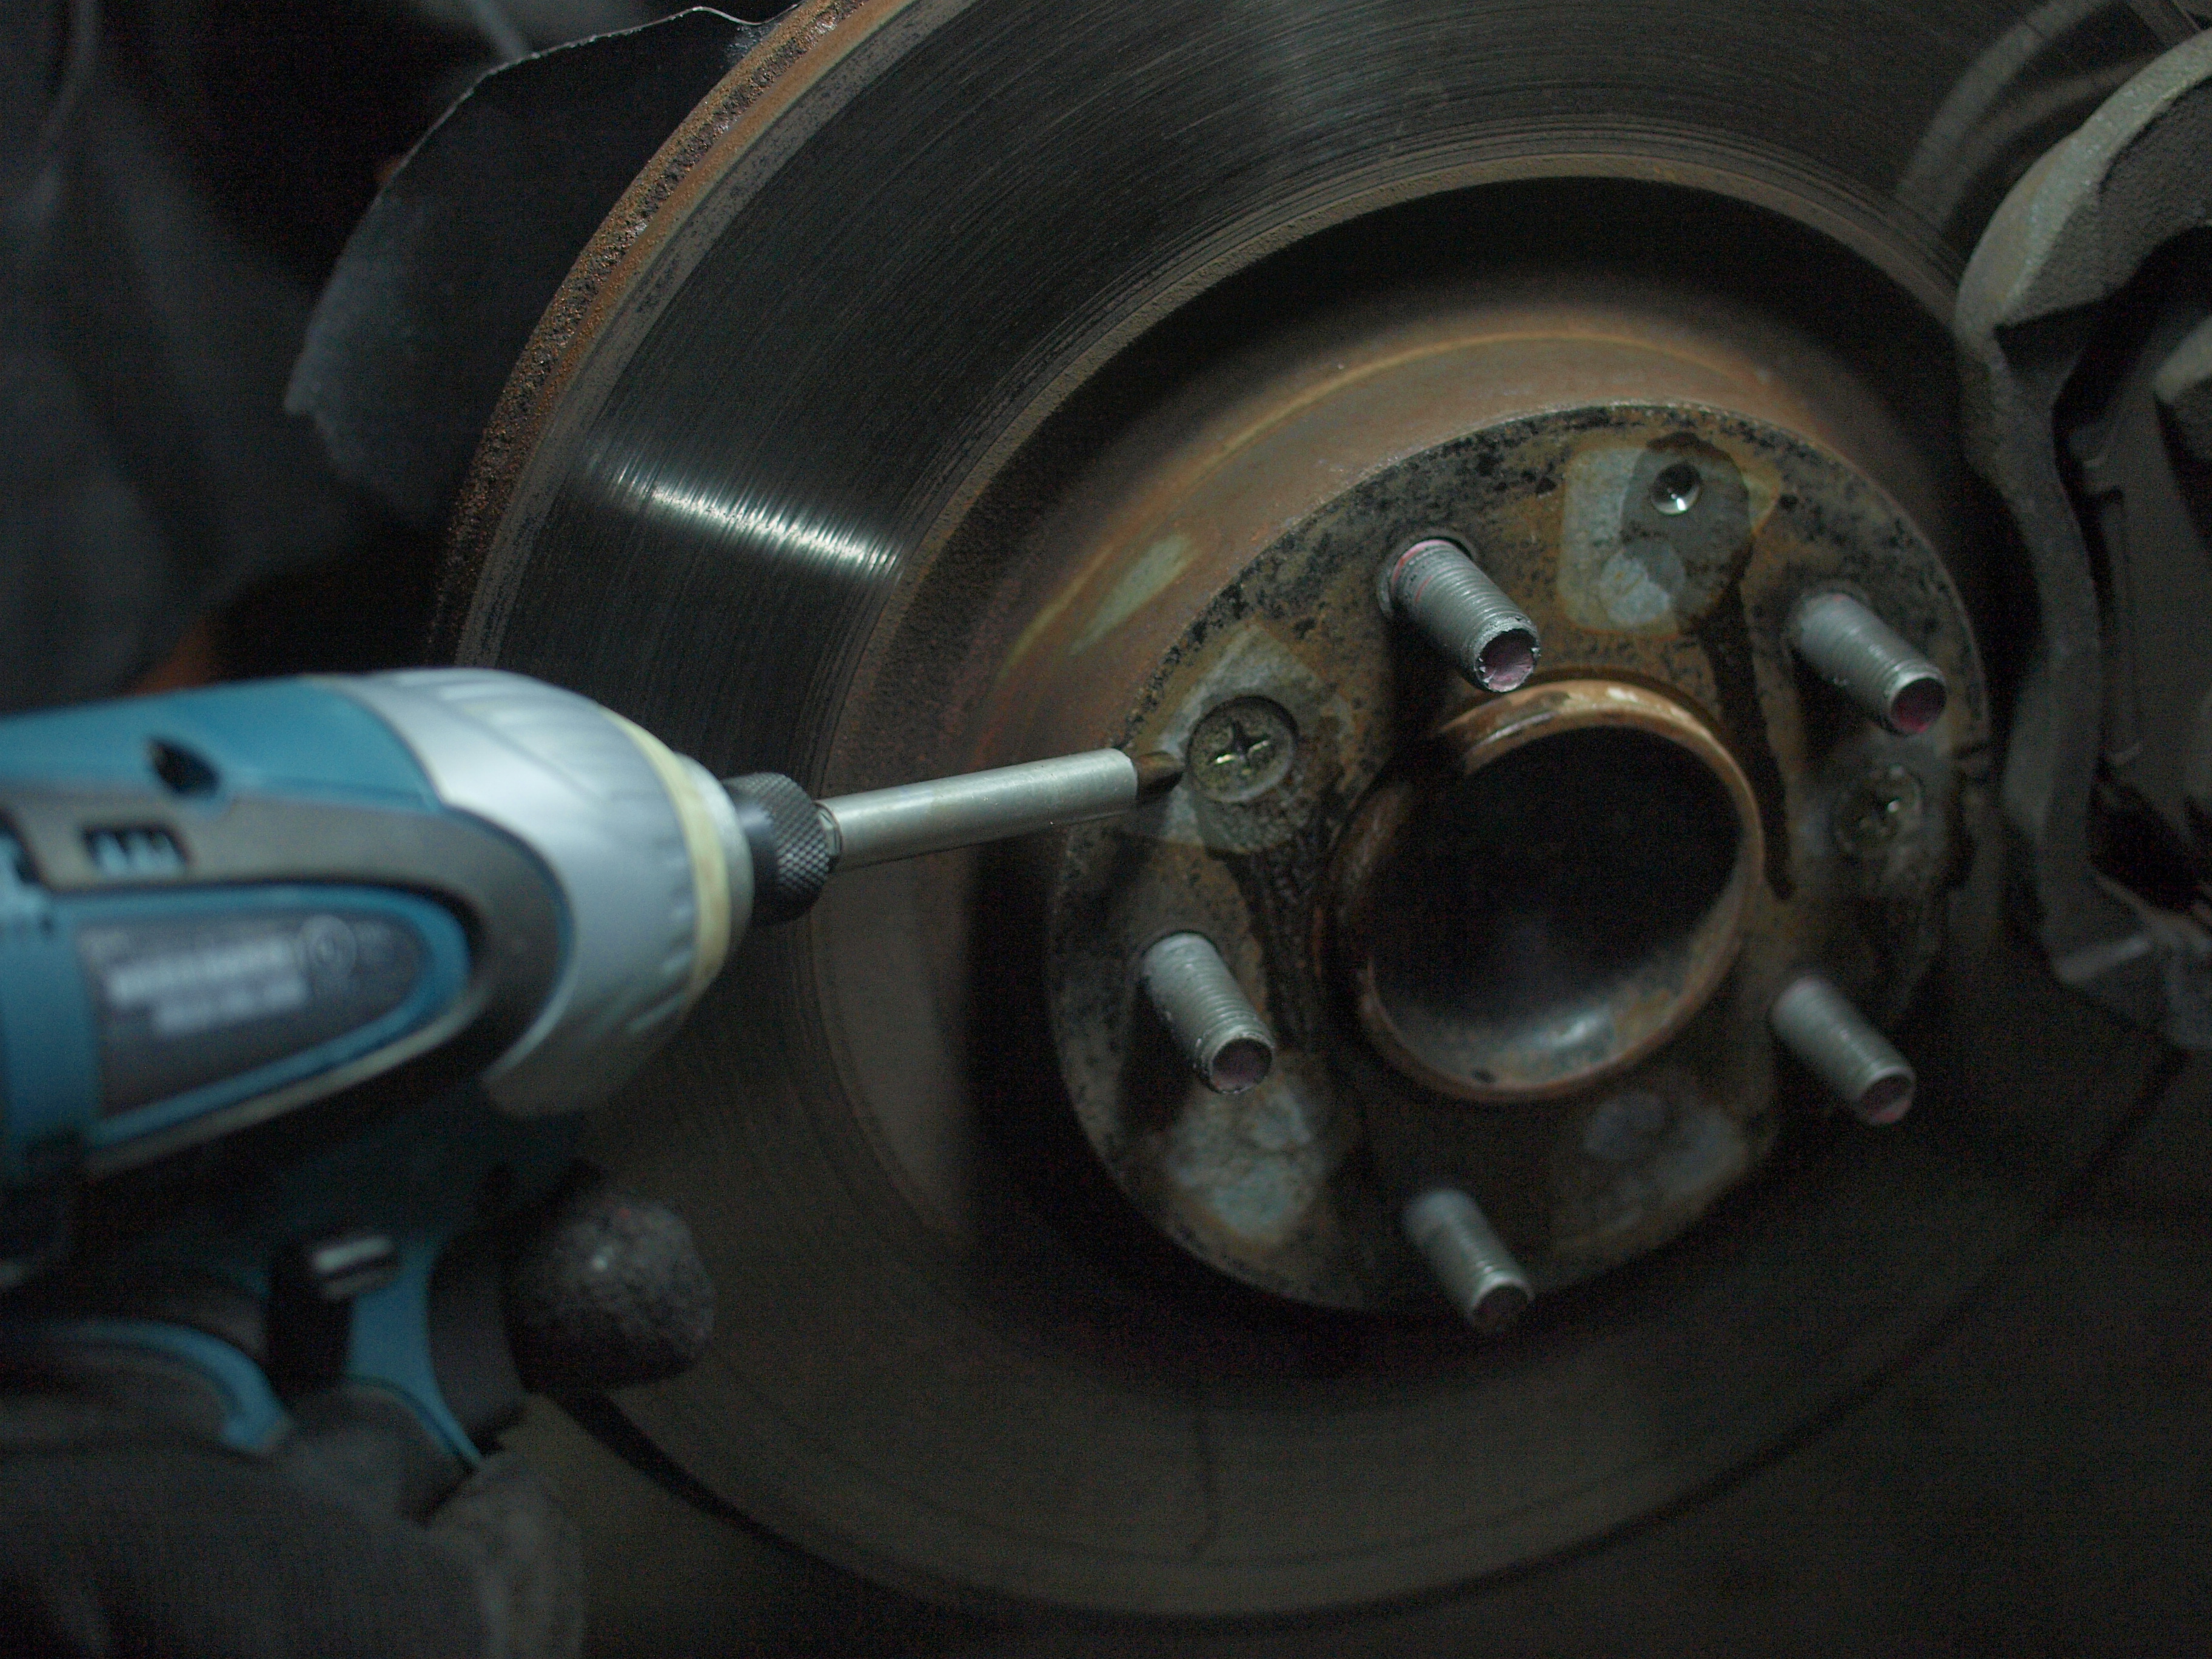
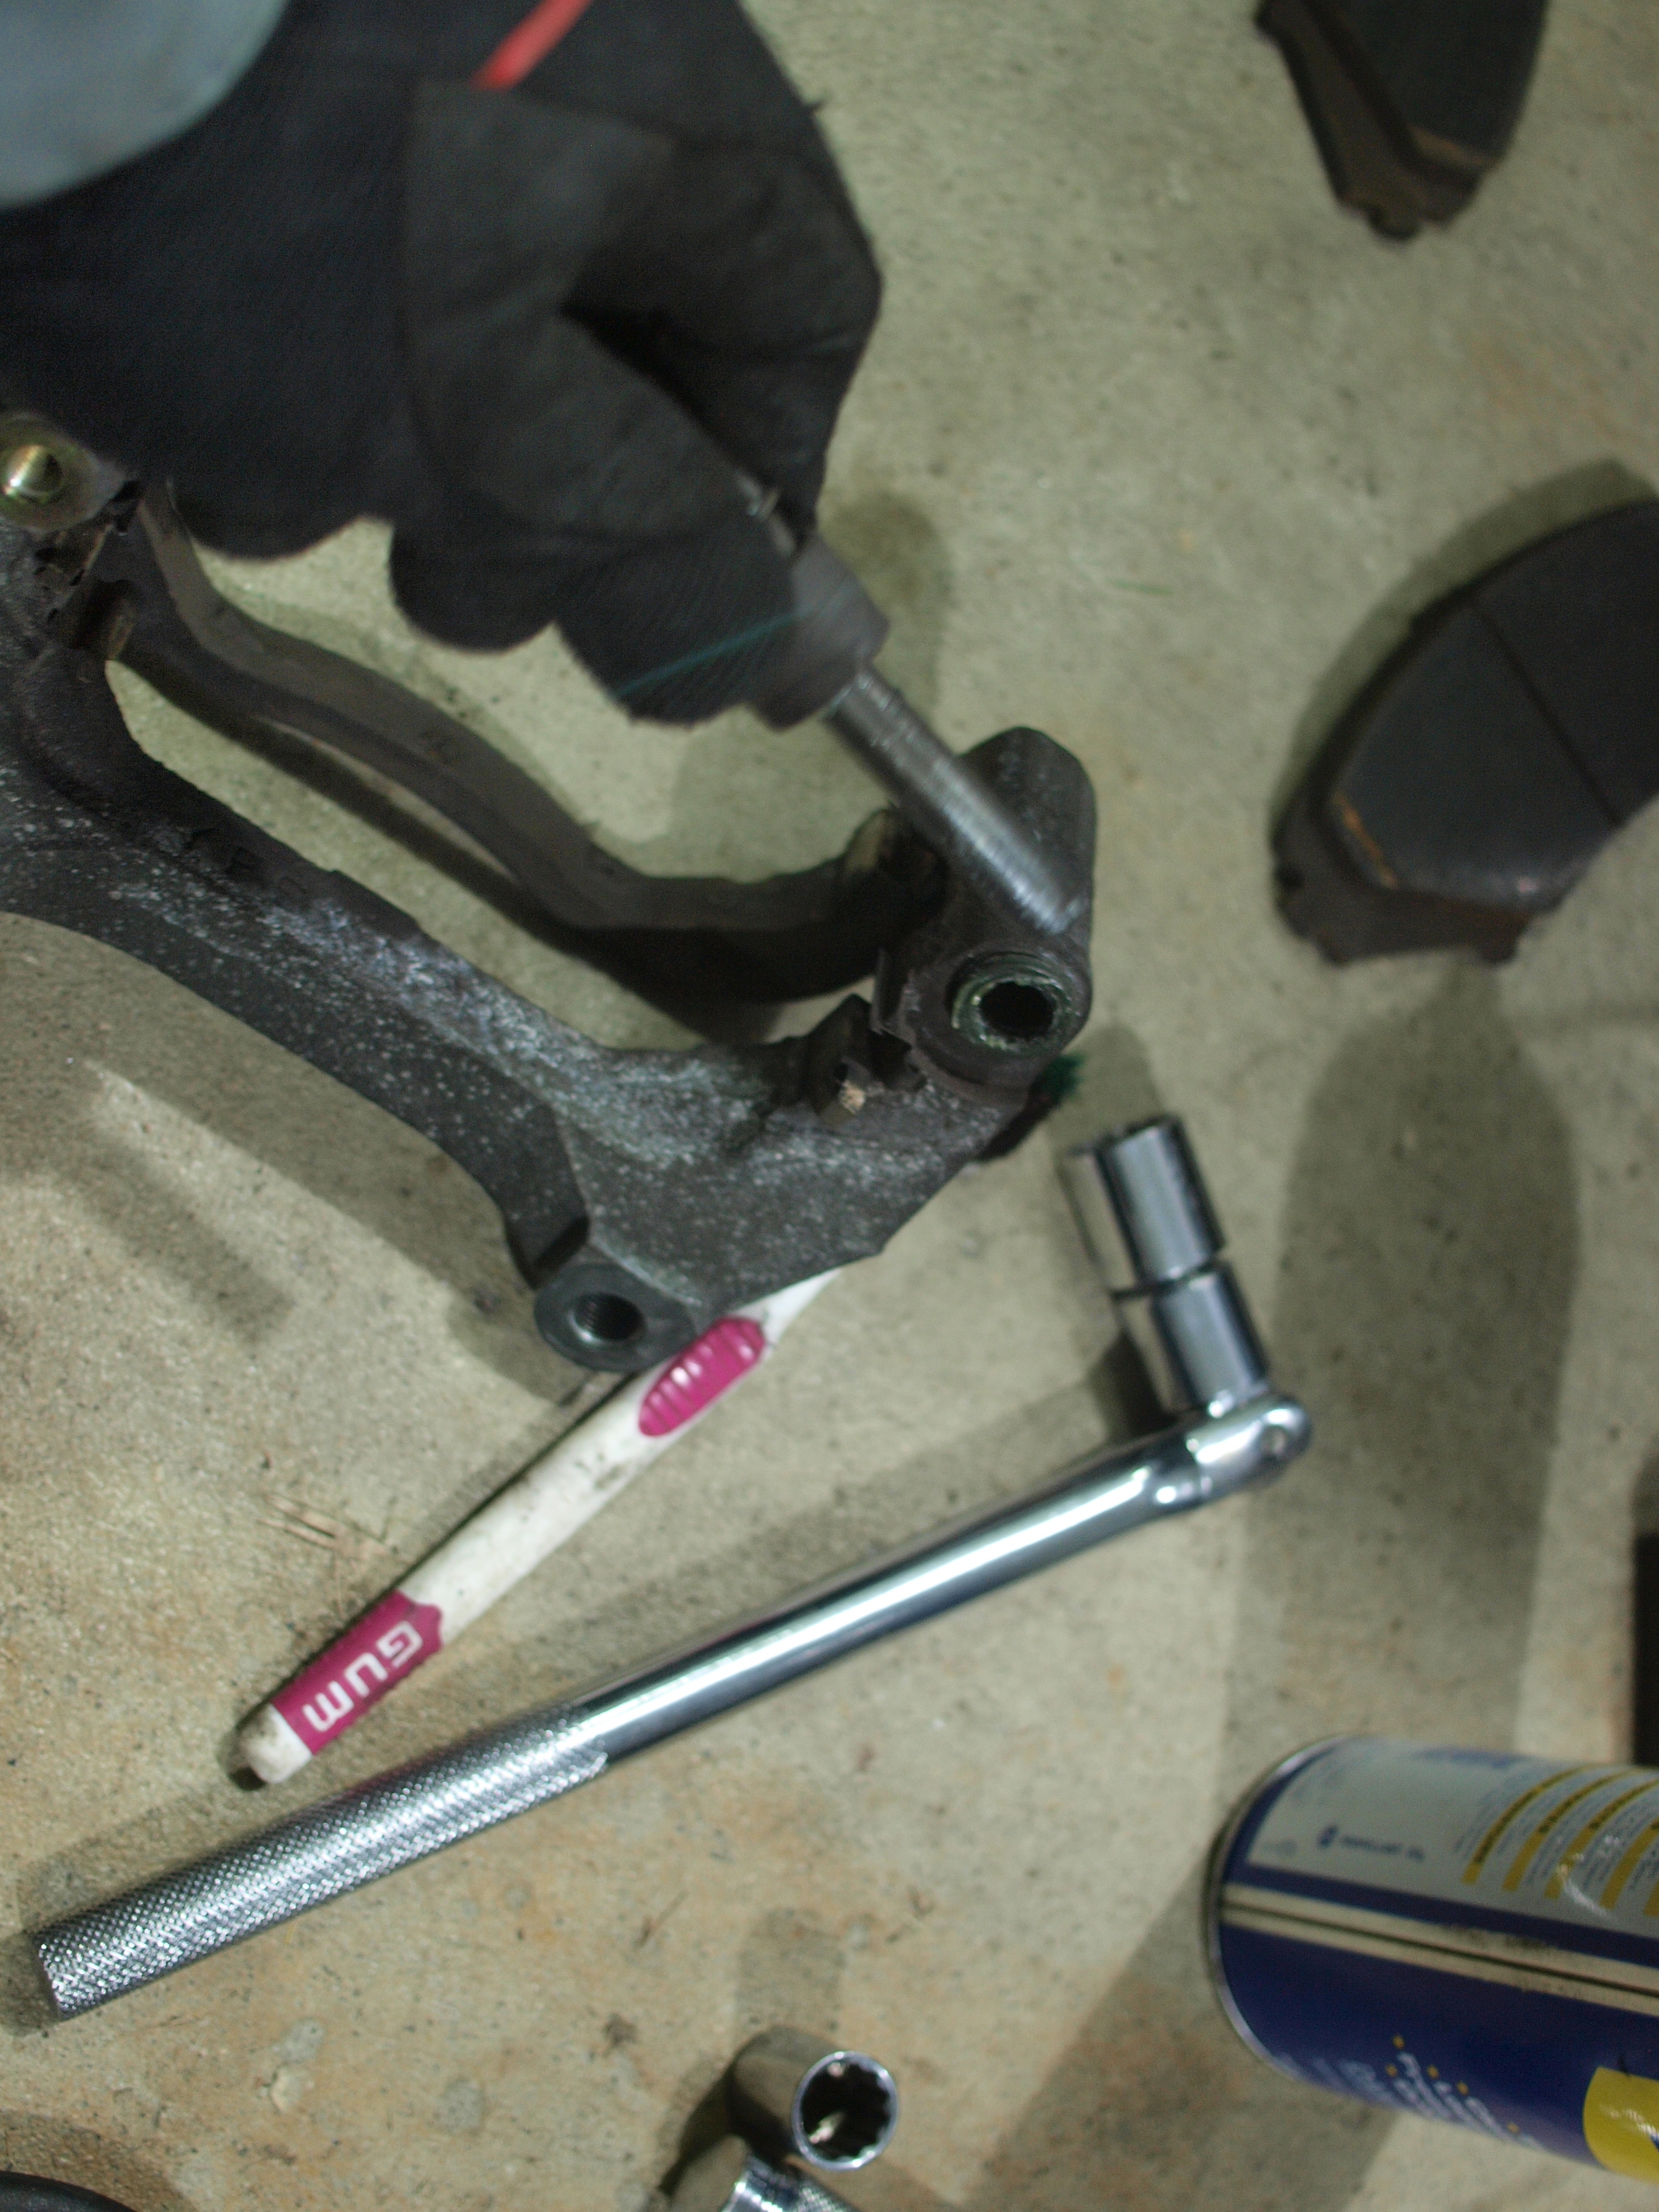
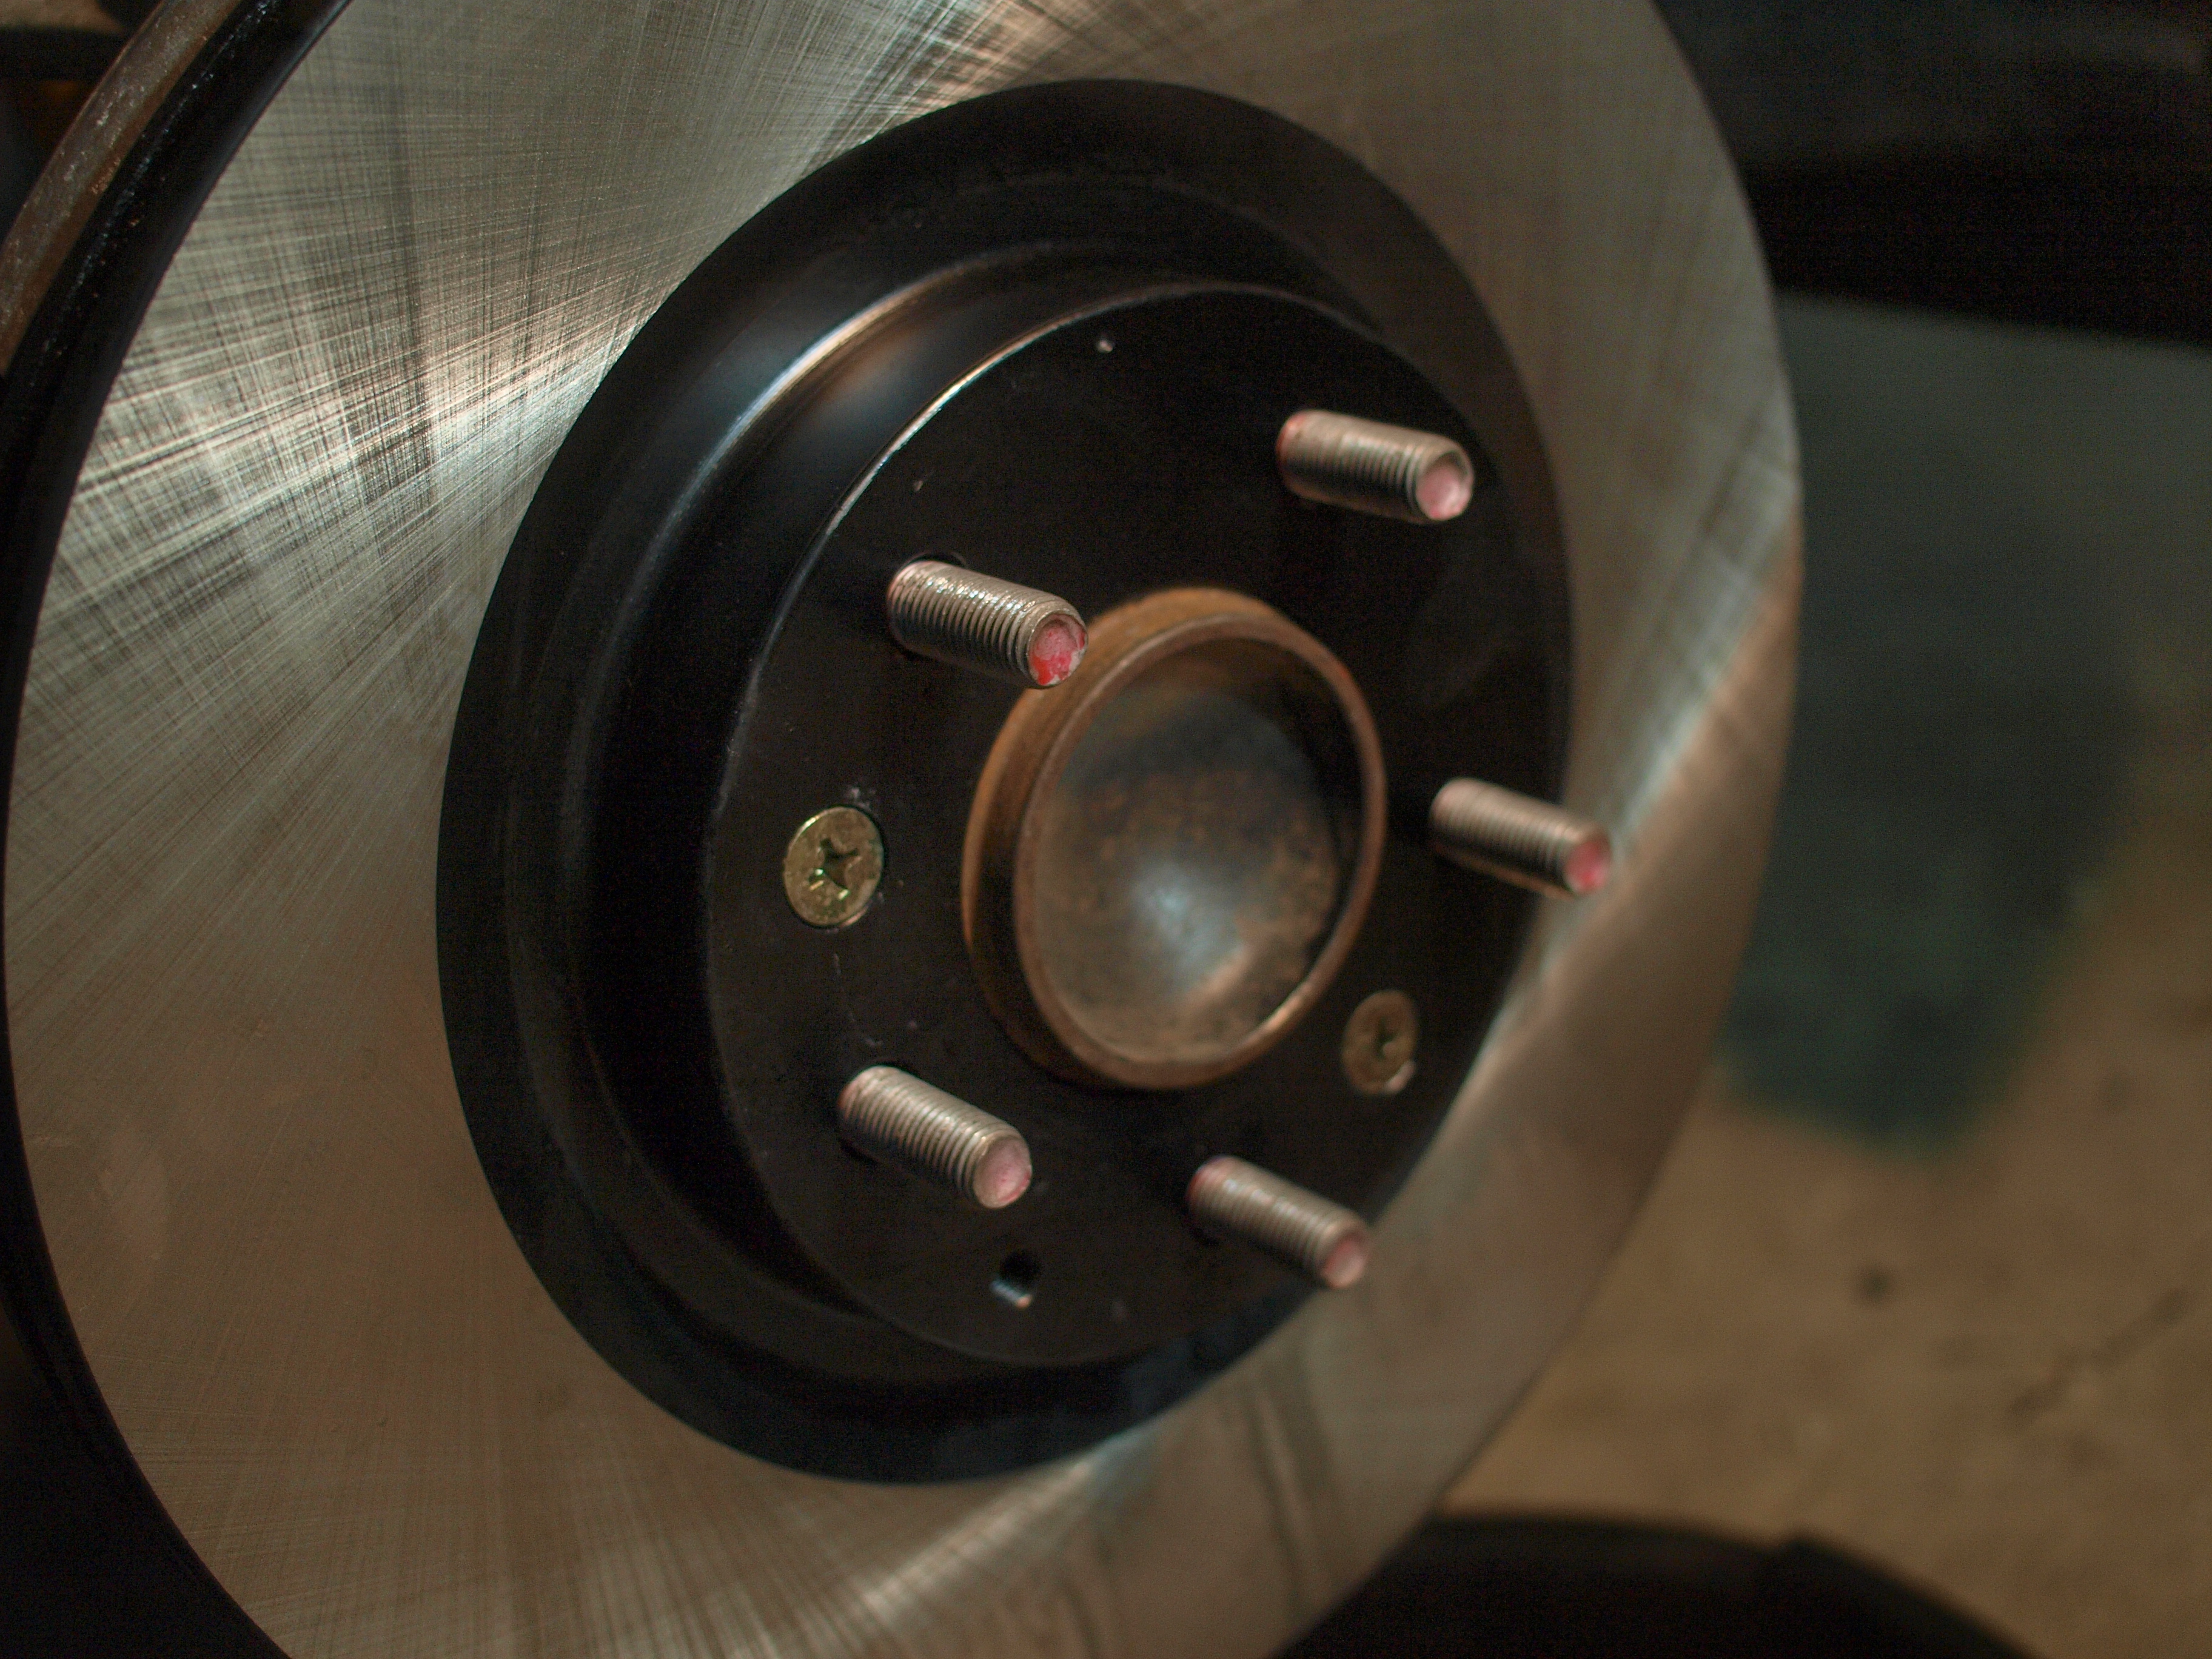
- Impact Driver + Large Philips screw
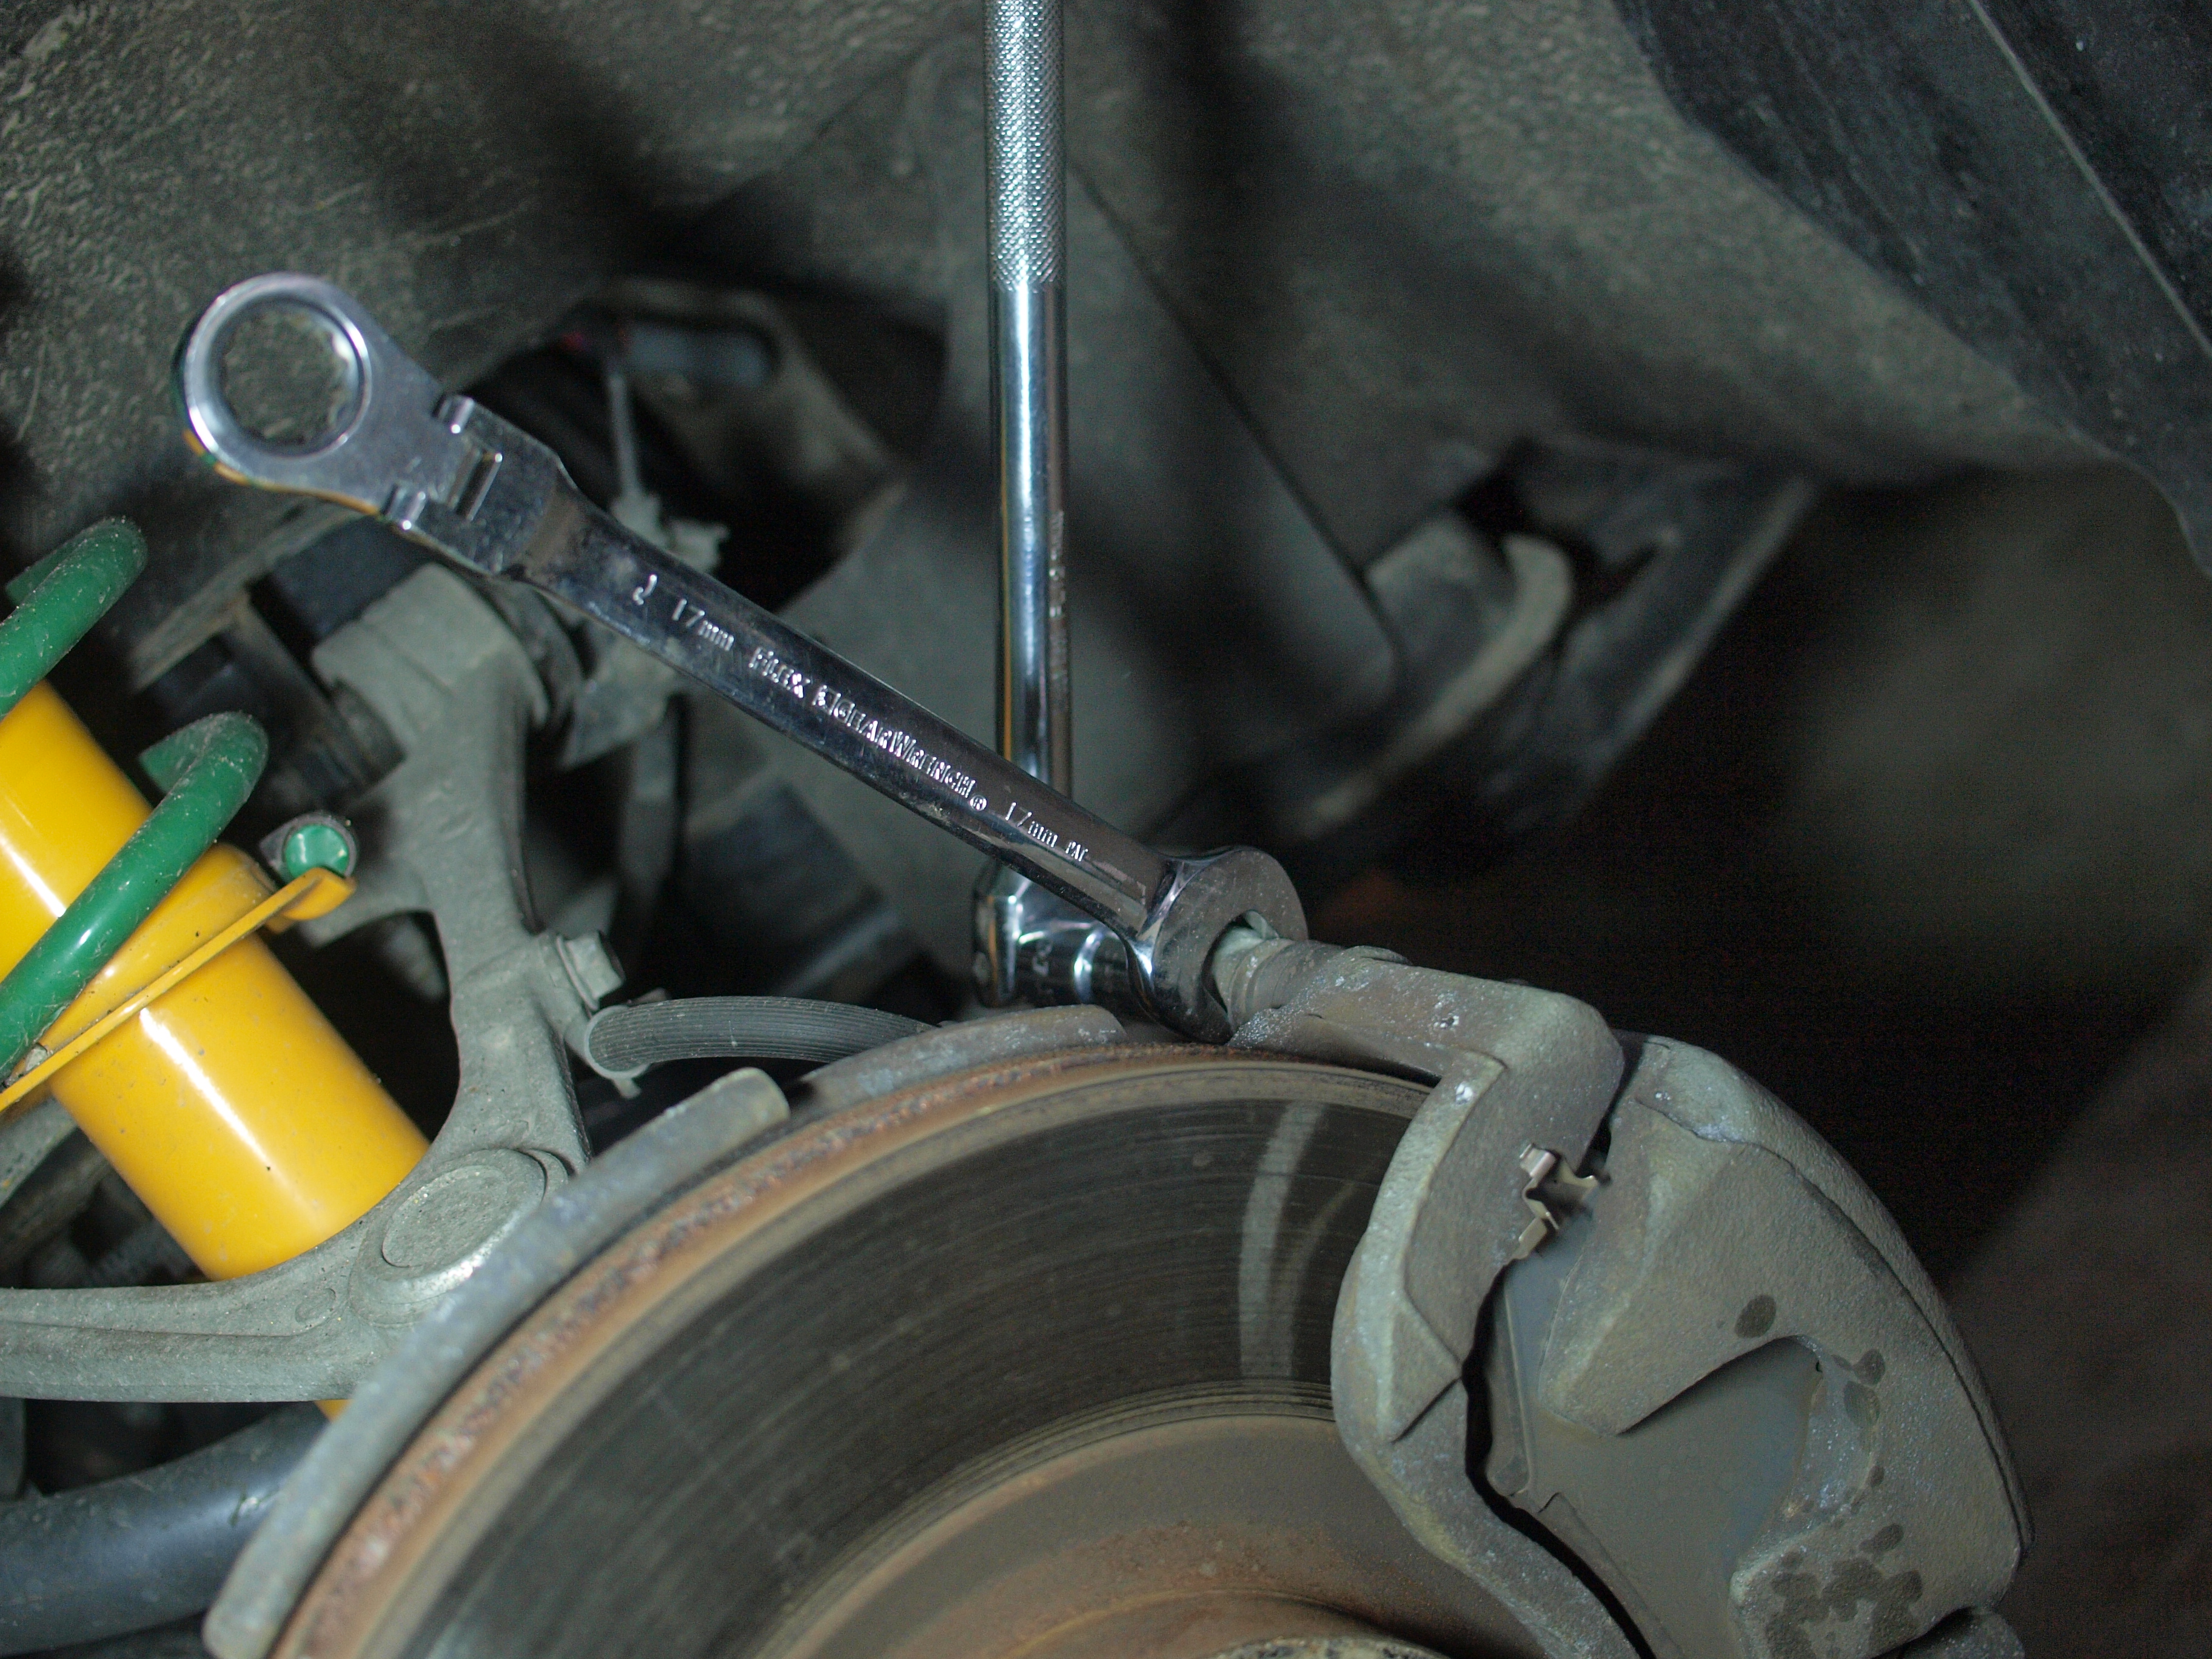
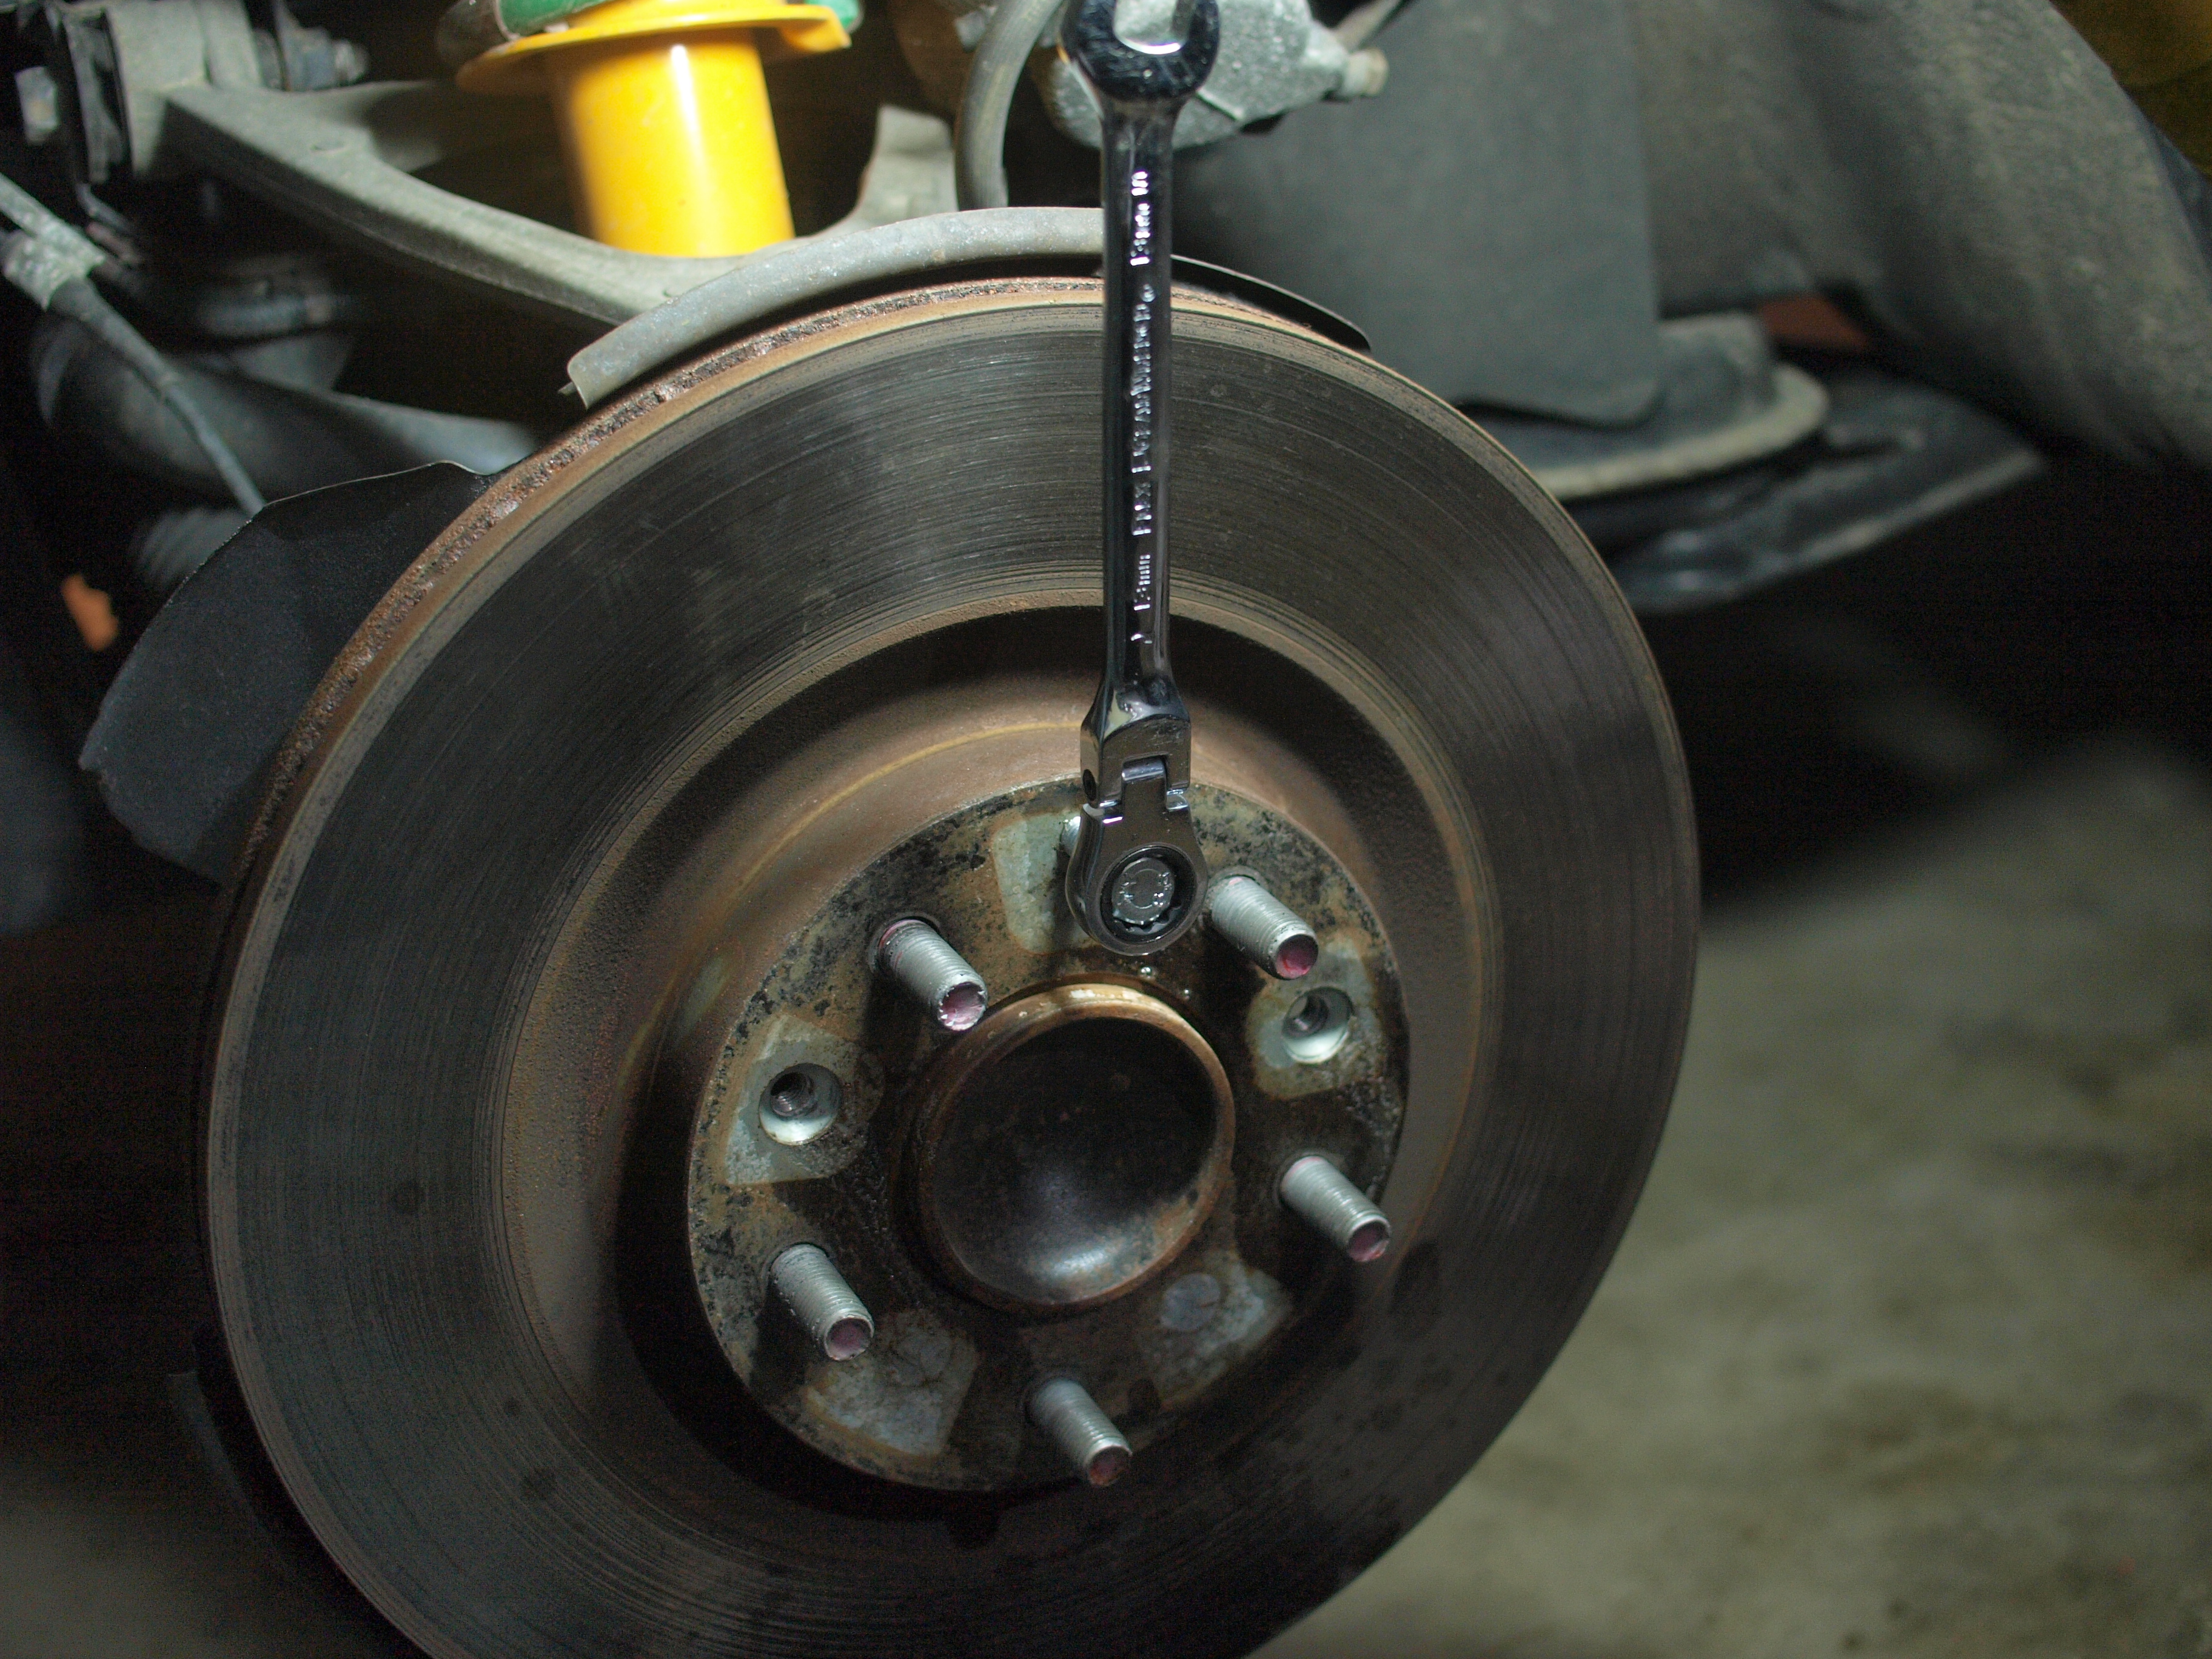
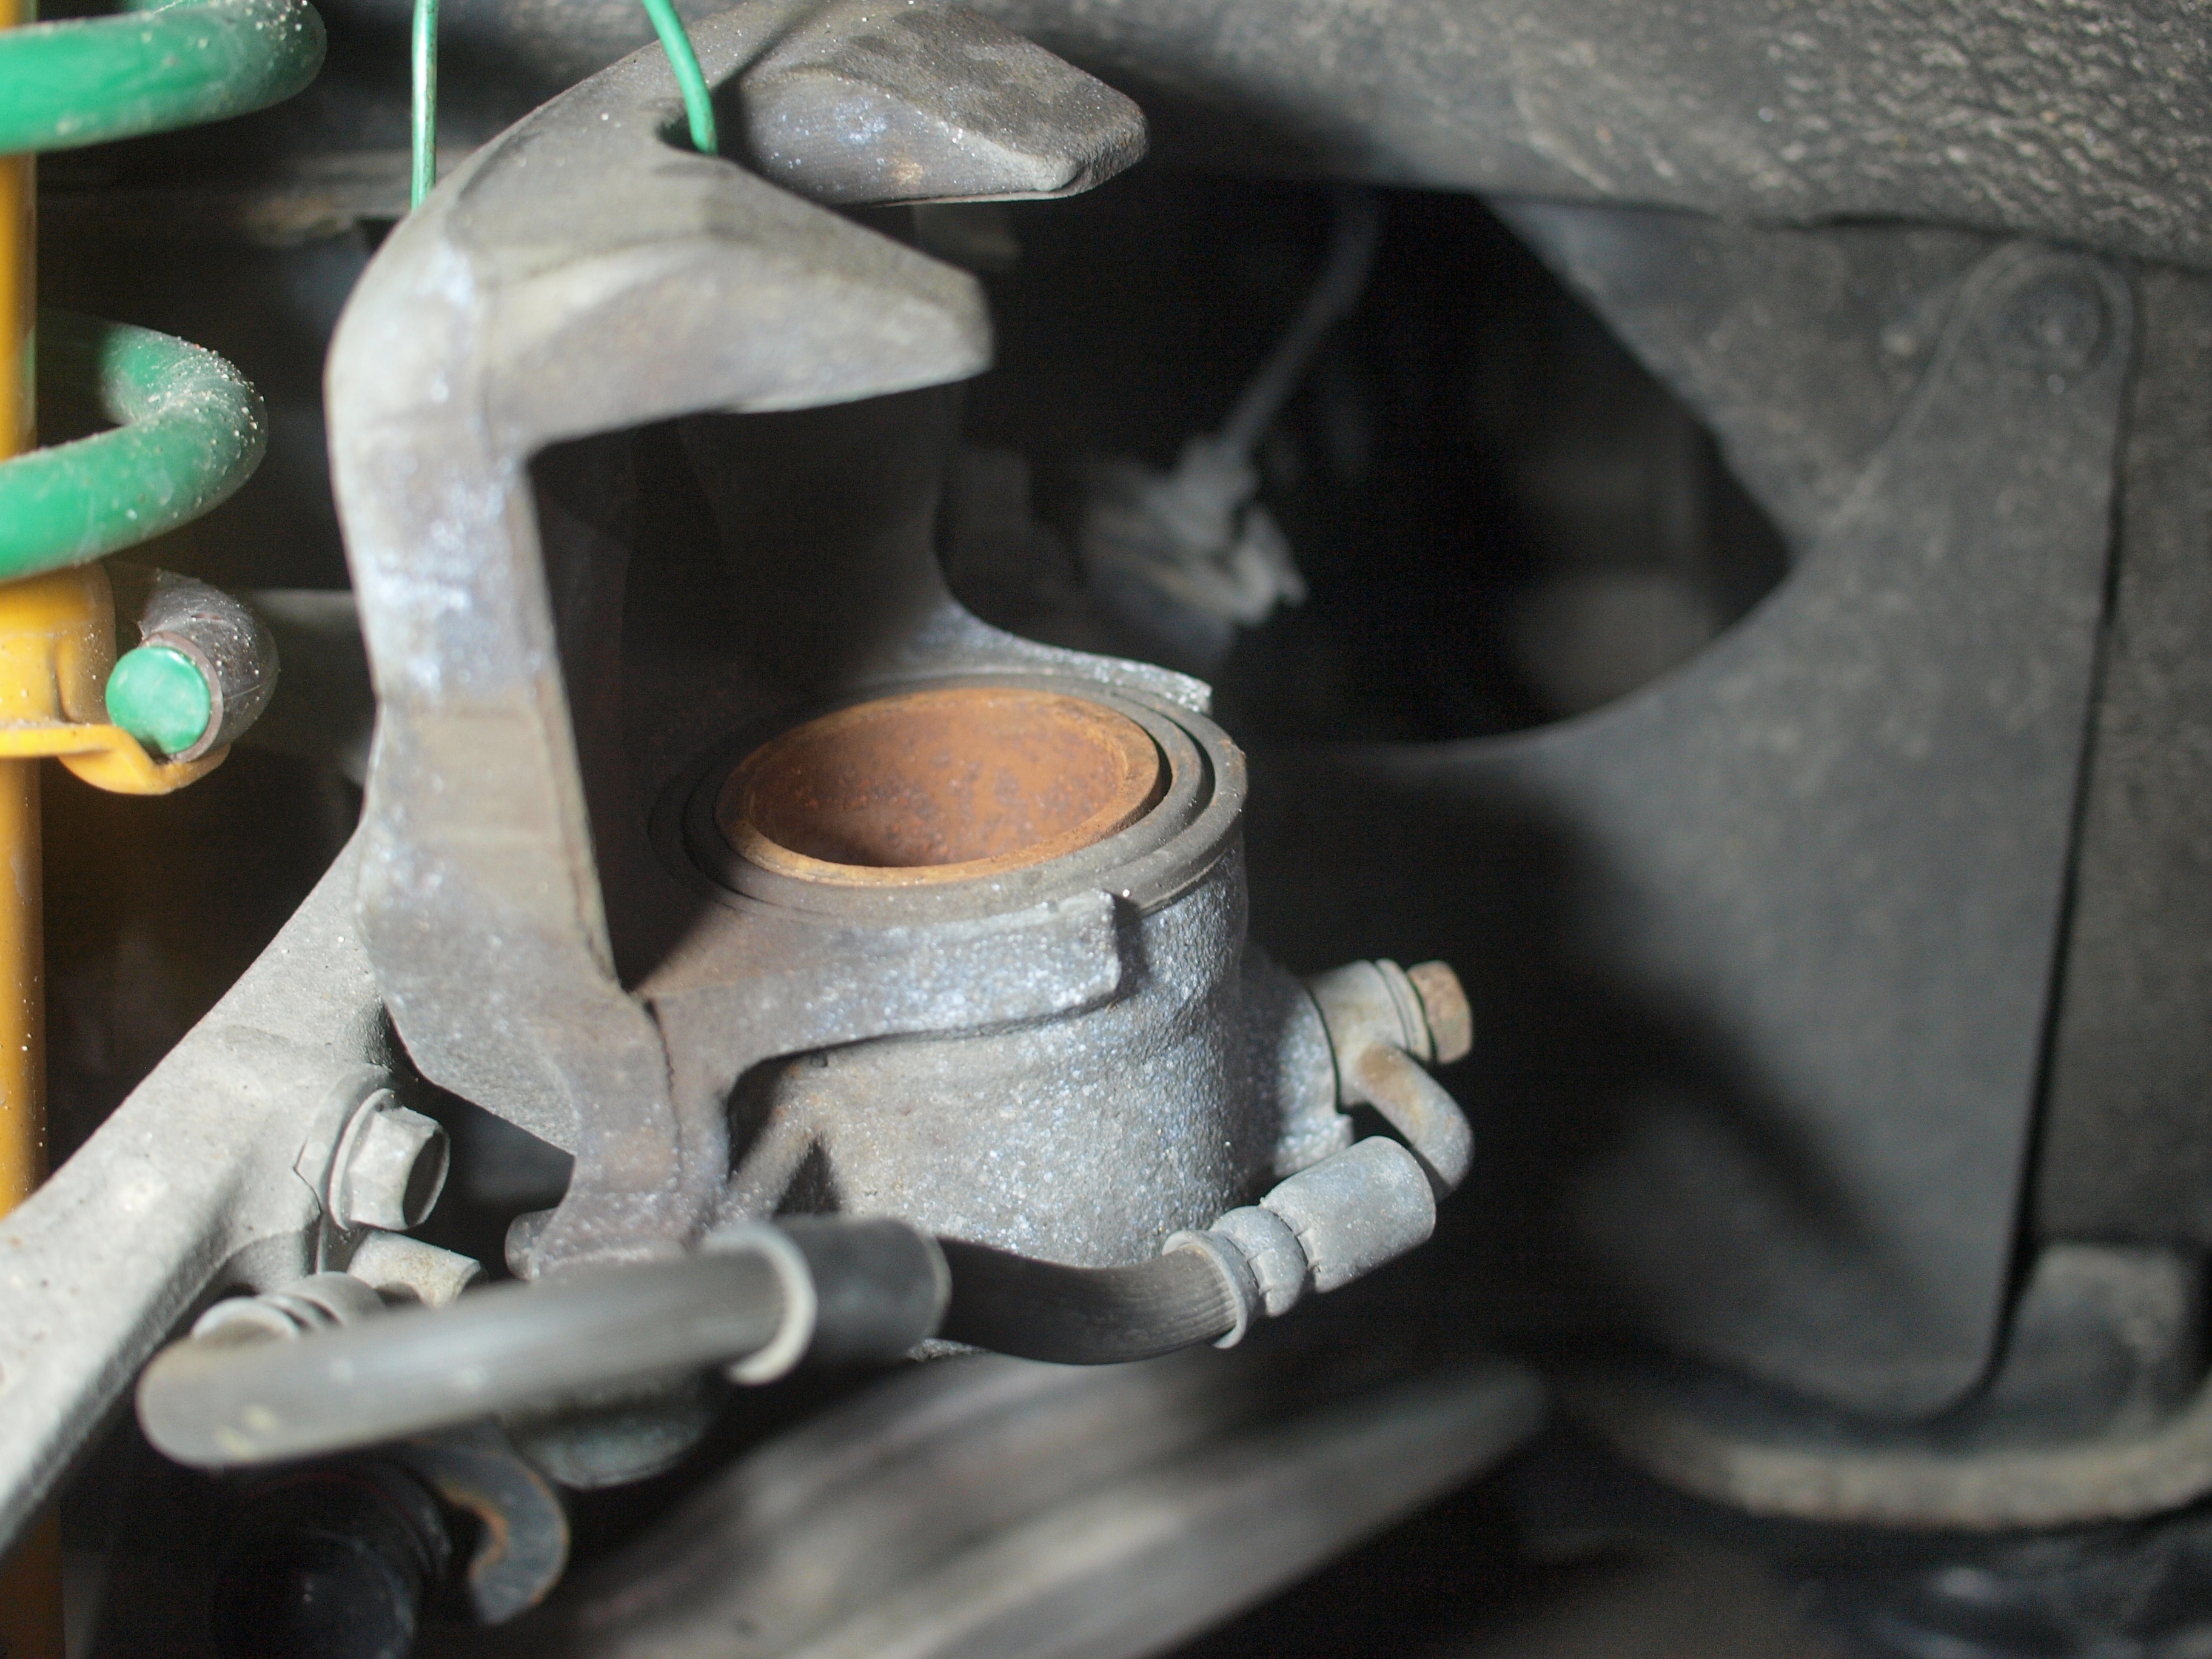
- 17mm Open wrench
- 14mm Socket
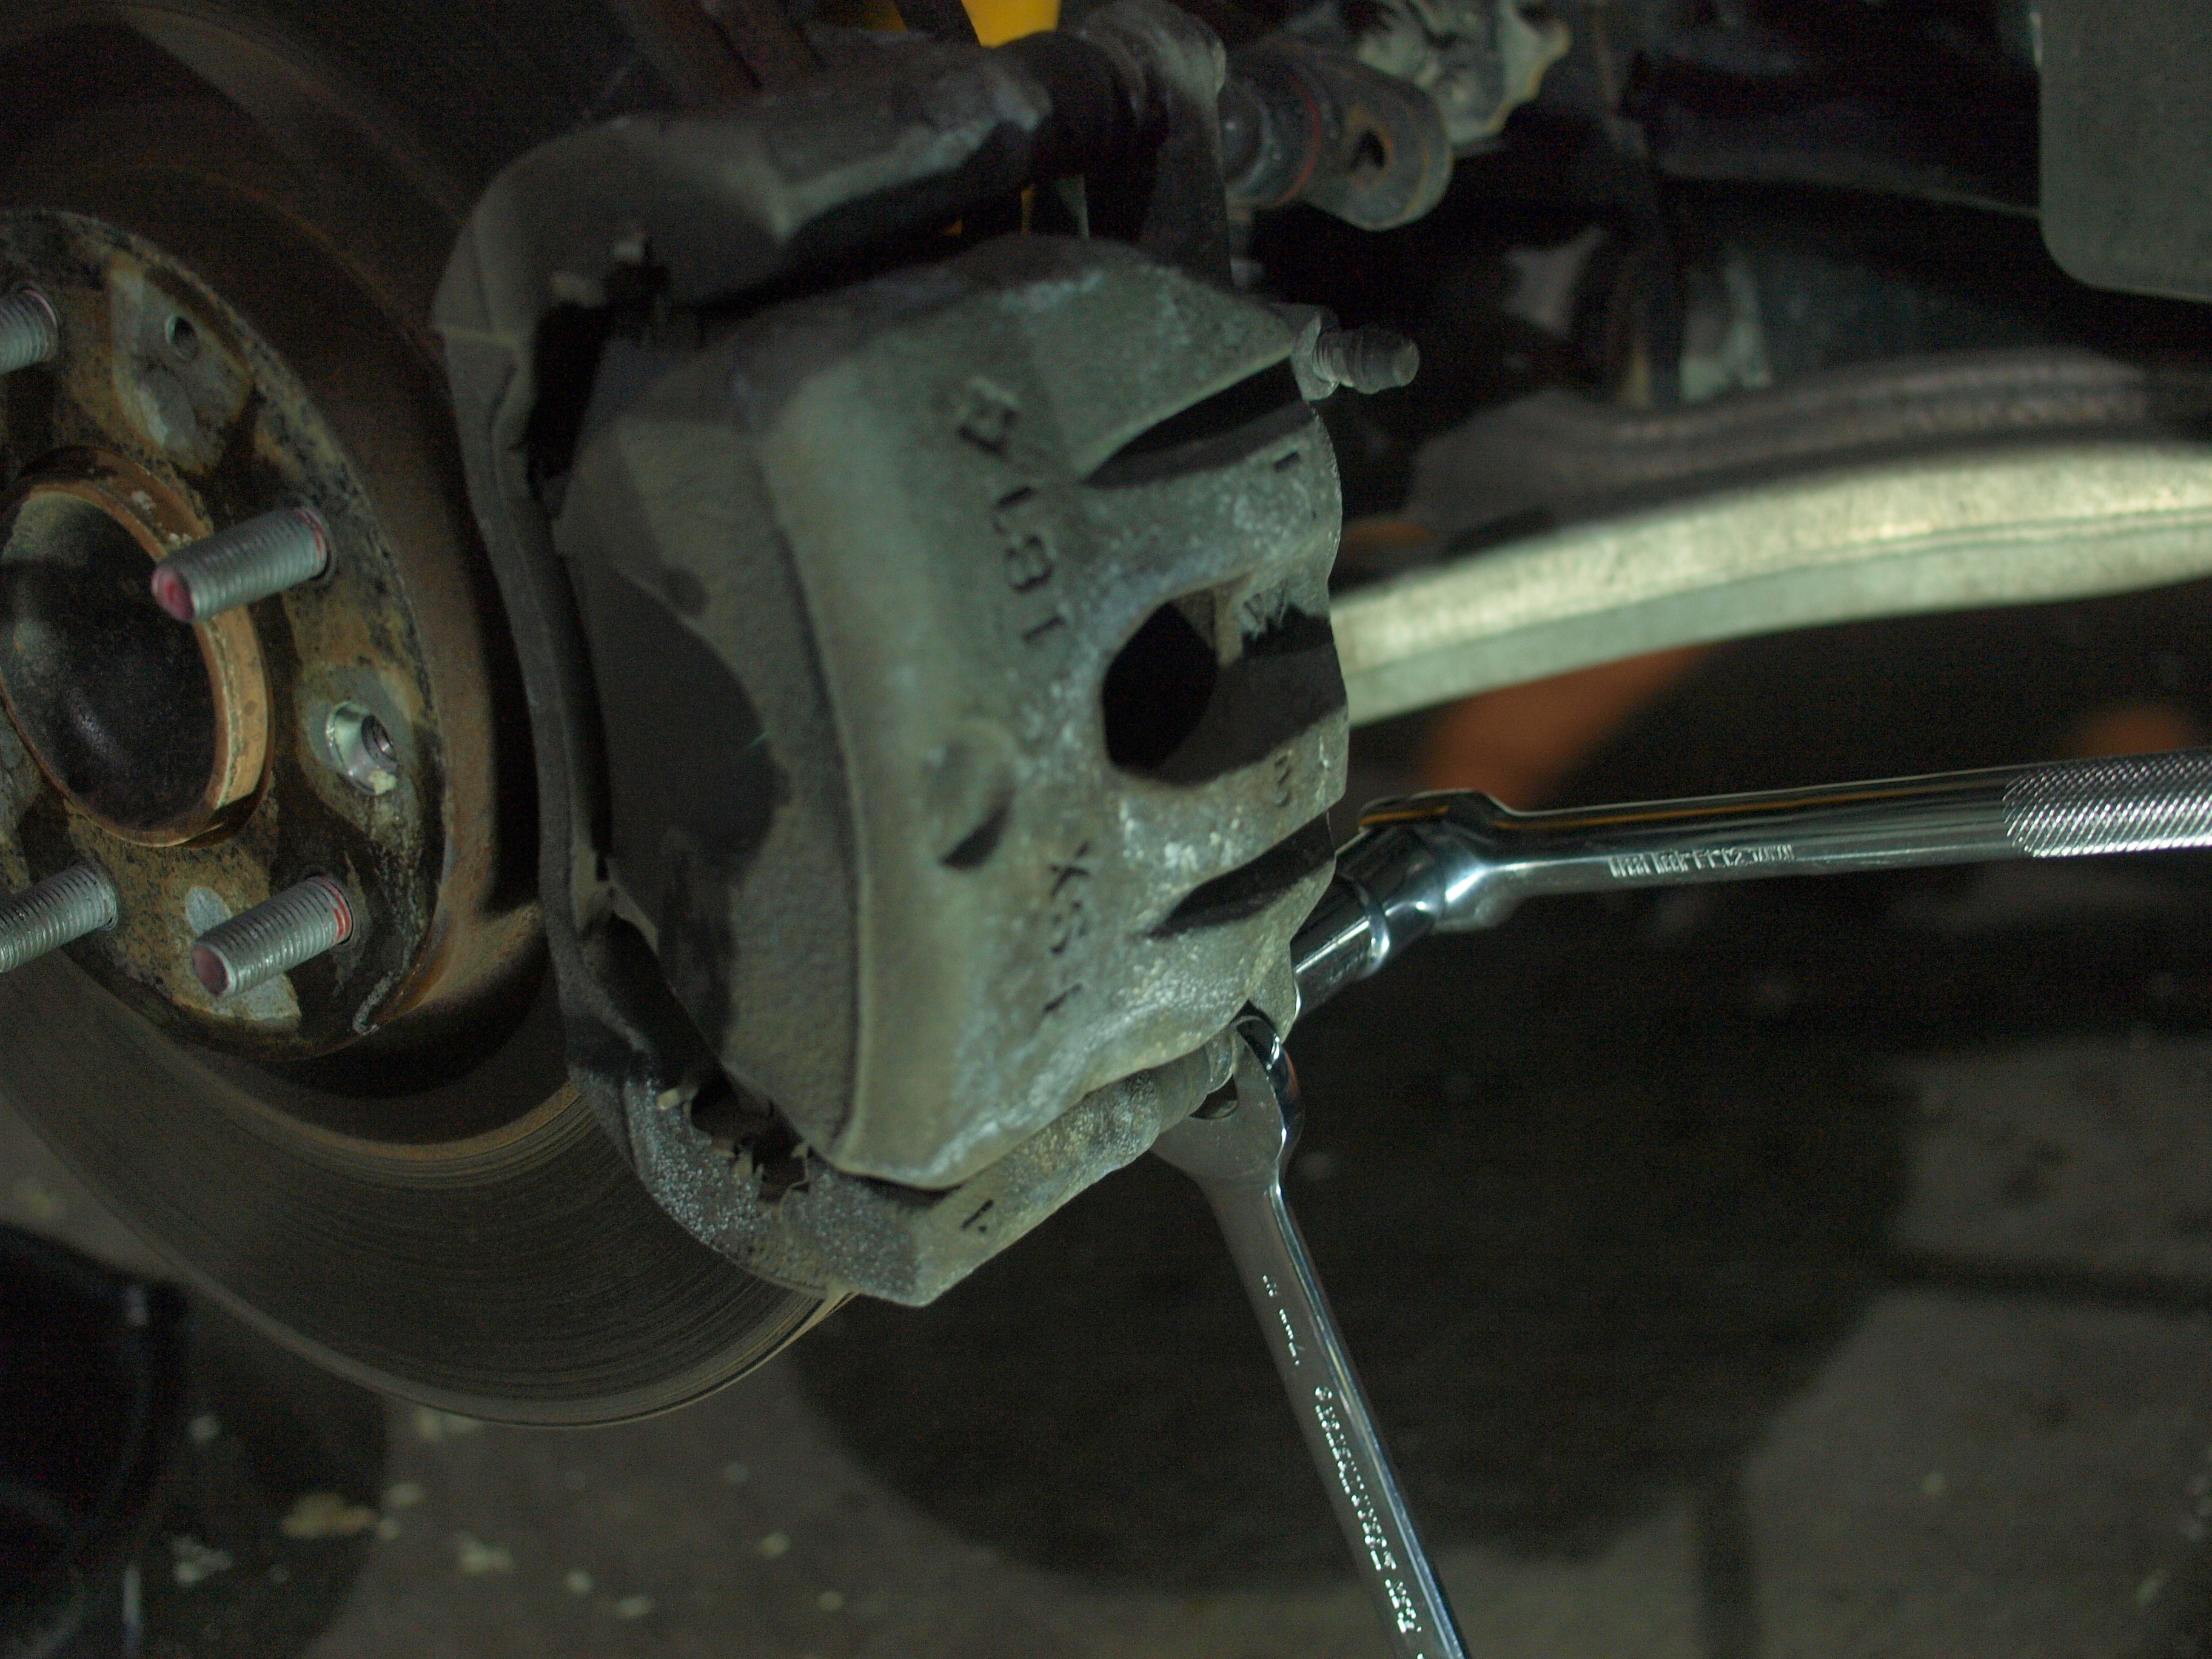
- Breaker bar
- Ratcheting handle
- Wire Brush
- Paper Towel / Shop Towel
- Old toothbrush
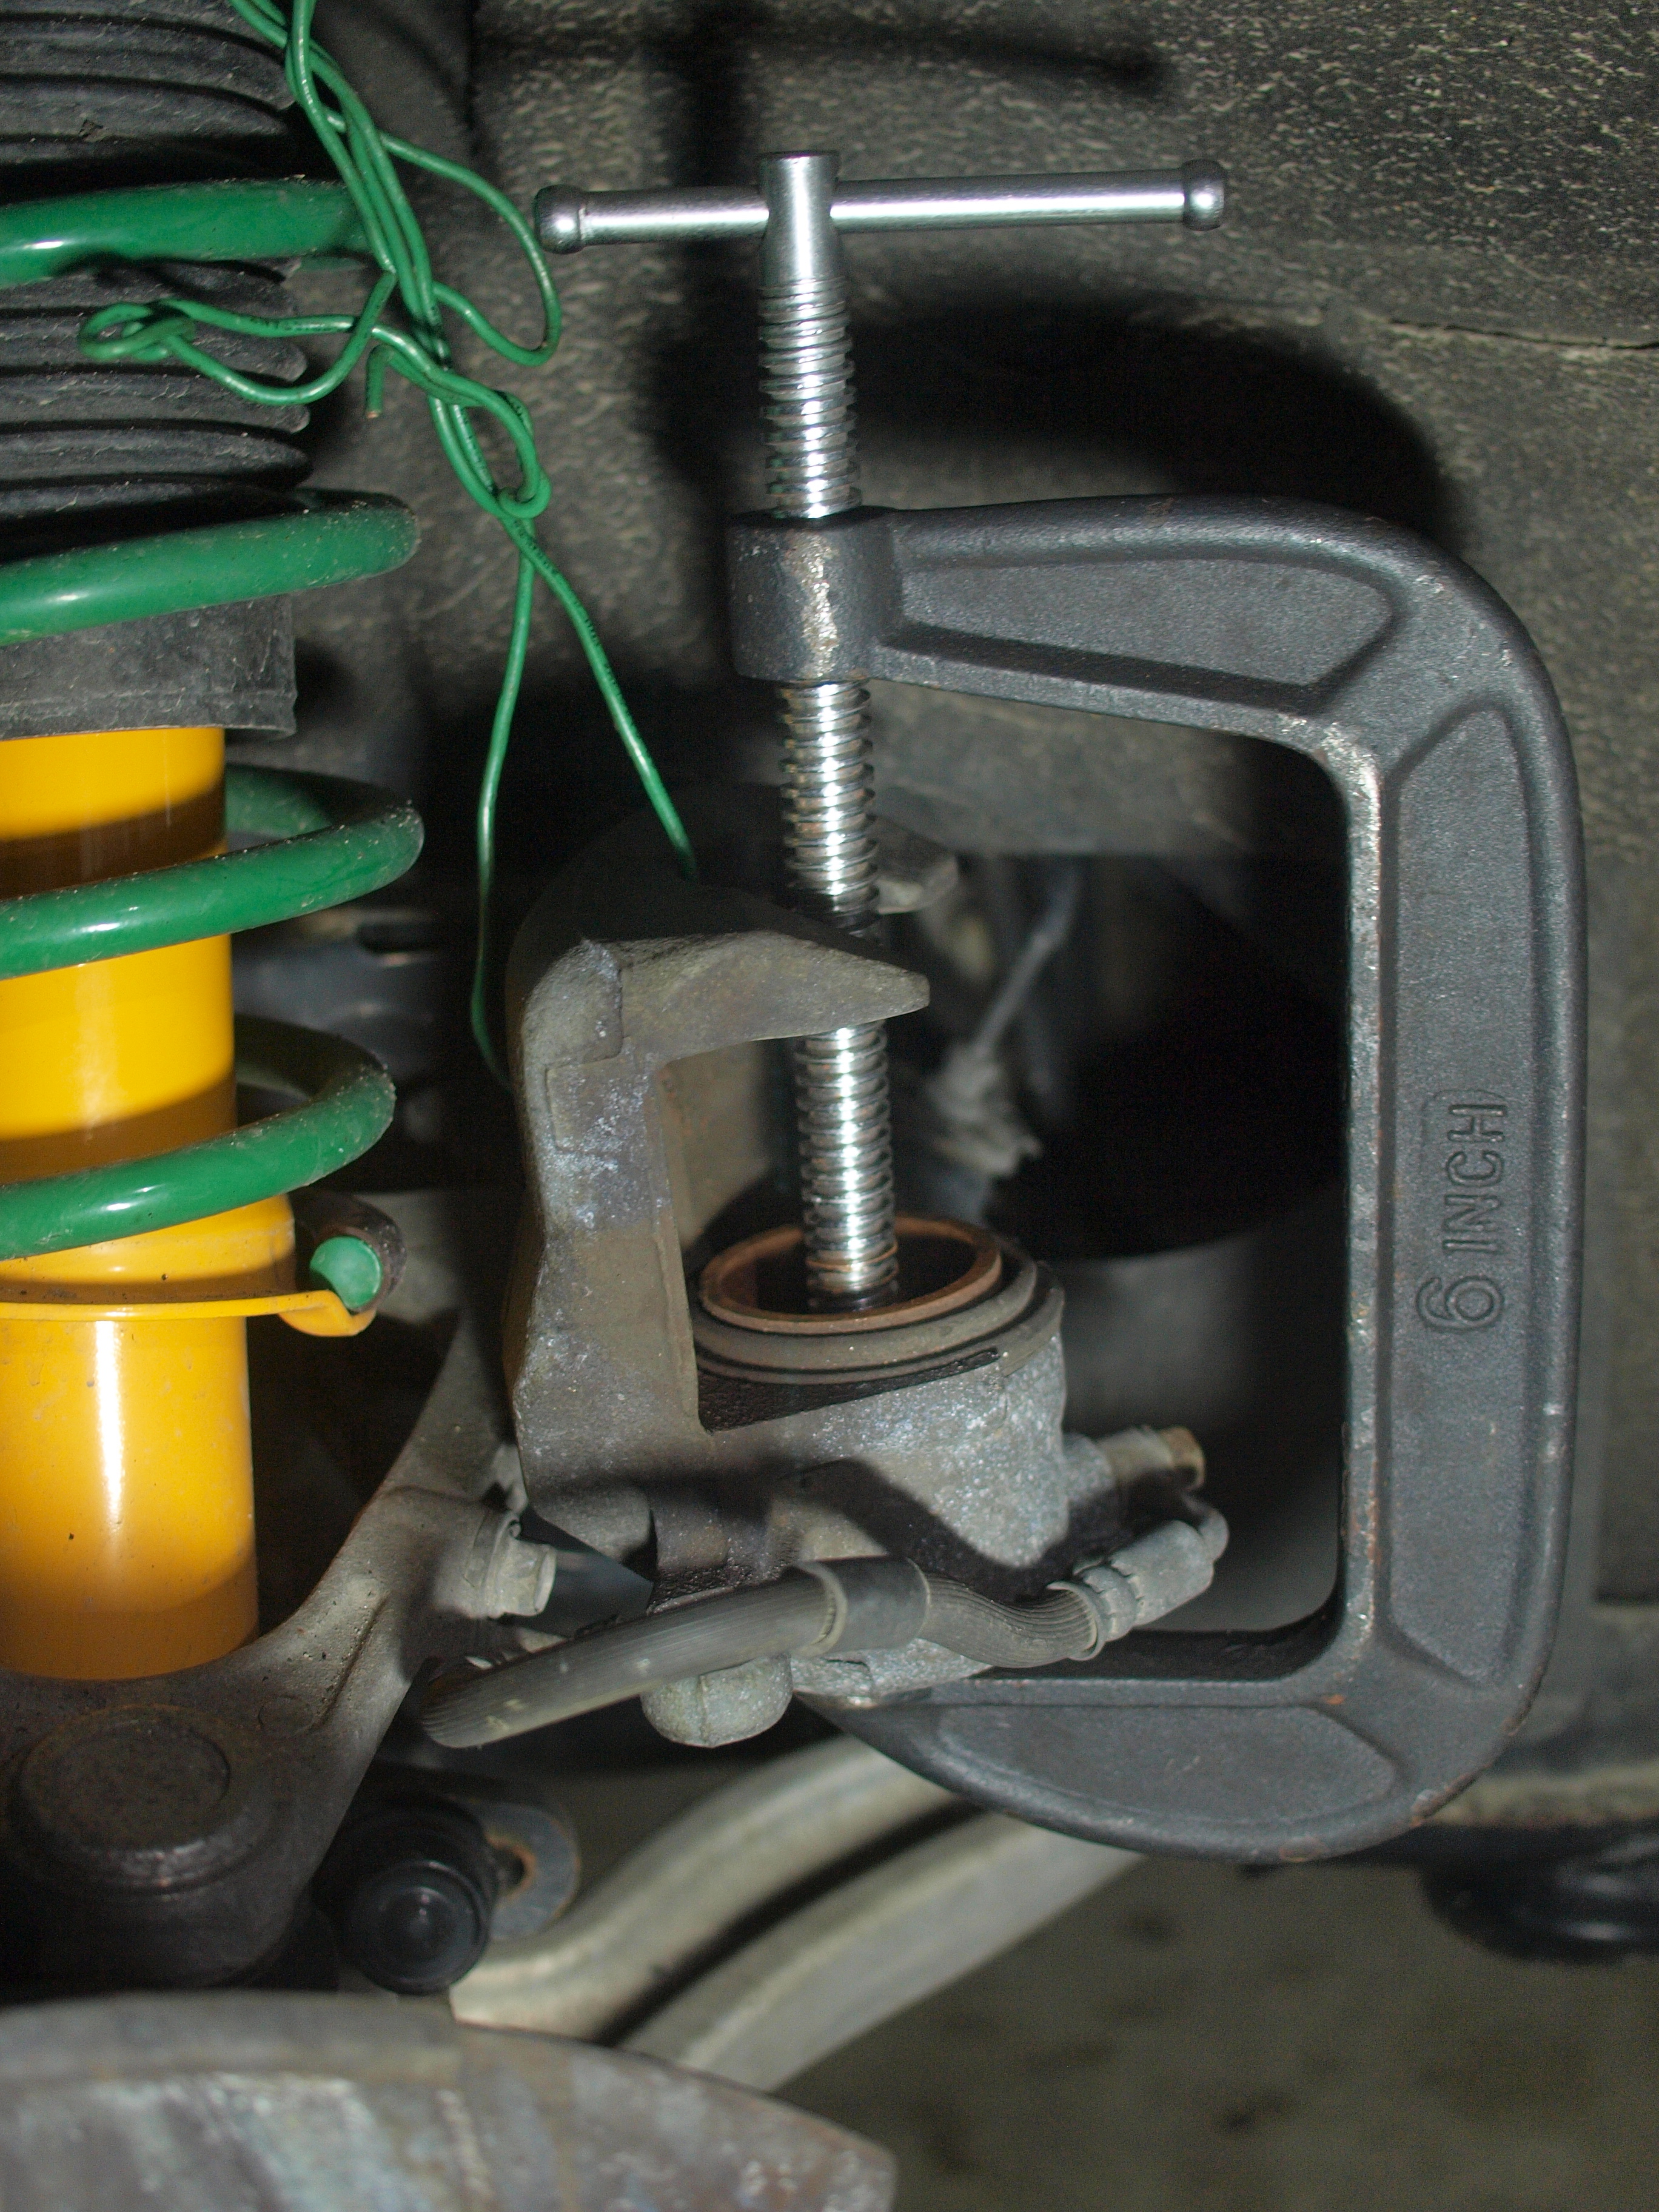
- Large (6″) C-Clamp
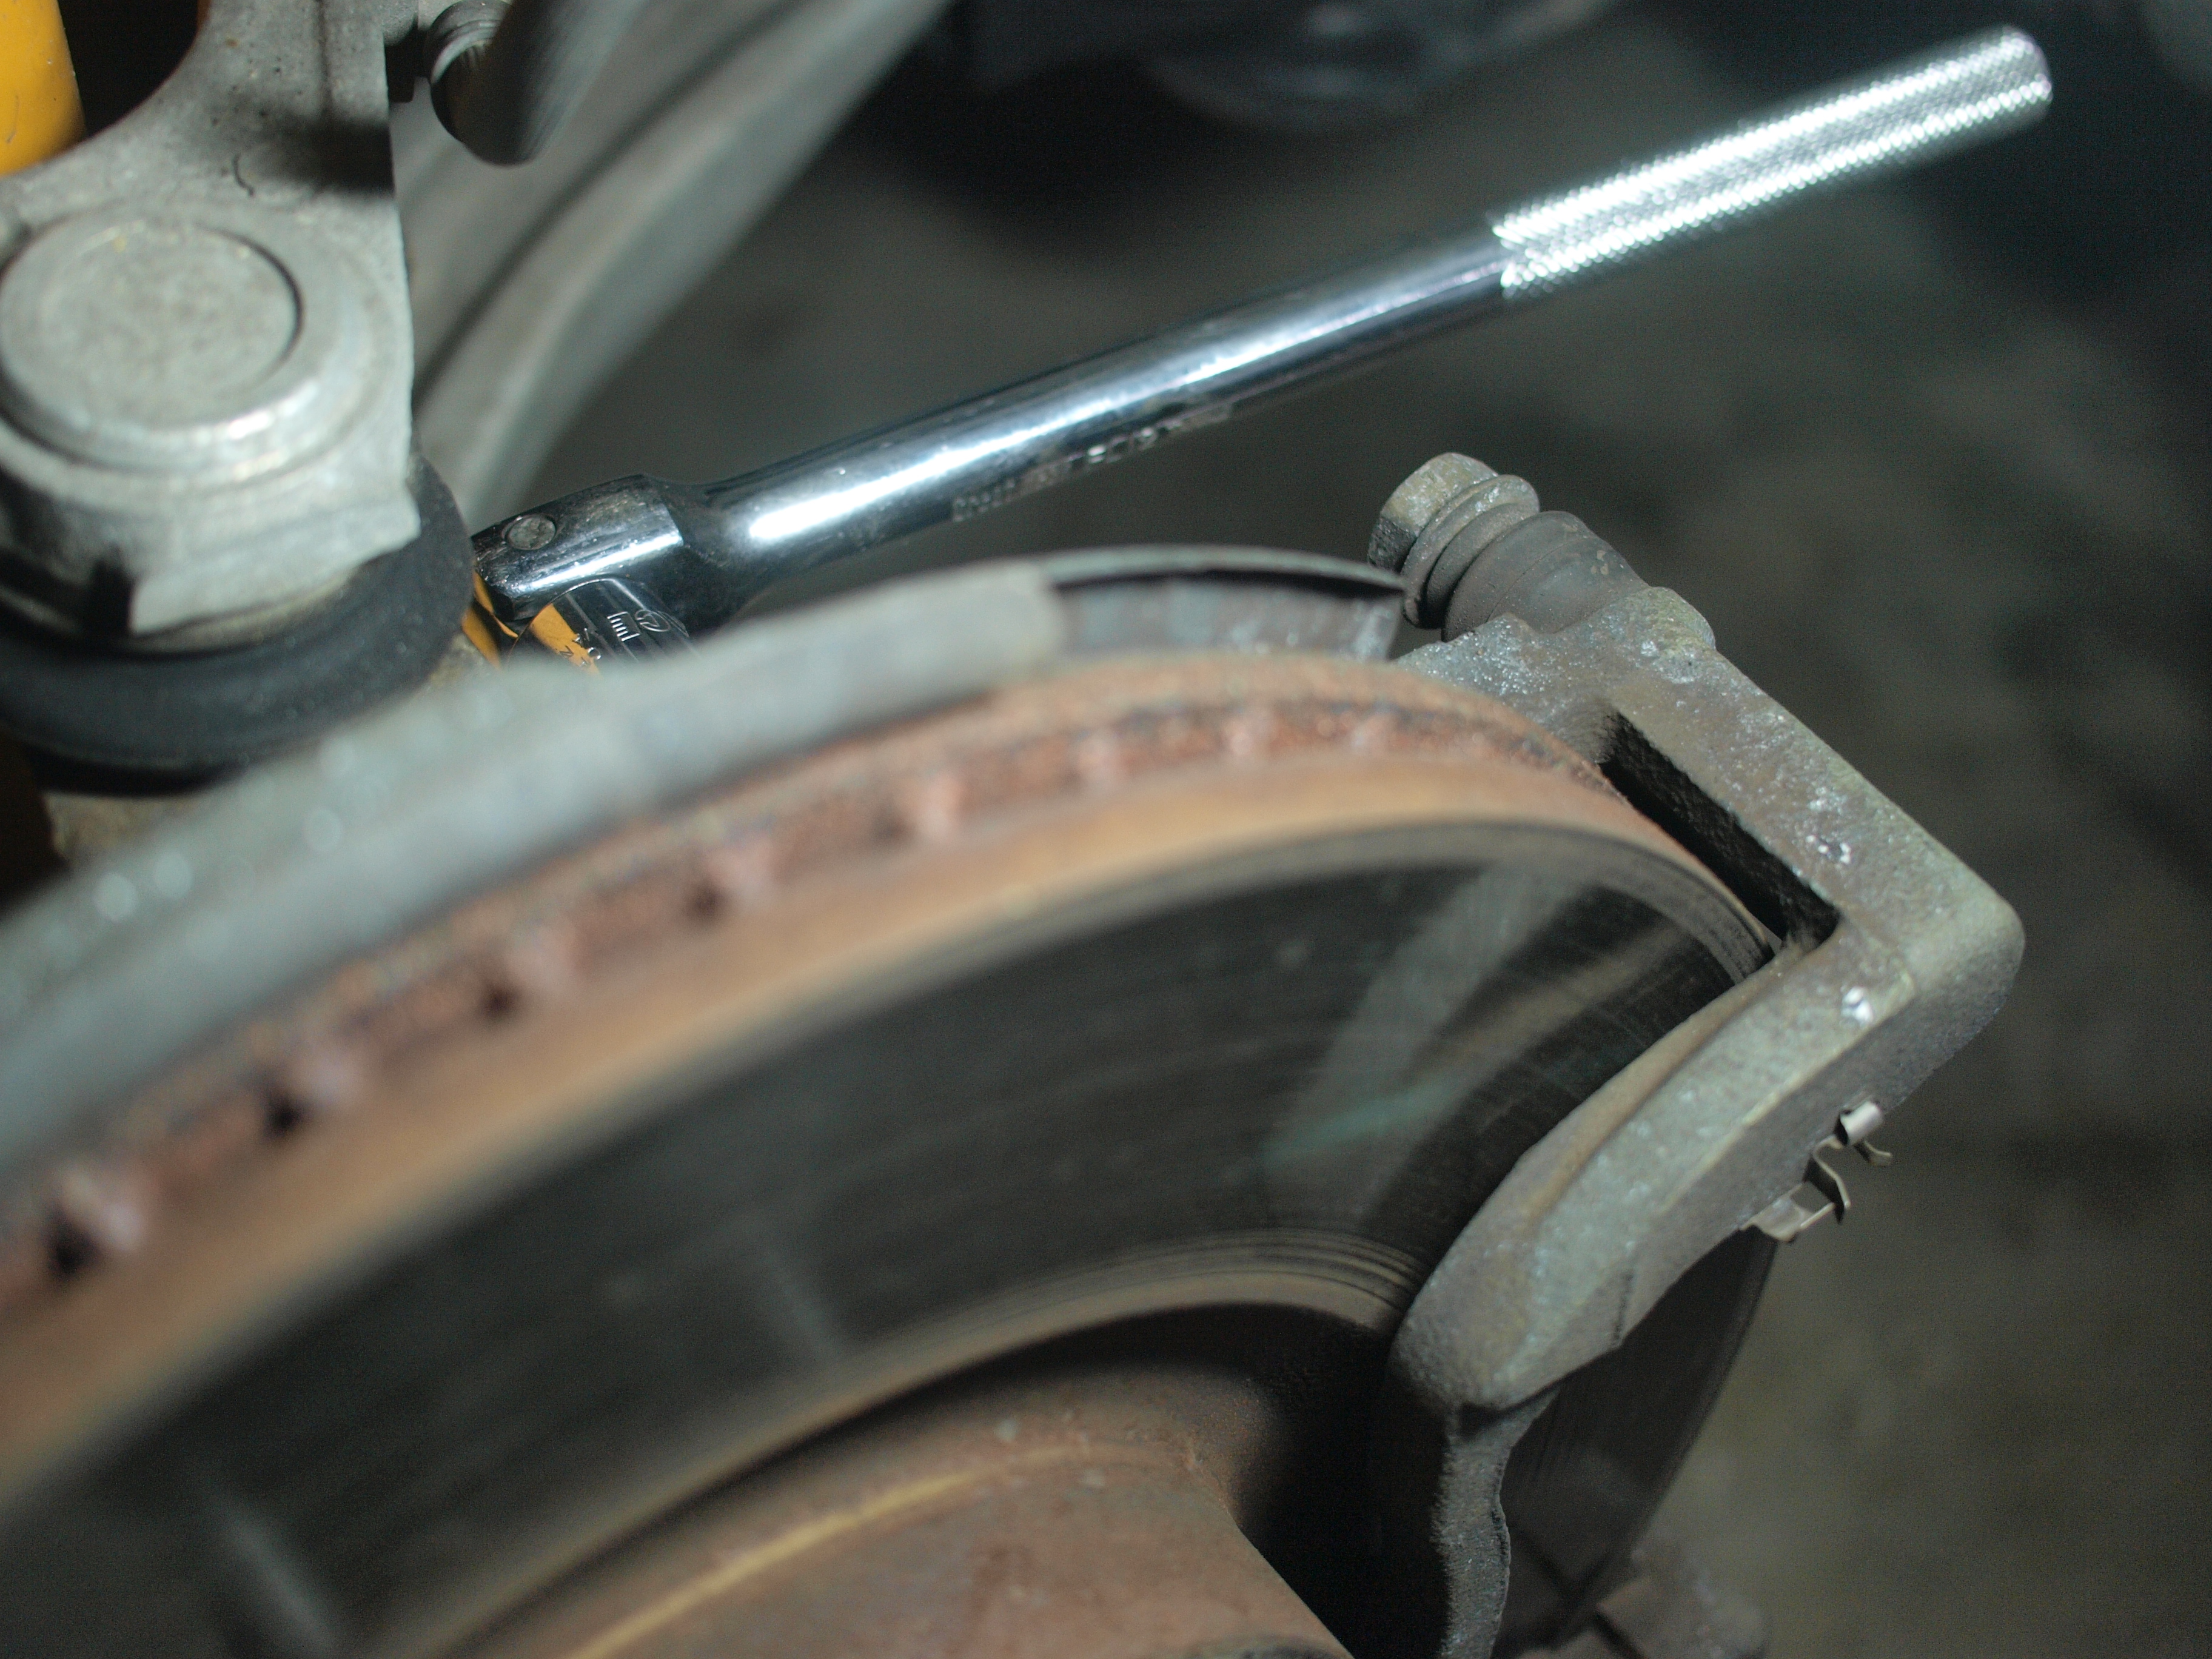

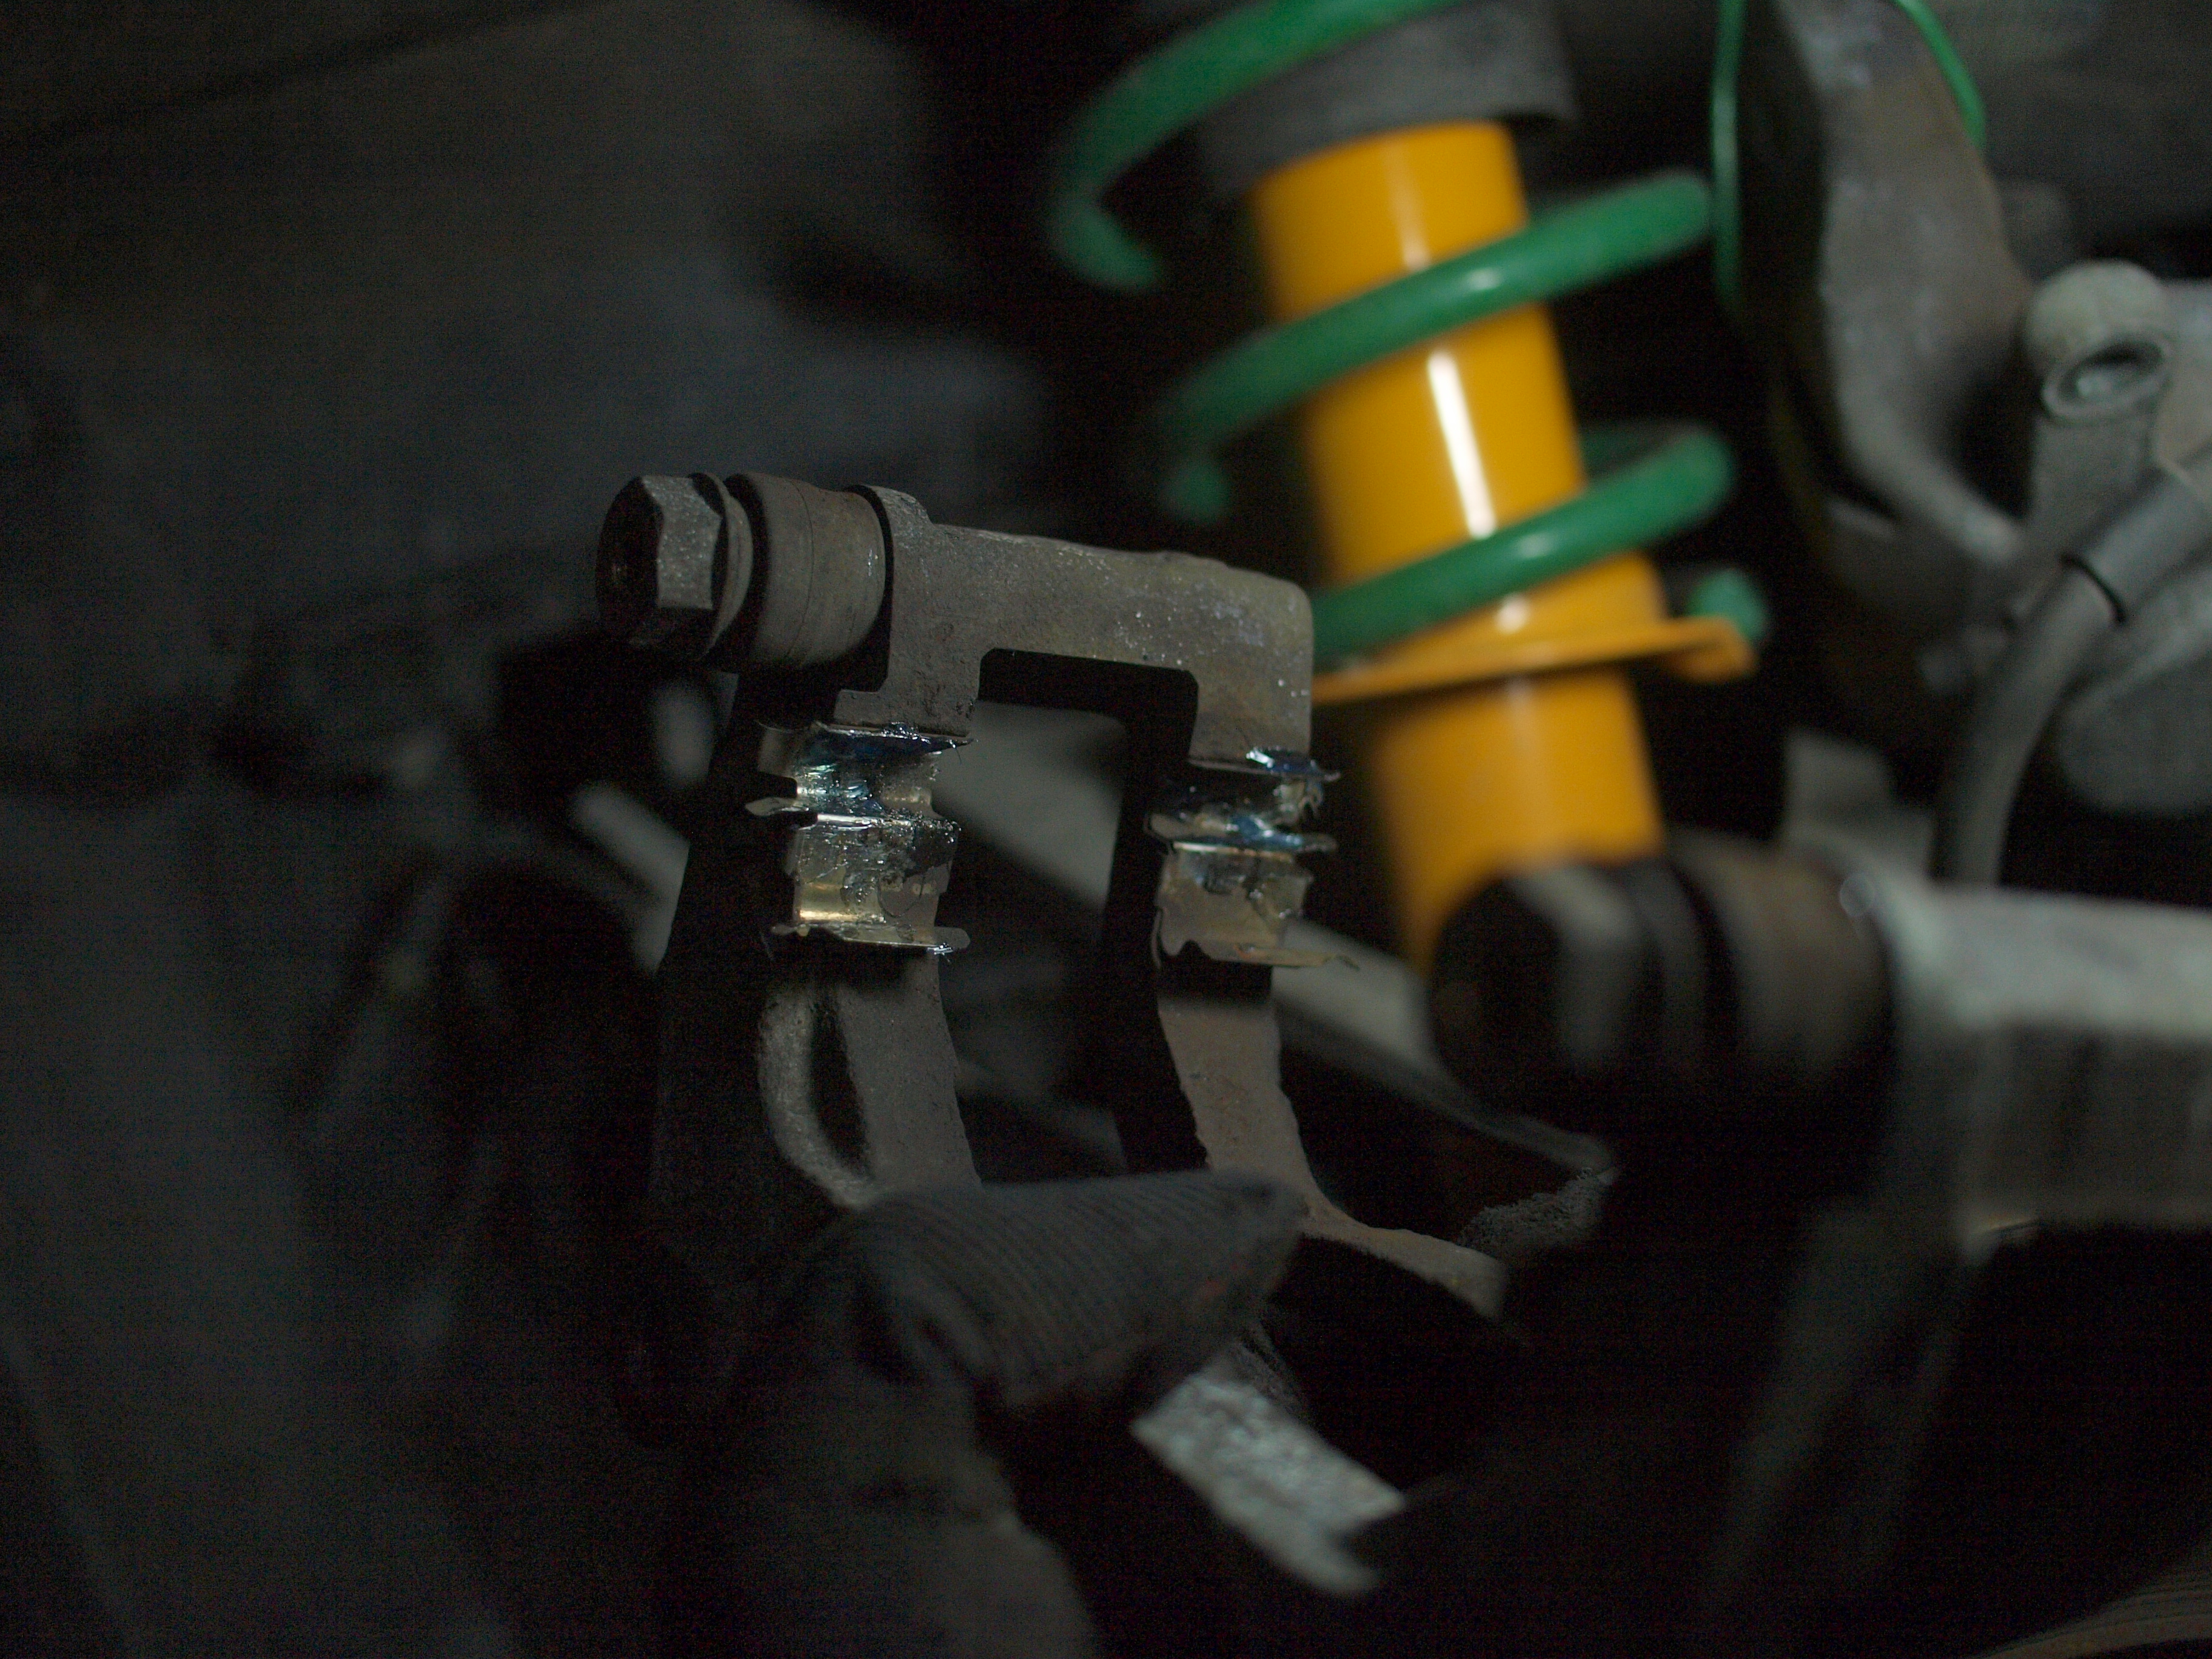

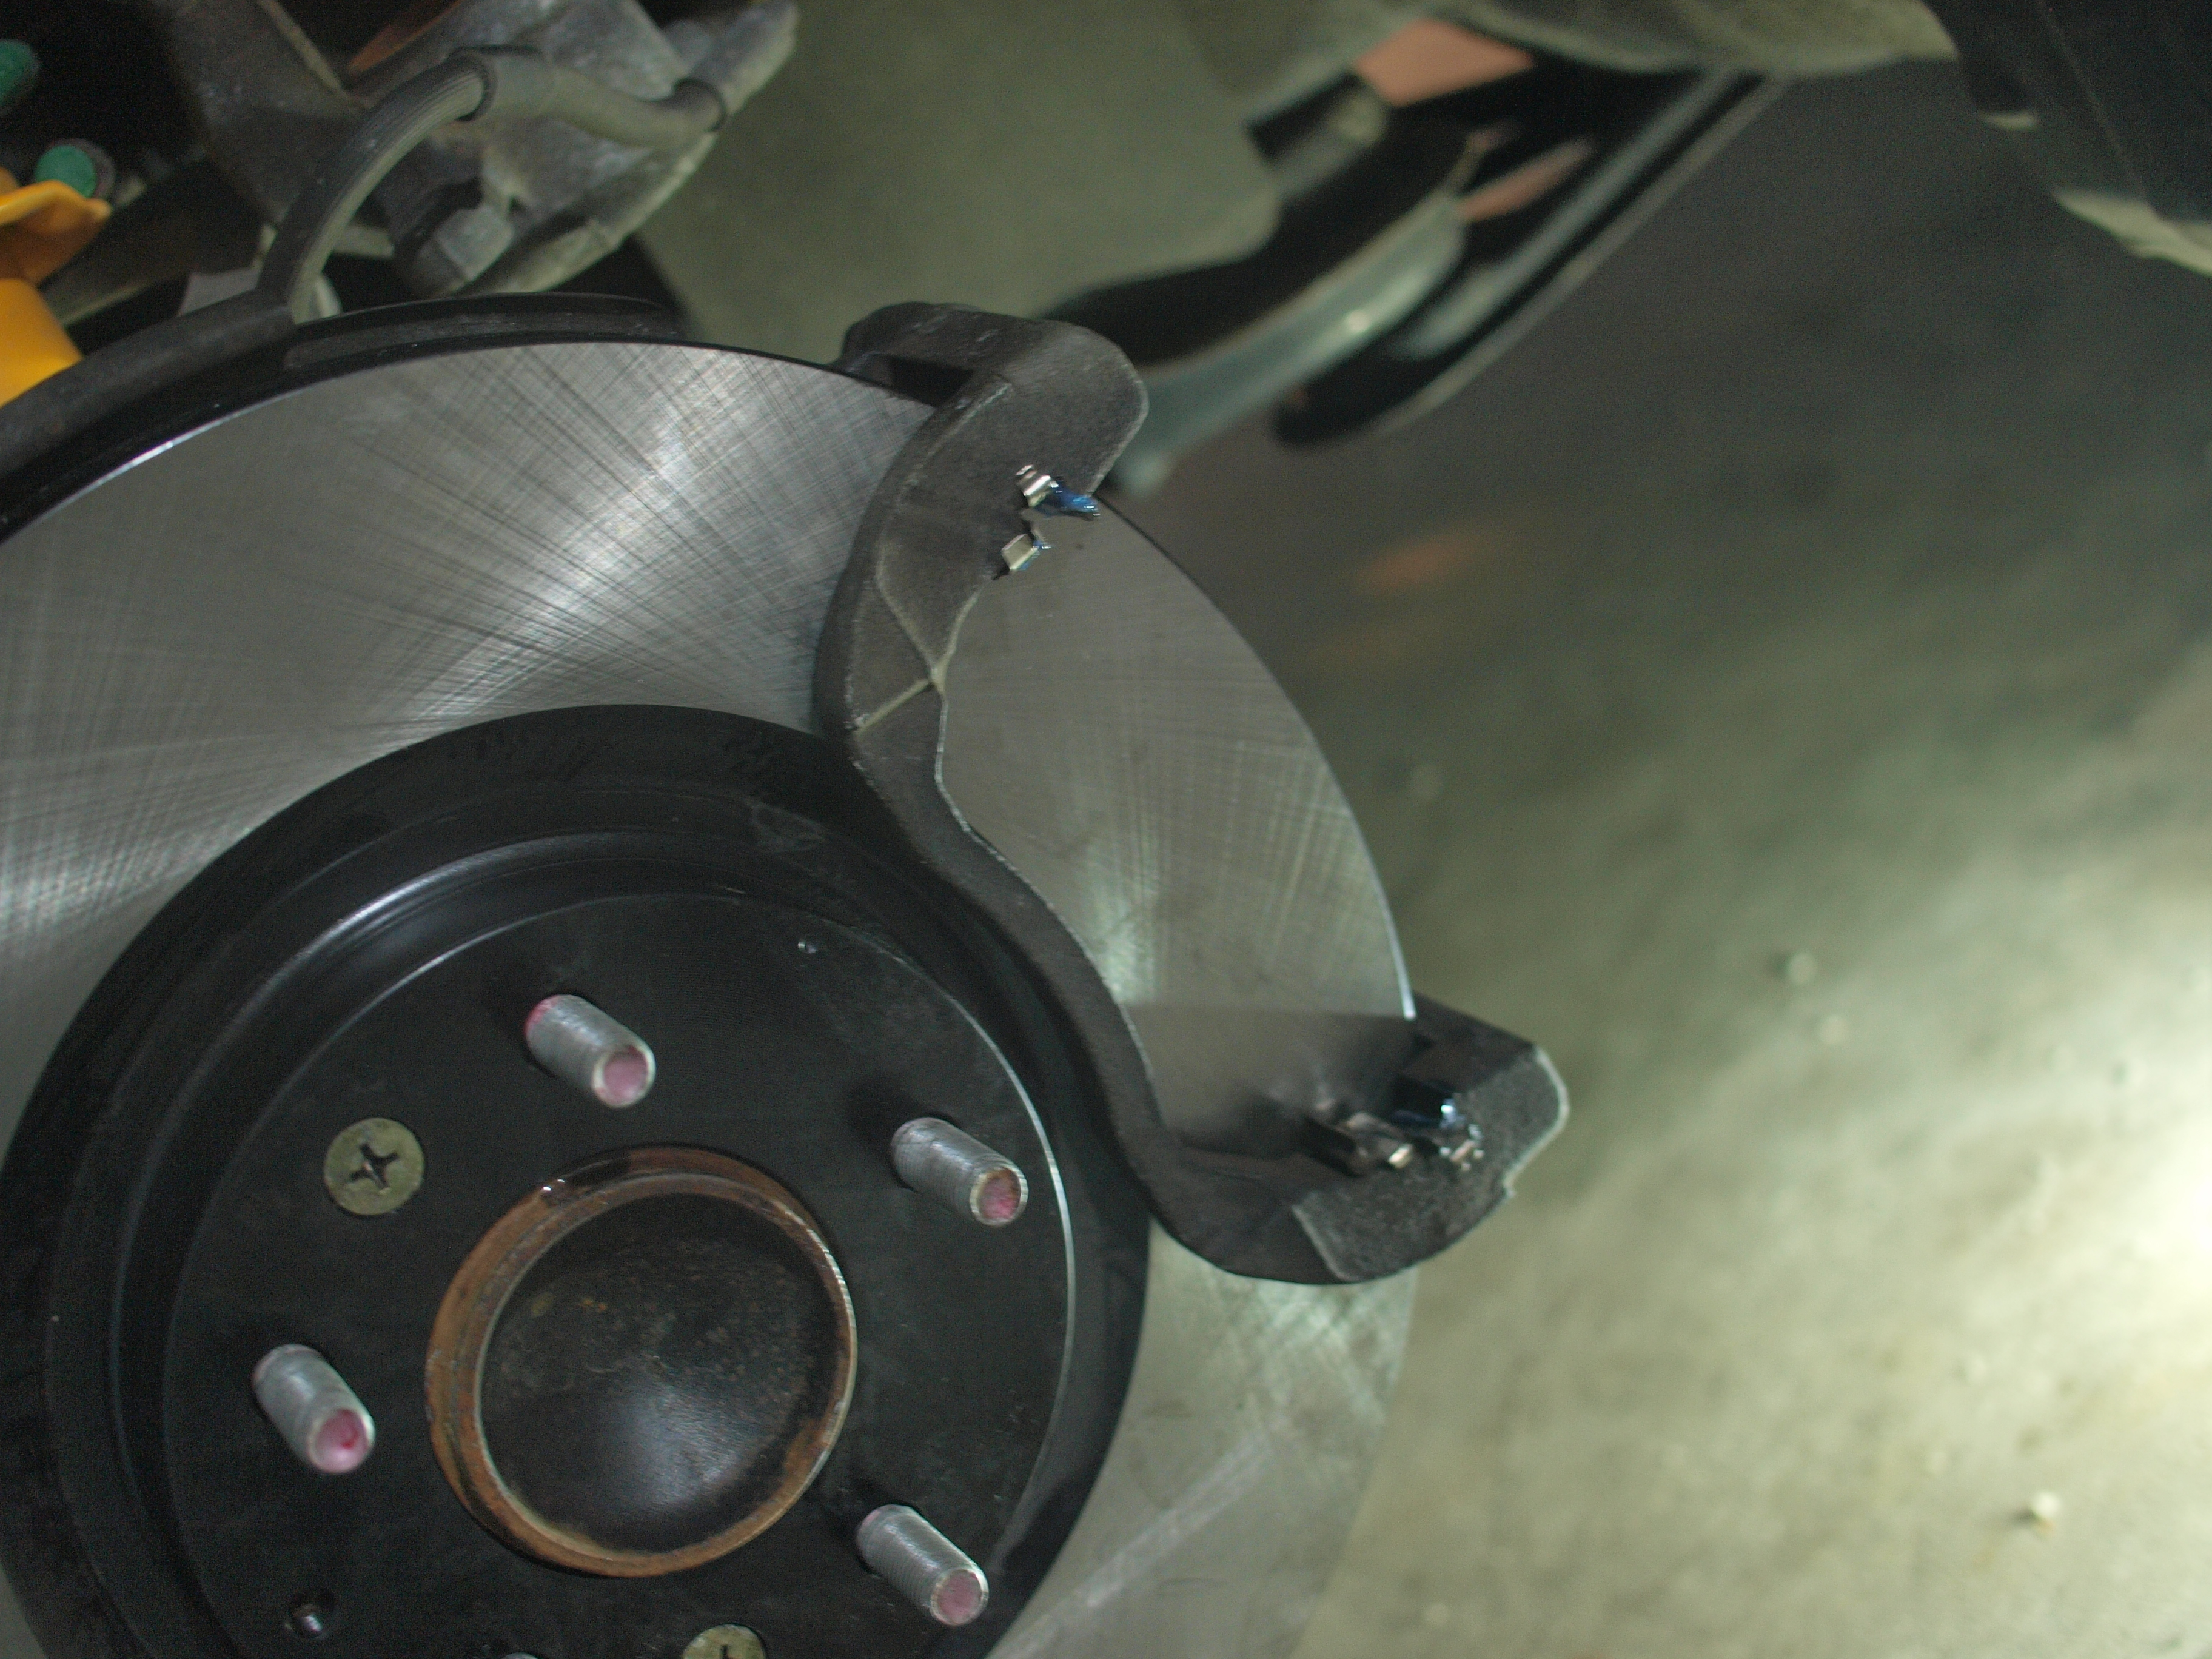
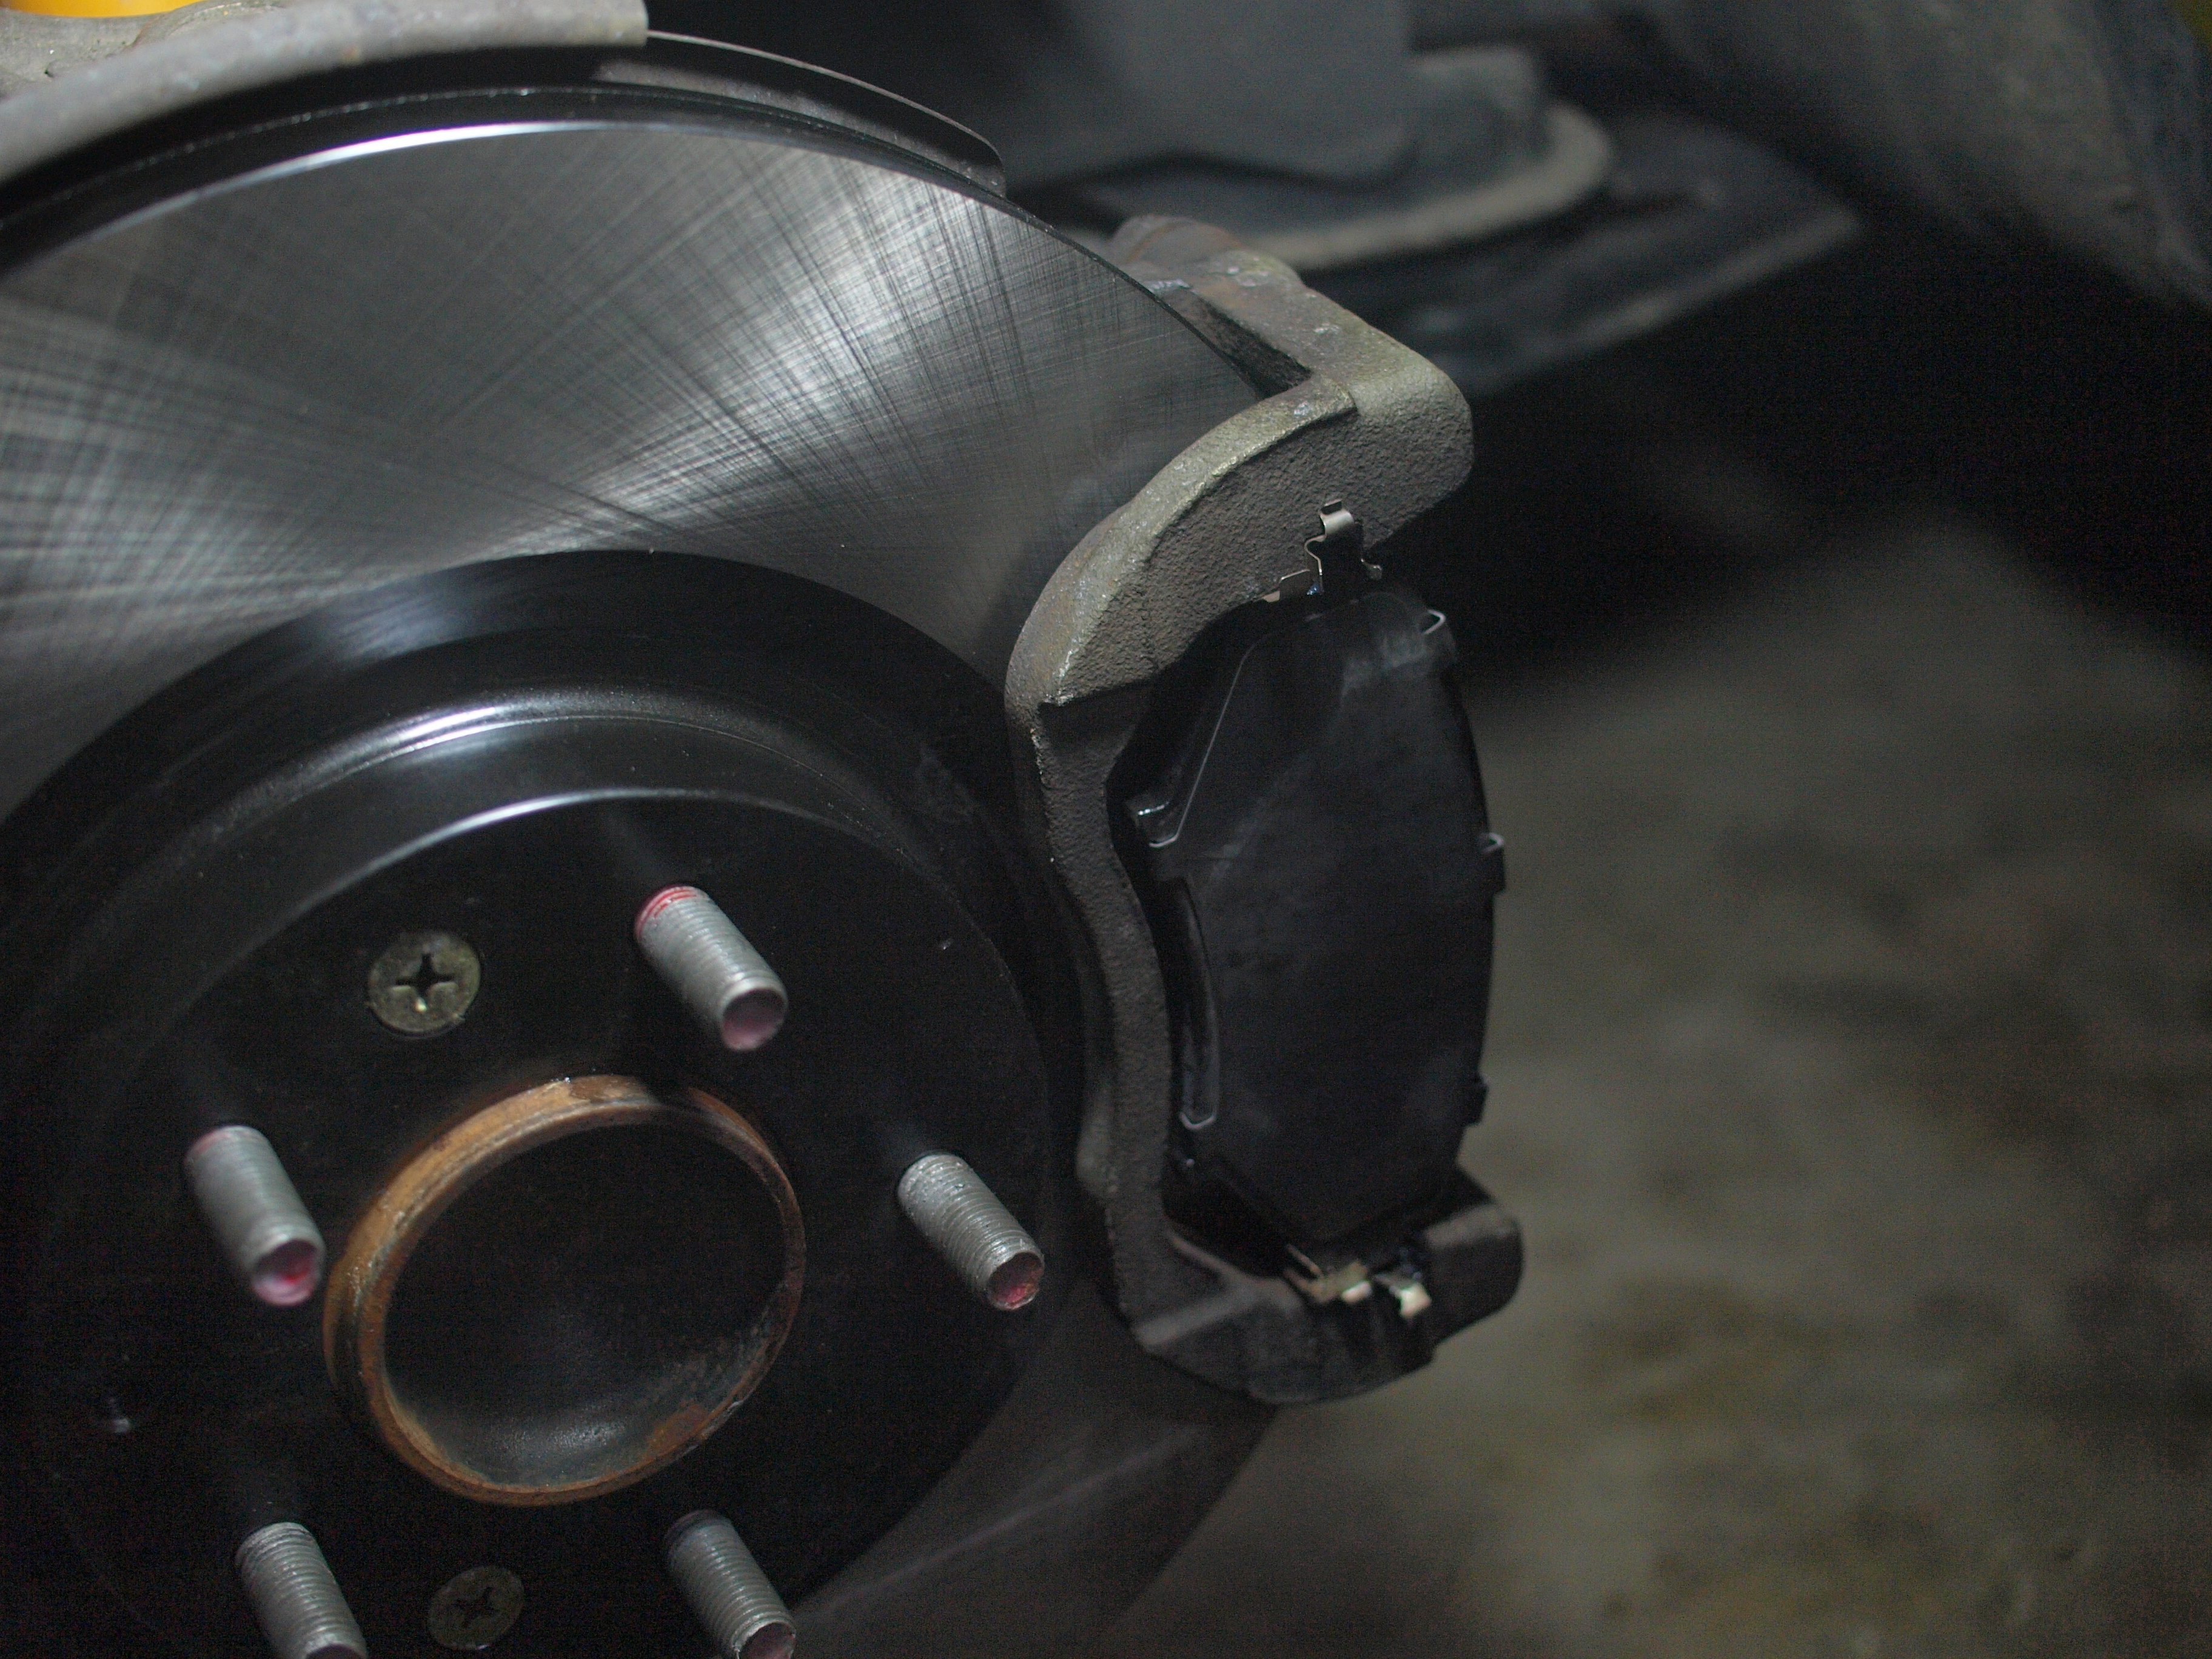
Remember to transfer the wear indicator from the old pads to the new one (only on one side).


That’s all for the front!
Continue to “DIY: Brake Job – Rear –“
1 thought on “DIY: Brake Job – Front –”