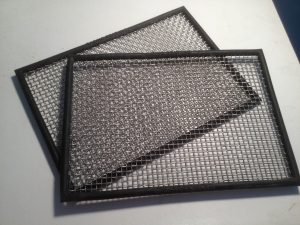
Got home from work, and found what I have been waiting for in our mailbox. Racing Beat Oil Cooler Screen from one of the forum members. I just couldn’t wait, and here goes the bumper off my car…
- Remove the plastic rivet, to remove the diversion panel. Remove 4 10mm screw under the panel, holding the bumper.
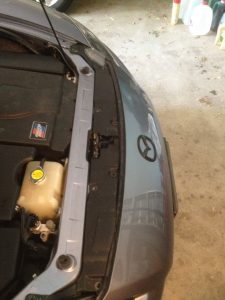
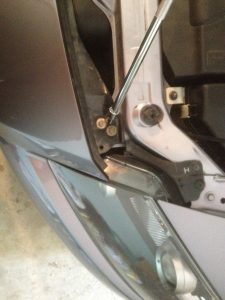
- Turn the key to “ON” position, then turn the wheel to access plastic rivet/screw in wheel wells. then remove the screw under the corner light, and pop the corner light, remove the bulb and push it behind the bumper.
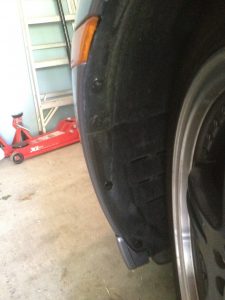
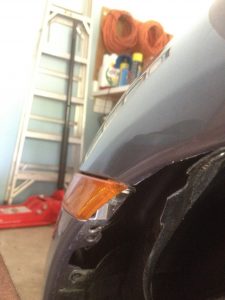
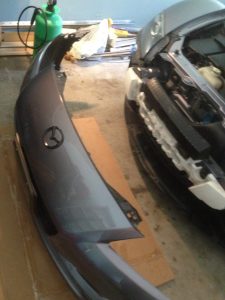
- Remove 10 screws holding the bumper under the car, and the your bumper can now be popped off. just be careful not to break the tub, drop, or scrape. Also, disconnect the fog light once you get the bumper free from the body. It would be easier if you have two people.
- remove two plastic rivet/screw holding the rubber surrounding on oil coolers, and then slide the screen into the place.
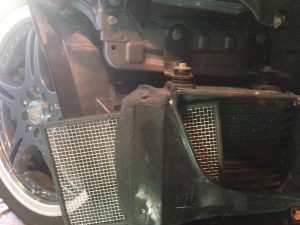
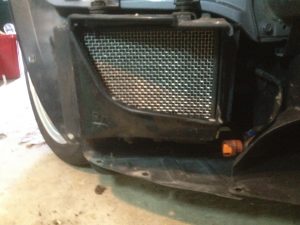
- Reverse the process to put everything back together, and if you do not have any extra screws or rivet, you did it right!
Since I did everything in garage, I didn’t have much space to take any good pictures…
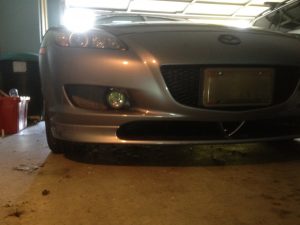
The installation took me less than an hour, including time to open the package, taking picture, get all the tools out, and put the back.
Racing Beat Oil Cooler Screen will protect your oil cooler from road debris without compromising the cooling capability. On our car, oil cooler is exposed with big opening not far from the road surface, and there’s risk puncturing while driving. It is a good investment, if you think about the disaster if it happens while you are on highway…