~~~~~~~~ Drum Roll ~~~~~~~~
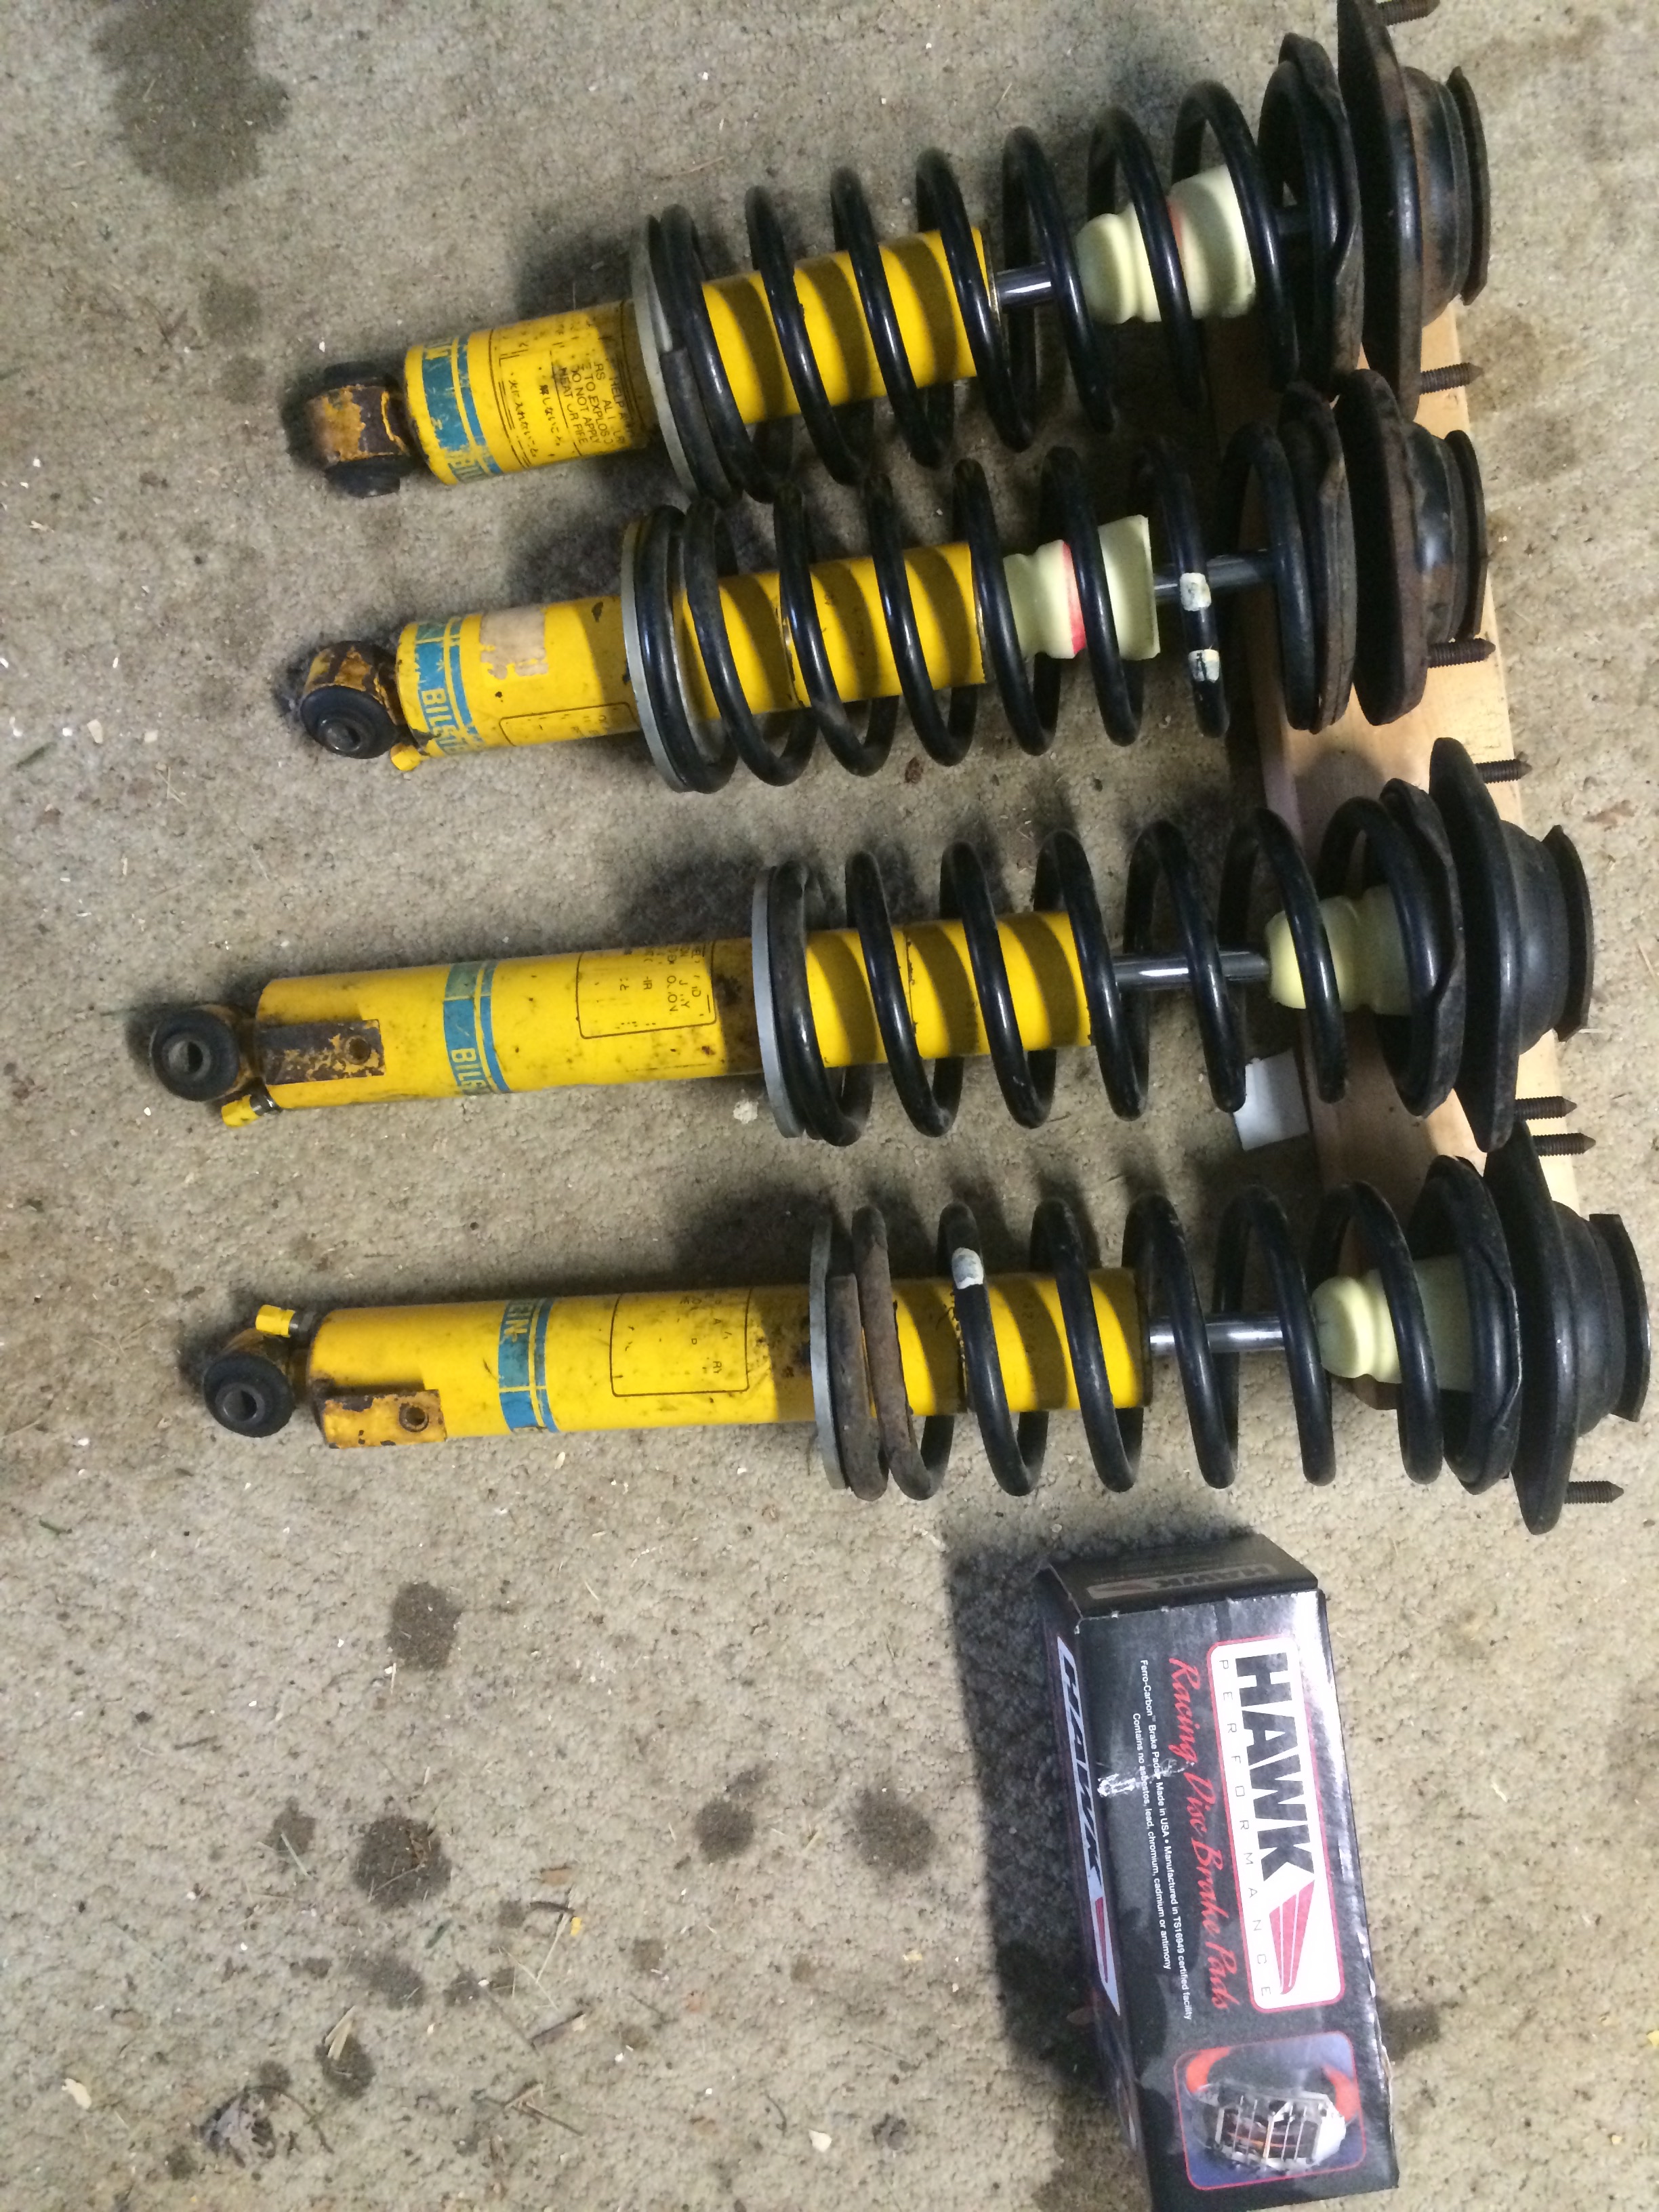
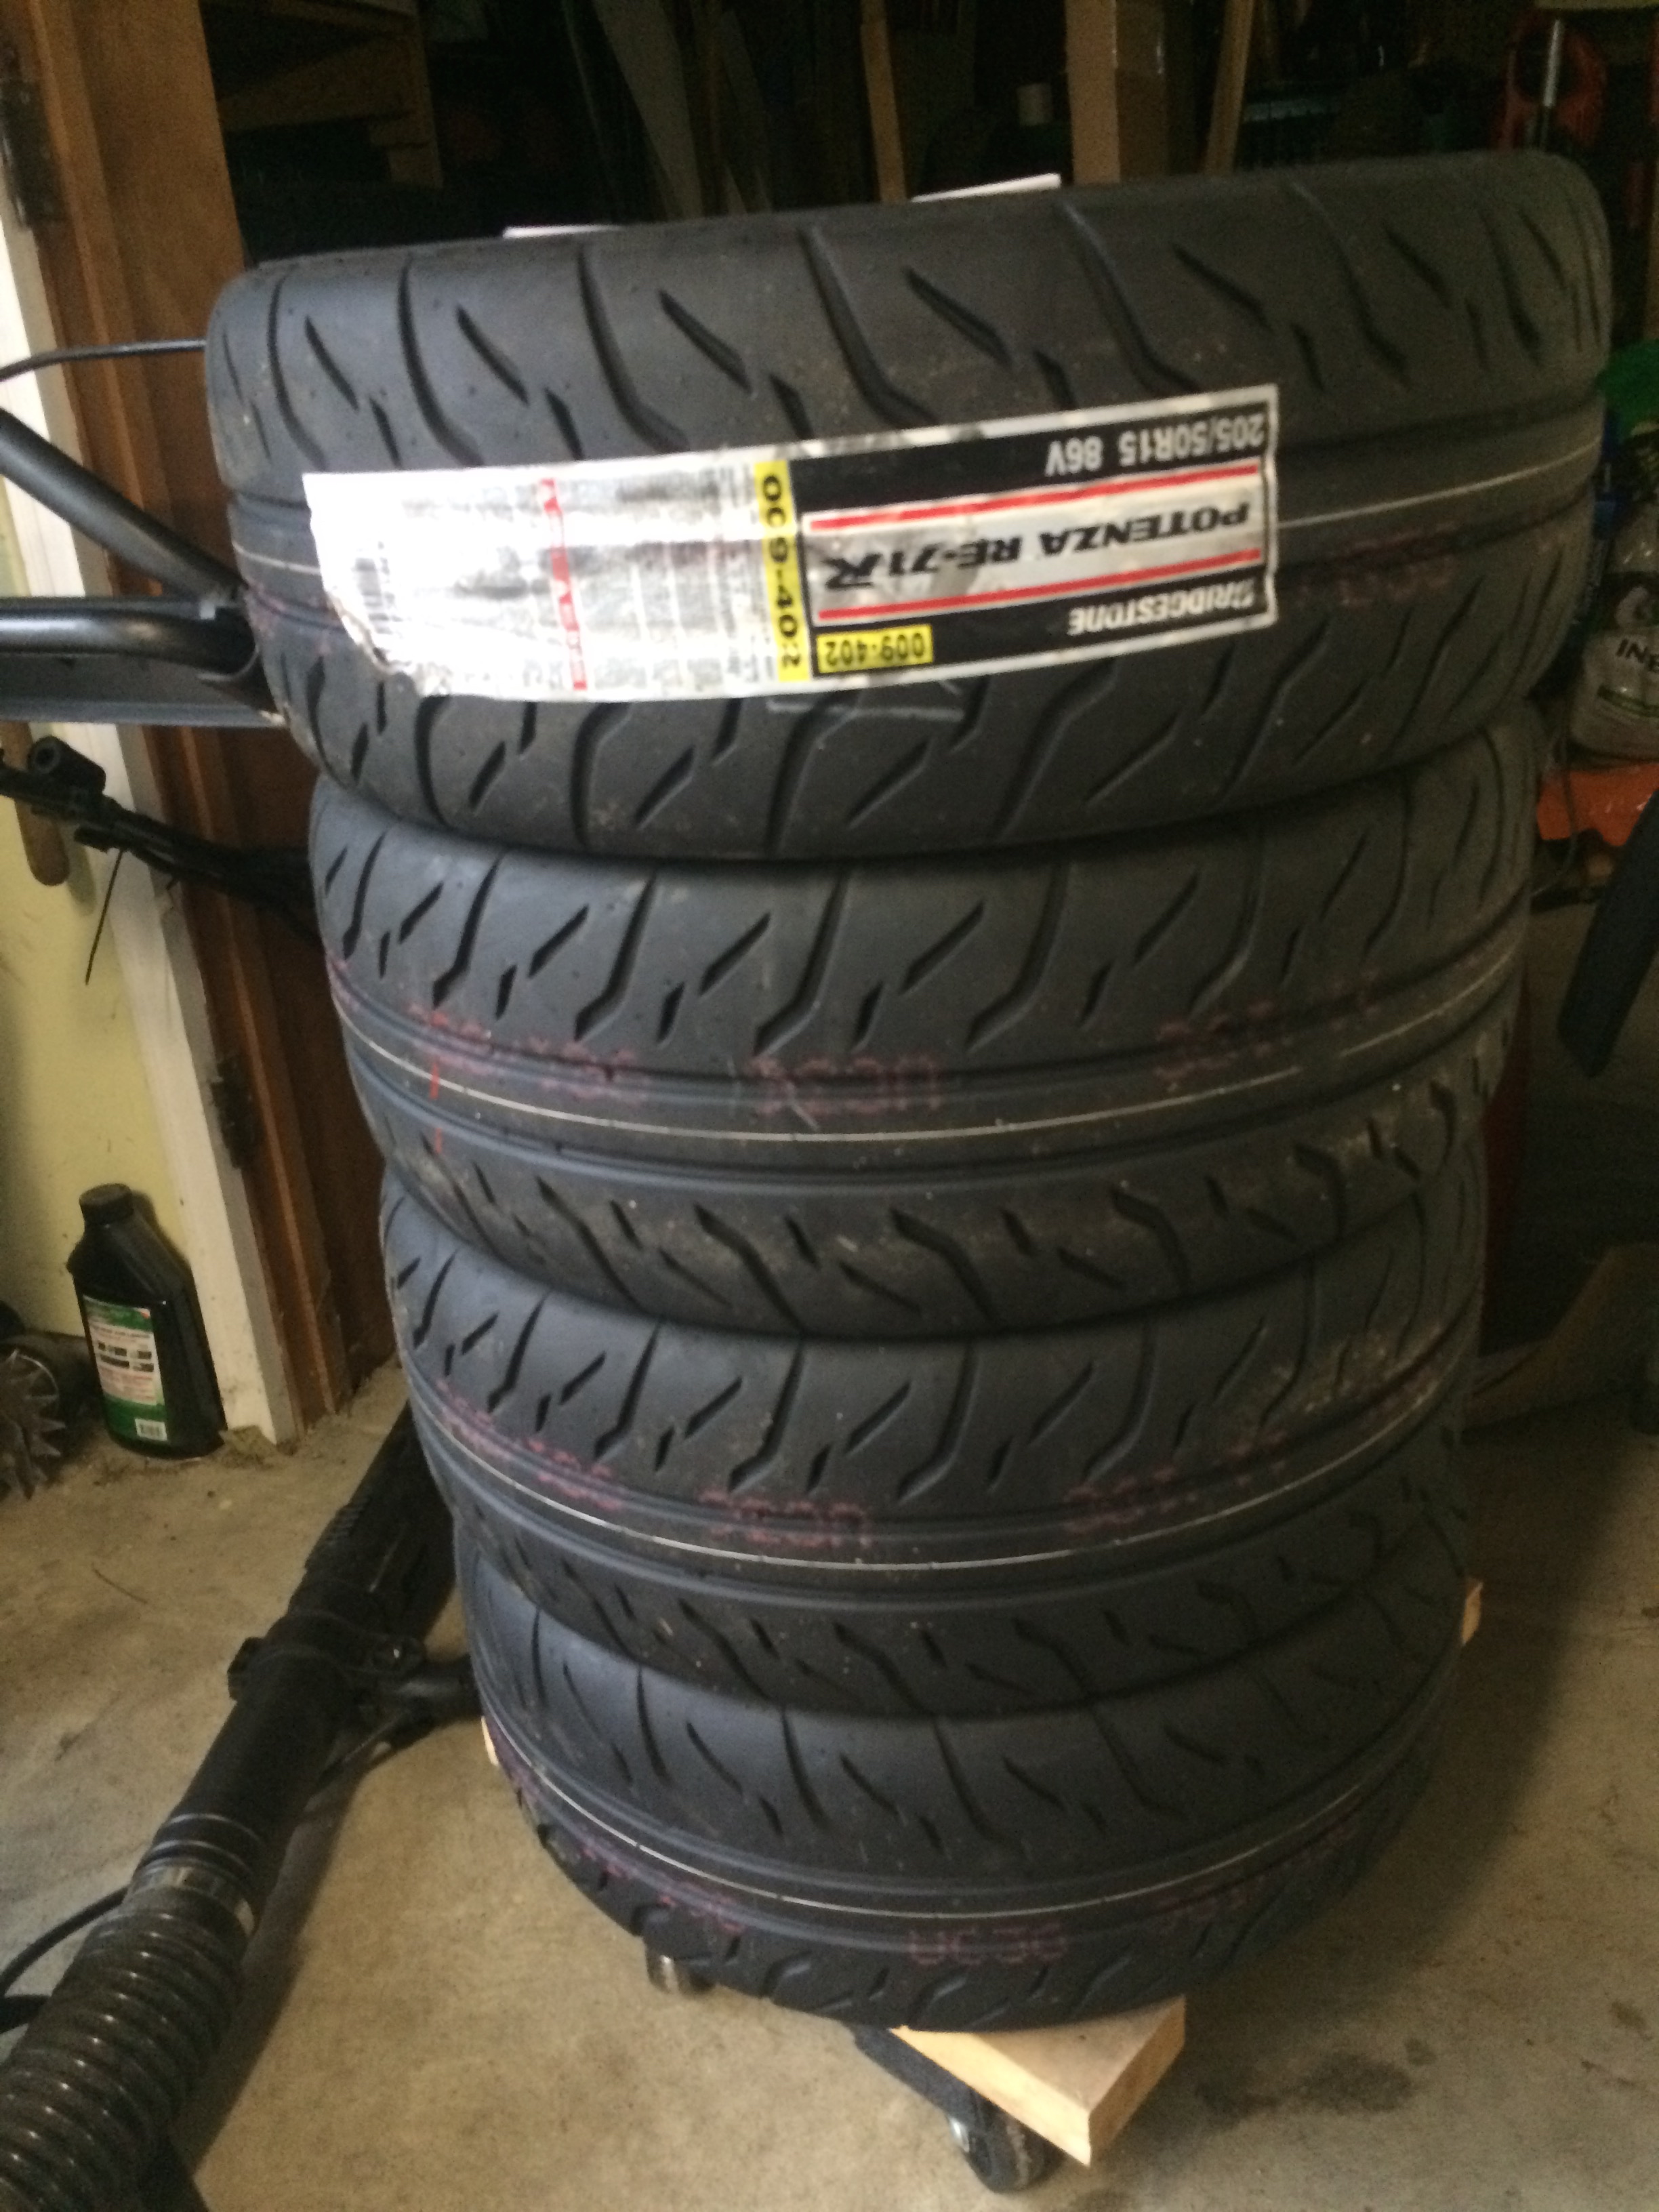
In preparation of Miata for Autocross season, I got Bilstein Shocks, Hawk HP Plus (for rear), and Brand New Bridgestone RE71-R.
Special Thanks to Matt for re-valving the shocks, and Chase, Glenn, and Hitash for helping me getting the shocks mounted!

Just for a memo… (incase I need to go back and do the shocks or brakes in the future)
Rear:
1. Remove the fuel line protection cover (4x10mm) in trunk
2. Remove 2x14mm upper shock mounting Nuts on each side. * use electric tape in side the socket to make it snug so that nut won’t fall off
3. Remove 14mm bolt/nut connecting sway bar and sway bar link
4. Remove 17mm lower shock mount bolt
5. Push down the A-Arm, remove the shock.
6. Put them back in reverse order
7. Tighten bolts under load by pushing up the A-arm with jack.
Front:
1. Remove 2x14mm Upper shock mounting Nuts
2. Remove 2×14 Sway bar / sway bar link bolt/nut
3. Remove 17mm lower
4. Loosen 2x14mm sway bar mount bolts to give clearance for next step.
5. Remove Upper Rear A-arm bolt (Long Bolt) using 21mm box wrench and 21mm Socket and breaker bar
6. Push down the lower A-arm and remove the shocks.
7. Put them back in reverse order
8. Push up the lower control arm with jack and re-tighten all bolts.
Rear Brake Pads:
1. Remove 14mm bolts behind the caliper to access parking brake adjustment screw
2. Loosen brake adjustment screw 3-4 turns (4mm hex)
3. Remove 12mm caliper pin (covered with plastic cap)
4. Swing up the caliper, hold in place, and remove old pads
5. Install new pads, sims, and spring
6. Push back the caliper piston with c-clamp, and slide back on to the pads.
7. Put the caliper pin back in.
8. Turn the parking brake adjustment screw until wheel hub does not turn, and then back off 1/3 turn.