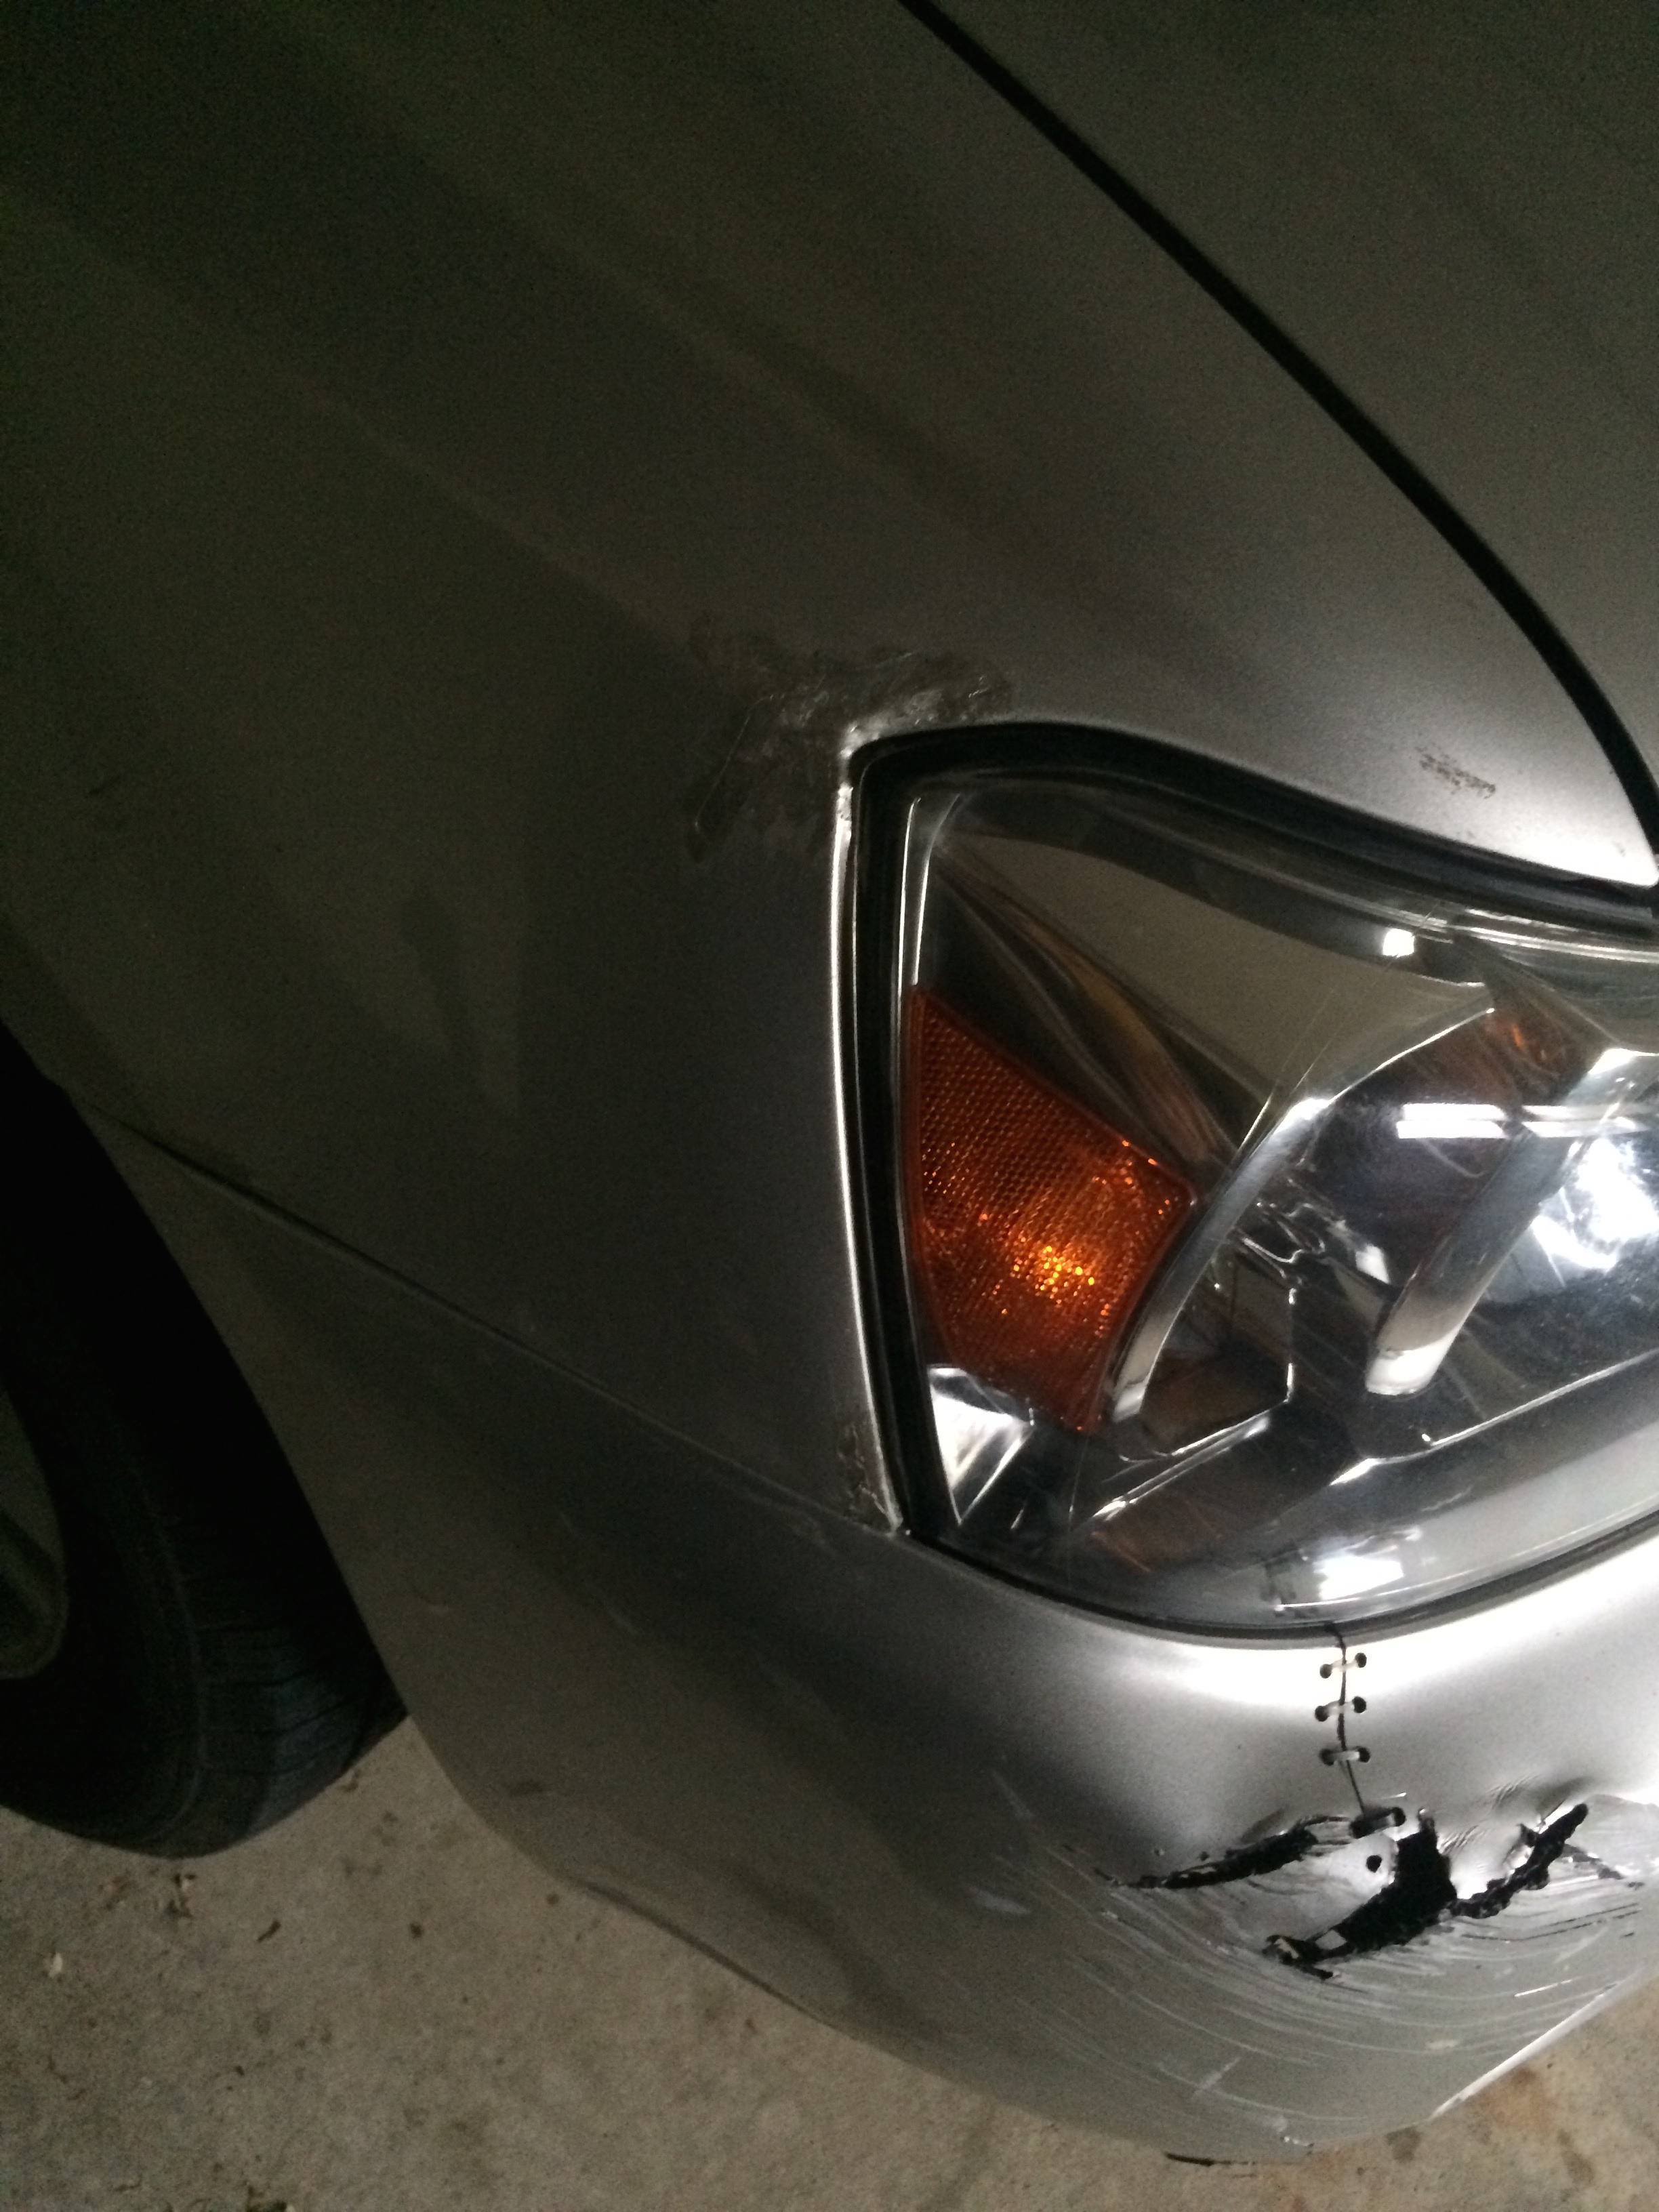
We had some mishap and made some dent on our Highlander.
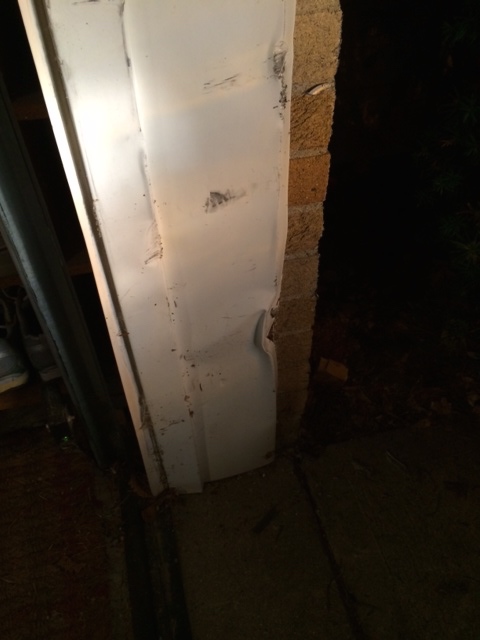
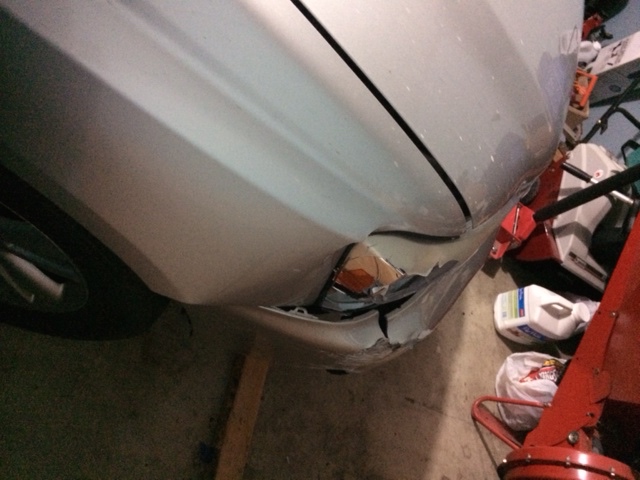
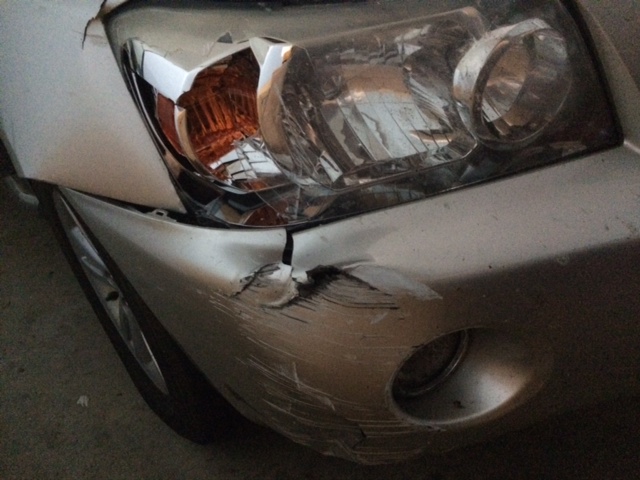
Got Replacement Headlights, Unpainted Bumper Cover
, (which I still need to paint), and then fixed the fender with muscle, hammer, and some elbow grease… Since it was a little “kiss” with the garage door frame, there were not frame damage.

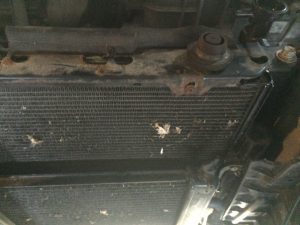
However, after a few days, I noticed small leak of coolant, and within a week or so, the leak got much work worse to the point I decided to bite a bullet and replace the radiator.
Thanks to AutoZone, I found a step by step instruction of how to remove and install radiator. I found Replacement Radiator on Amazon for less than $100, and some coolant.
As always, I forgot to take pictures, as I start taking it apart, so those are pictures I took as I put them back together… Here’s the step by step instruction with slight modification to the one from AutoZone…
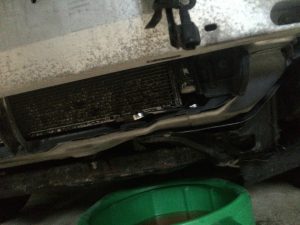
- Remove under tray
- there are several 10mm bolts and plastic clips holding the under tray
- While you are at it, remove all clips and bolts that holds bumper as well
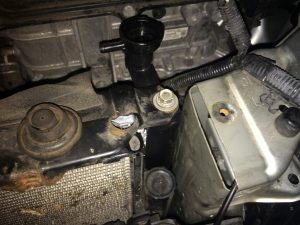
- Drain Coolant.
- Coolant drain valve is on right side of the car
- Place drain pan under the car, and then attach hose to the drain valve
- While waiting for draining, remove the bumper cover
- Remove Air Intake scoop by loosening retainer band, and two bolts
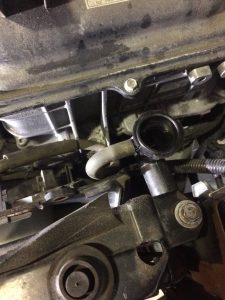
- Disconnect radiator inlet hose (on top right), and outlet hose (bottom left, under the car)
- use pick or flathead to lift the edge a little, and then spray WD40 will make the hose come of rather easily
- Remove Hool Lock Assembly
- Remove plastic cover by detach claw on bottom
- Remove 3 bolts
- Disconnect electrical connector
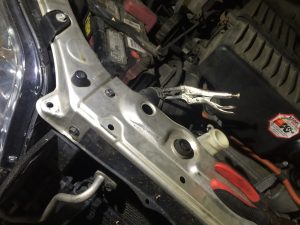
- Remove the Radiator Upper Support Sub Assembly
- Remove 5 bolts (2 on top, 2 in front and 1 in center behind hood lock assembly
- Disconnect Horn Connector
- Detach from the the suction tube bracket
- Remove Upper Radiator Support
- Unclip the Horn Connector, and outside temp sensor cable
- Remove 2 10mm bolts on top , and 2 philips screws
- Remove Fan Shroud
- Disconnect Coolant reservoir house from radiator
- Disconnect electrical connector from the fan ECU
- Detach wiring from the shroud
- Detach hose from the clip at the bottom of the fan shroud
- Remove 4 bolts (2 on top, 2 at bottom) and remove the fan shroud
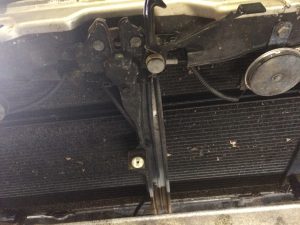
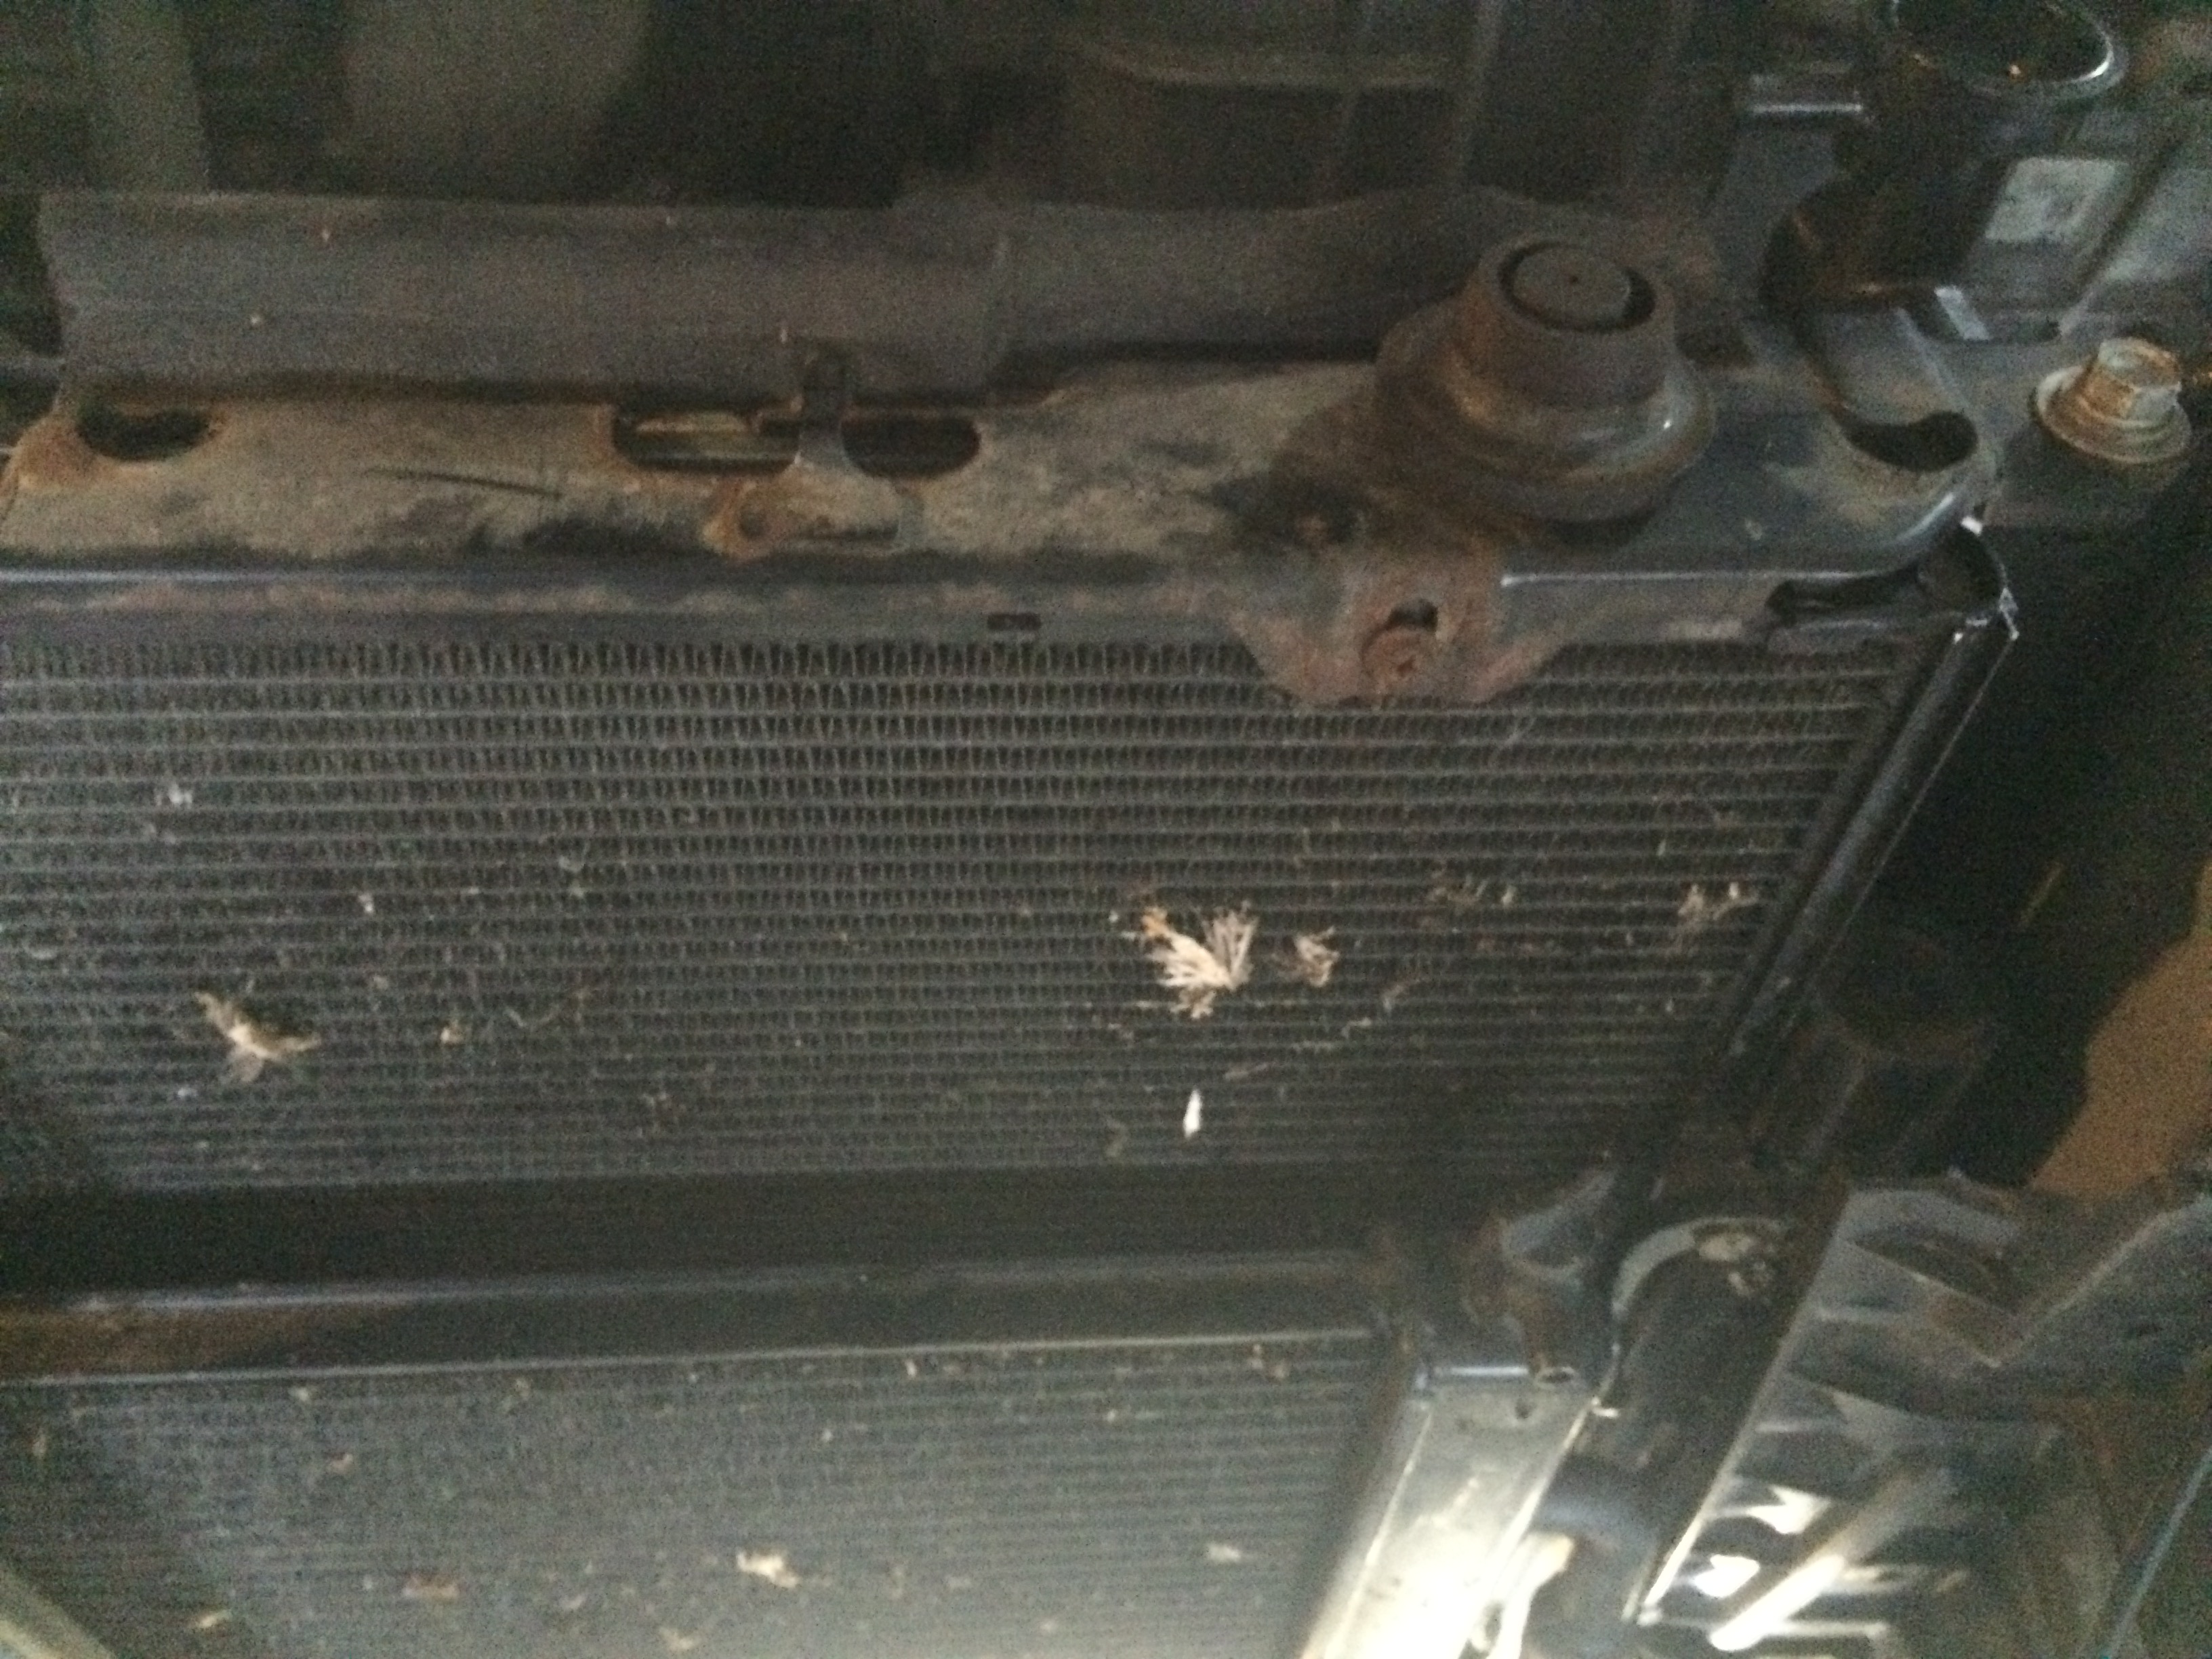
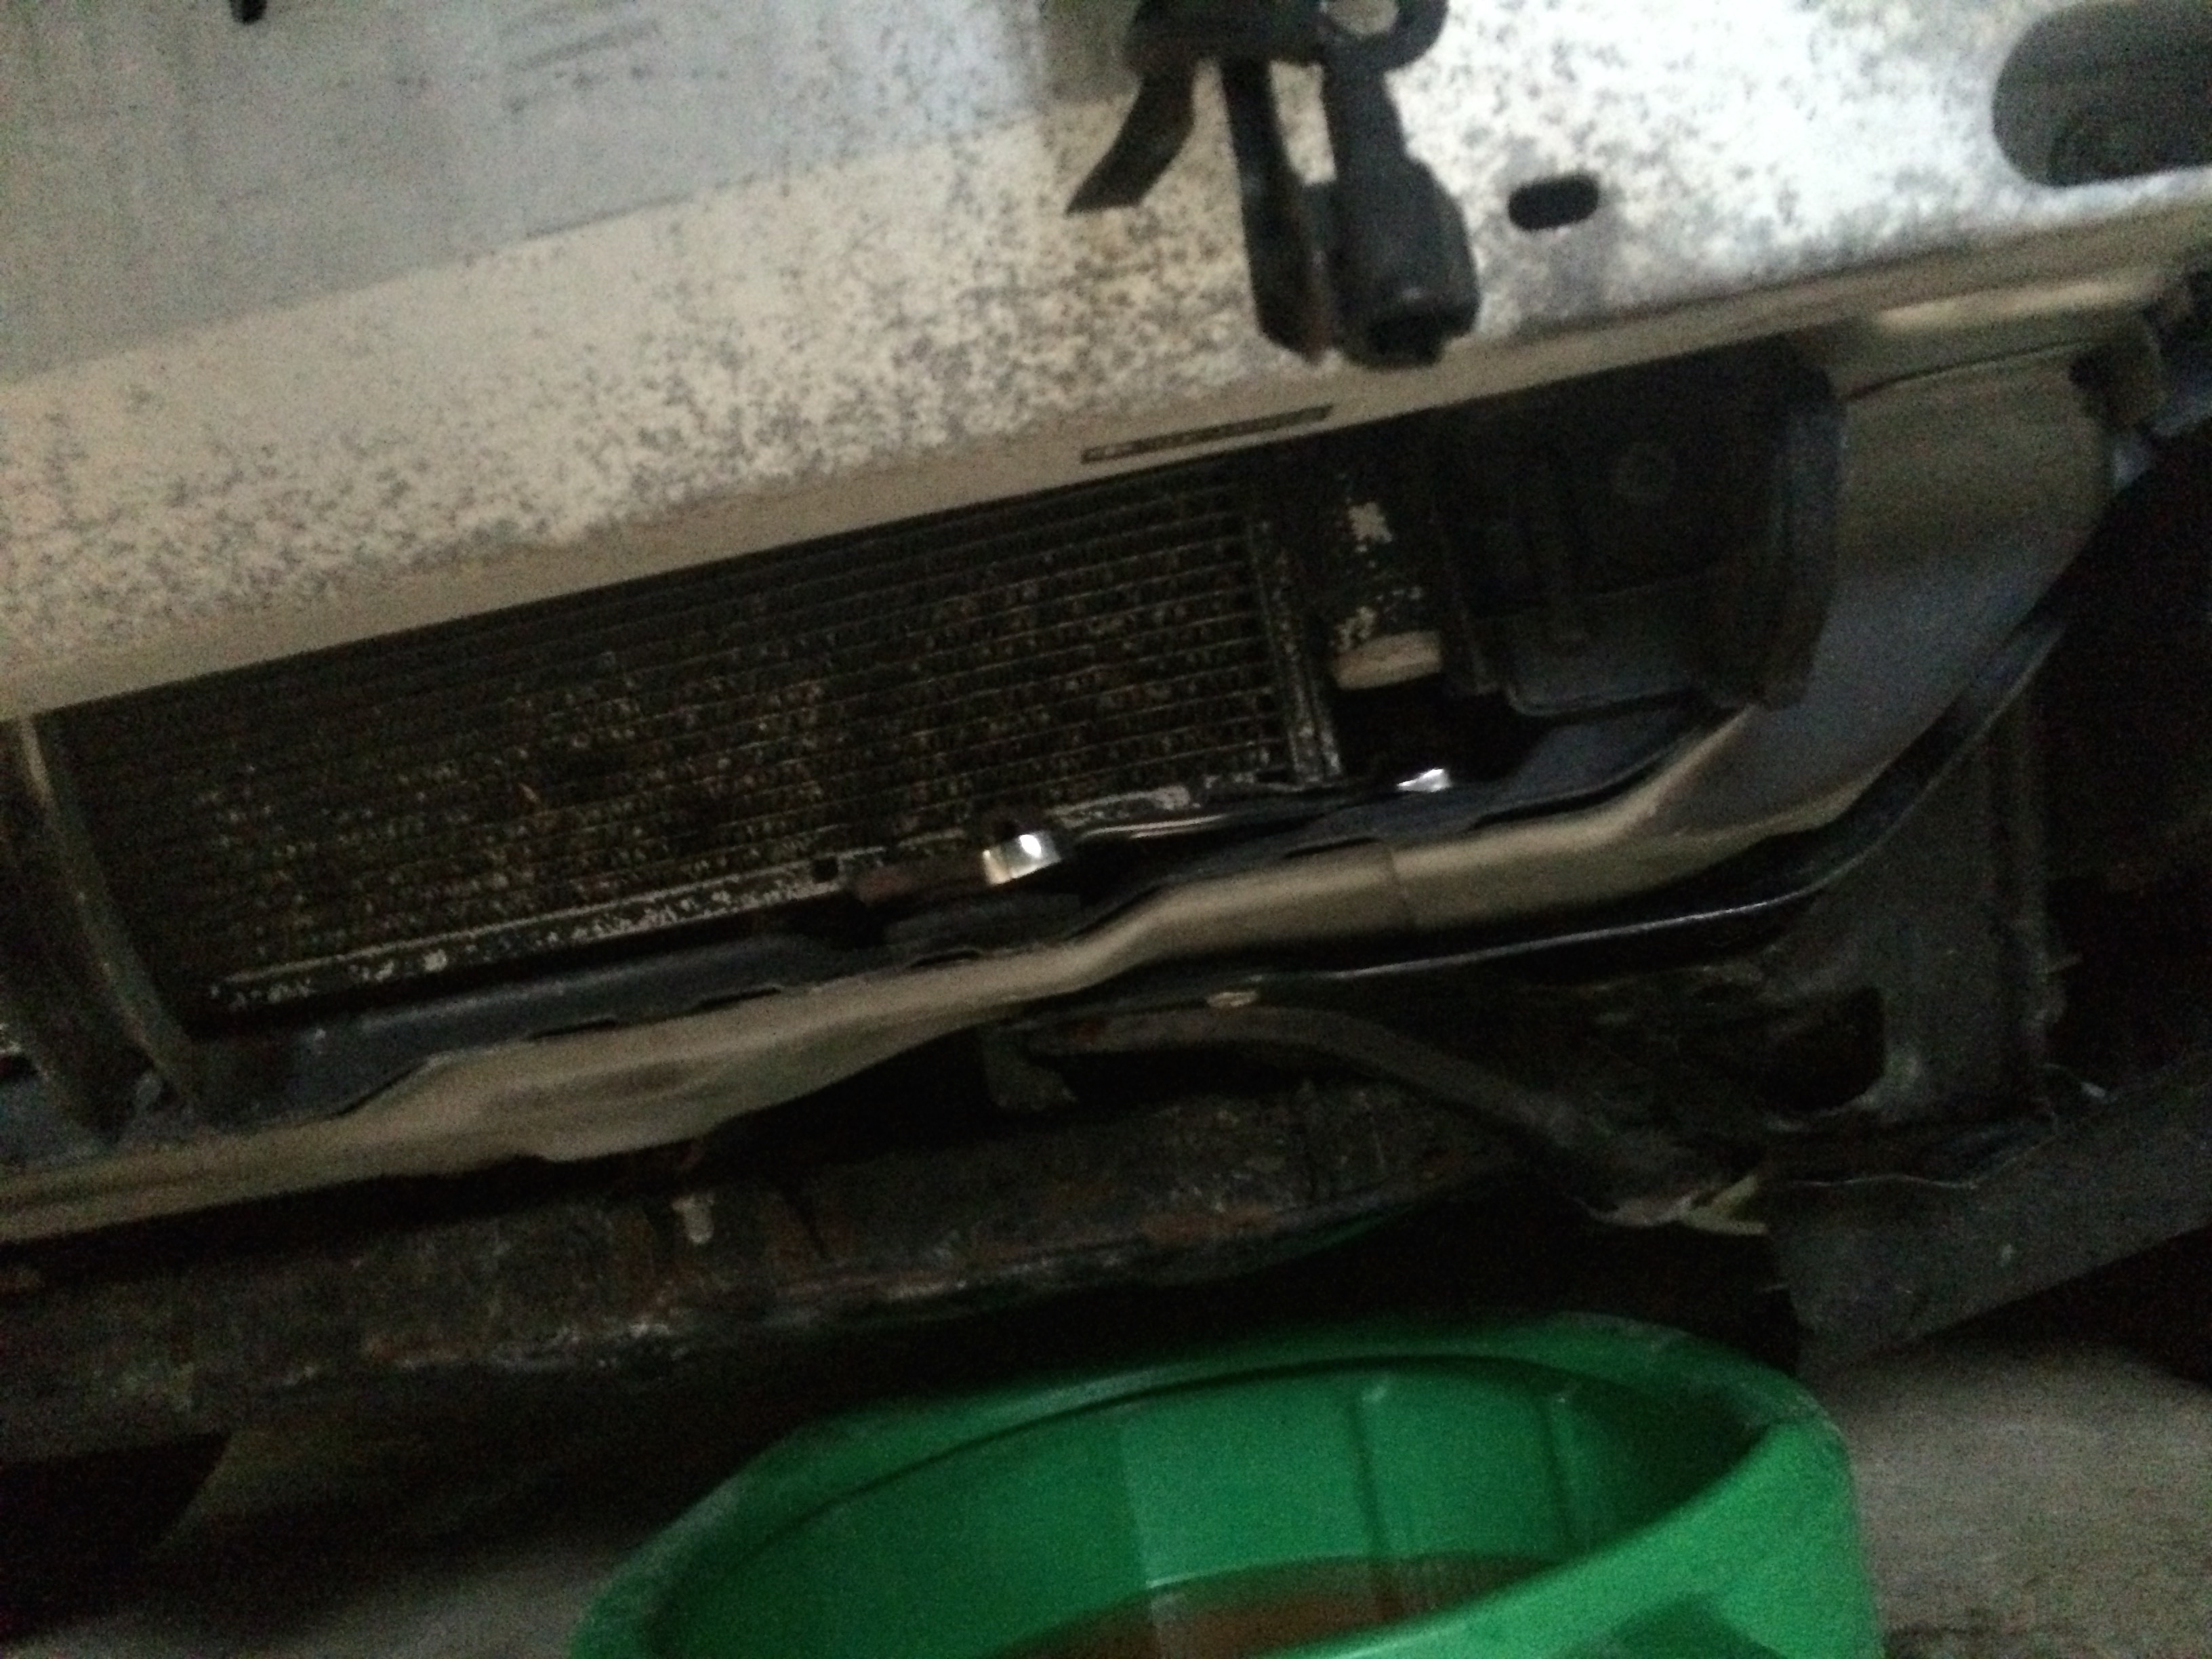
- Remove Radiator
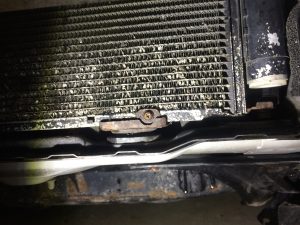
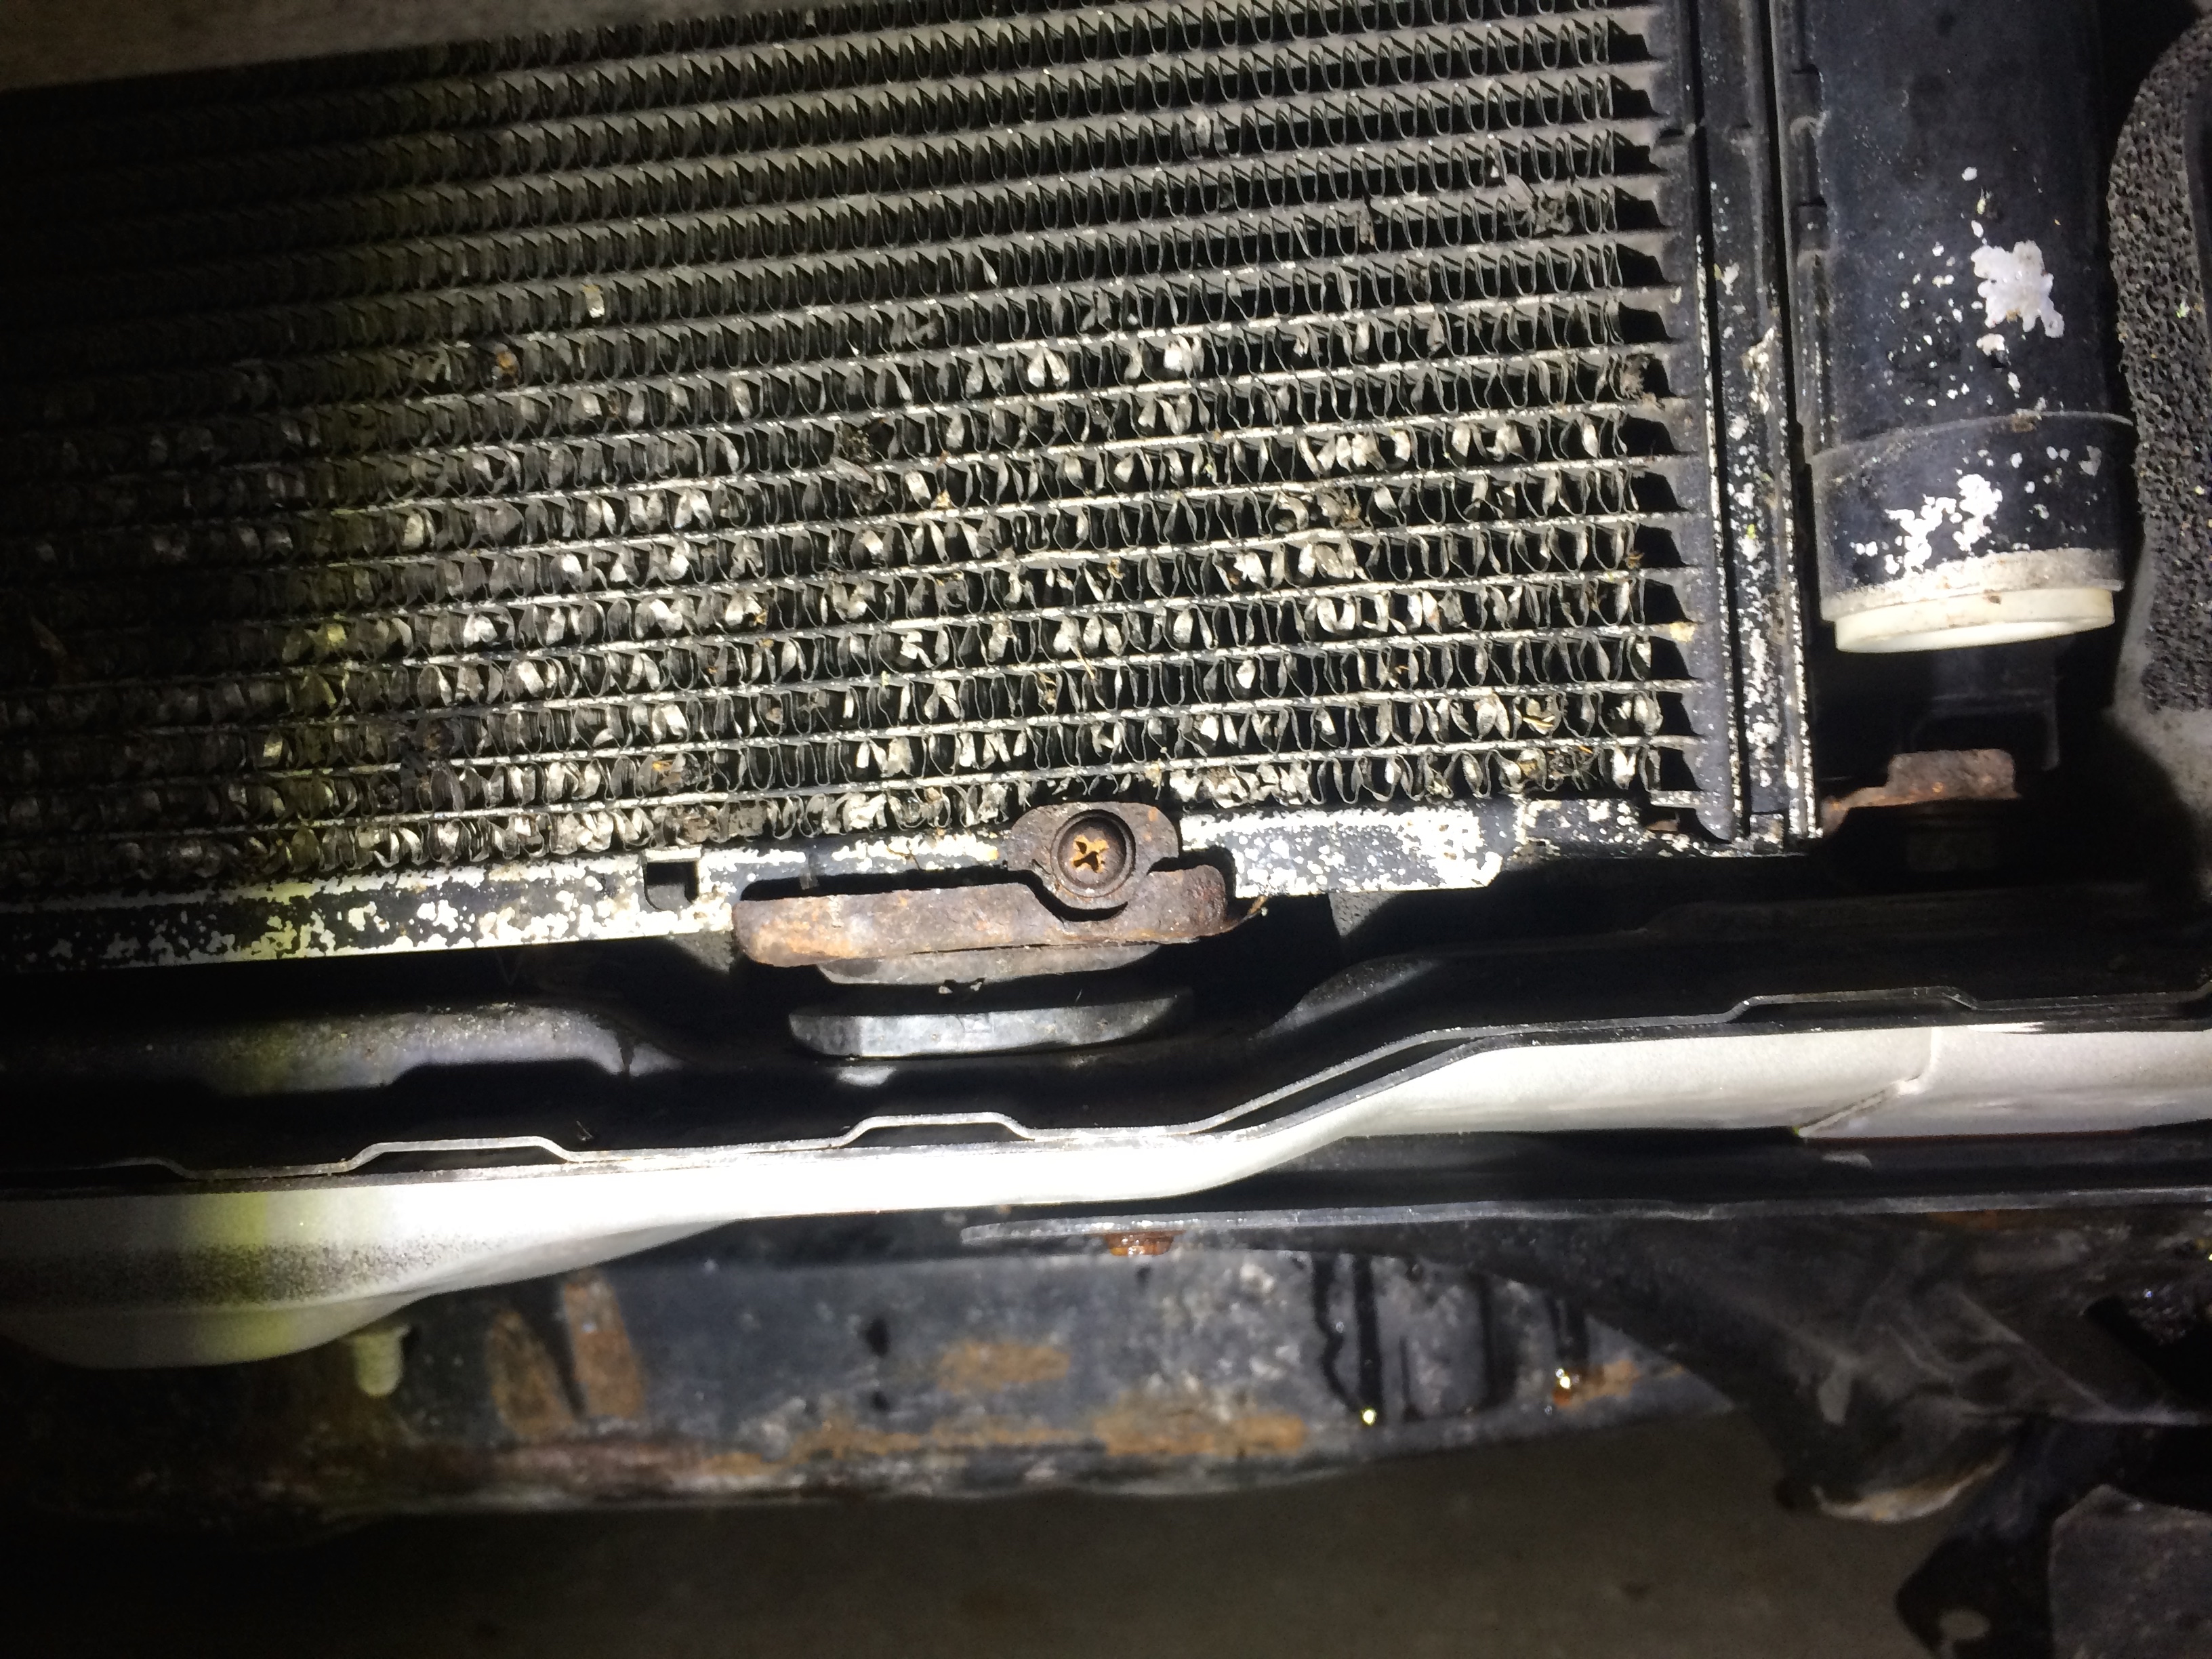
- There are two bolts at the bottom; Use open wrench, and magnet (to keep the bolts from dropping into frame)
- Very carefully lift out the radiator; Do not let it contact AC Condenser to avoid any damages

- Now All I need is to put it back together… (in reverse order)

Here are some tips of putting back together- The first and hardest part is to place two bolts holding the radiator at the bottom; Very gently and carefully, lift AC condenser to make a room to place the bolt in place; Using ratcheting wrench (with swing head helps!) to let thread to catch and then use open wrench to tighten the bolt
- The replacement radiator has a slight difference from the original radiator
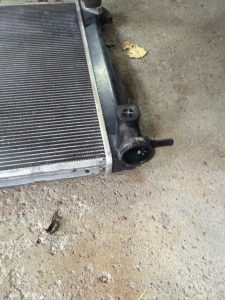
Notice the reservoir hose outlet is facing outward on factory original compare to inward on replacement
I could (probably should) have cut the hose to let it fit better, but decided to keep the original length
- Once everything is put back together, refill the radiator/reservoir with coolant and water 50-50, and run the engine to warm up, bleed the air by opening the bleed valve by inlet hose using Hex Wrench
- The first and hardest part is to place two bolts holding the radiator at the bottom; Very gently and carefully, lift AC condenser to make a room to place the bolt in place; Using ratcheting wrench (with swing head helps!) to let thread to catch and then use open wrench to tighten the bolt


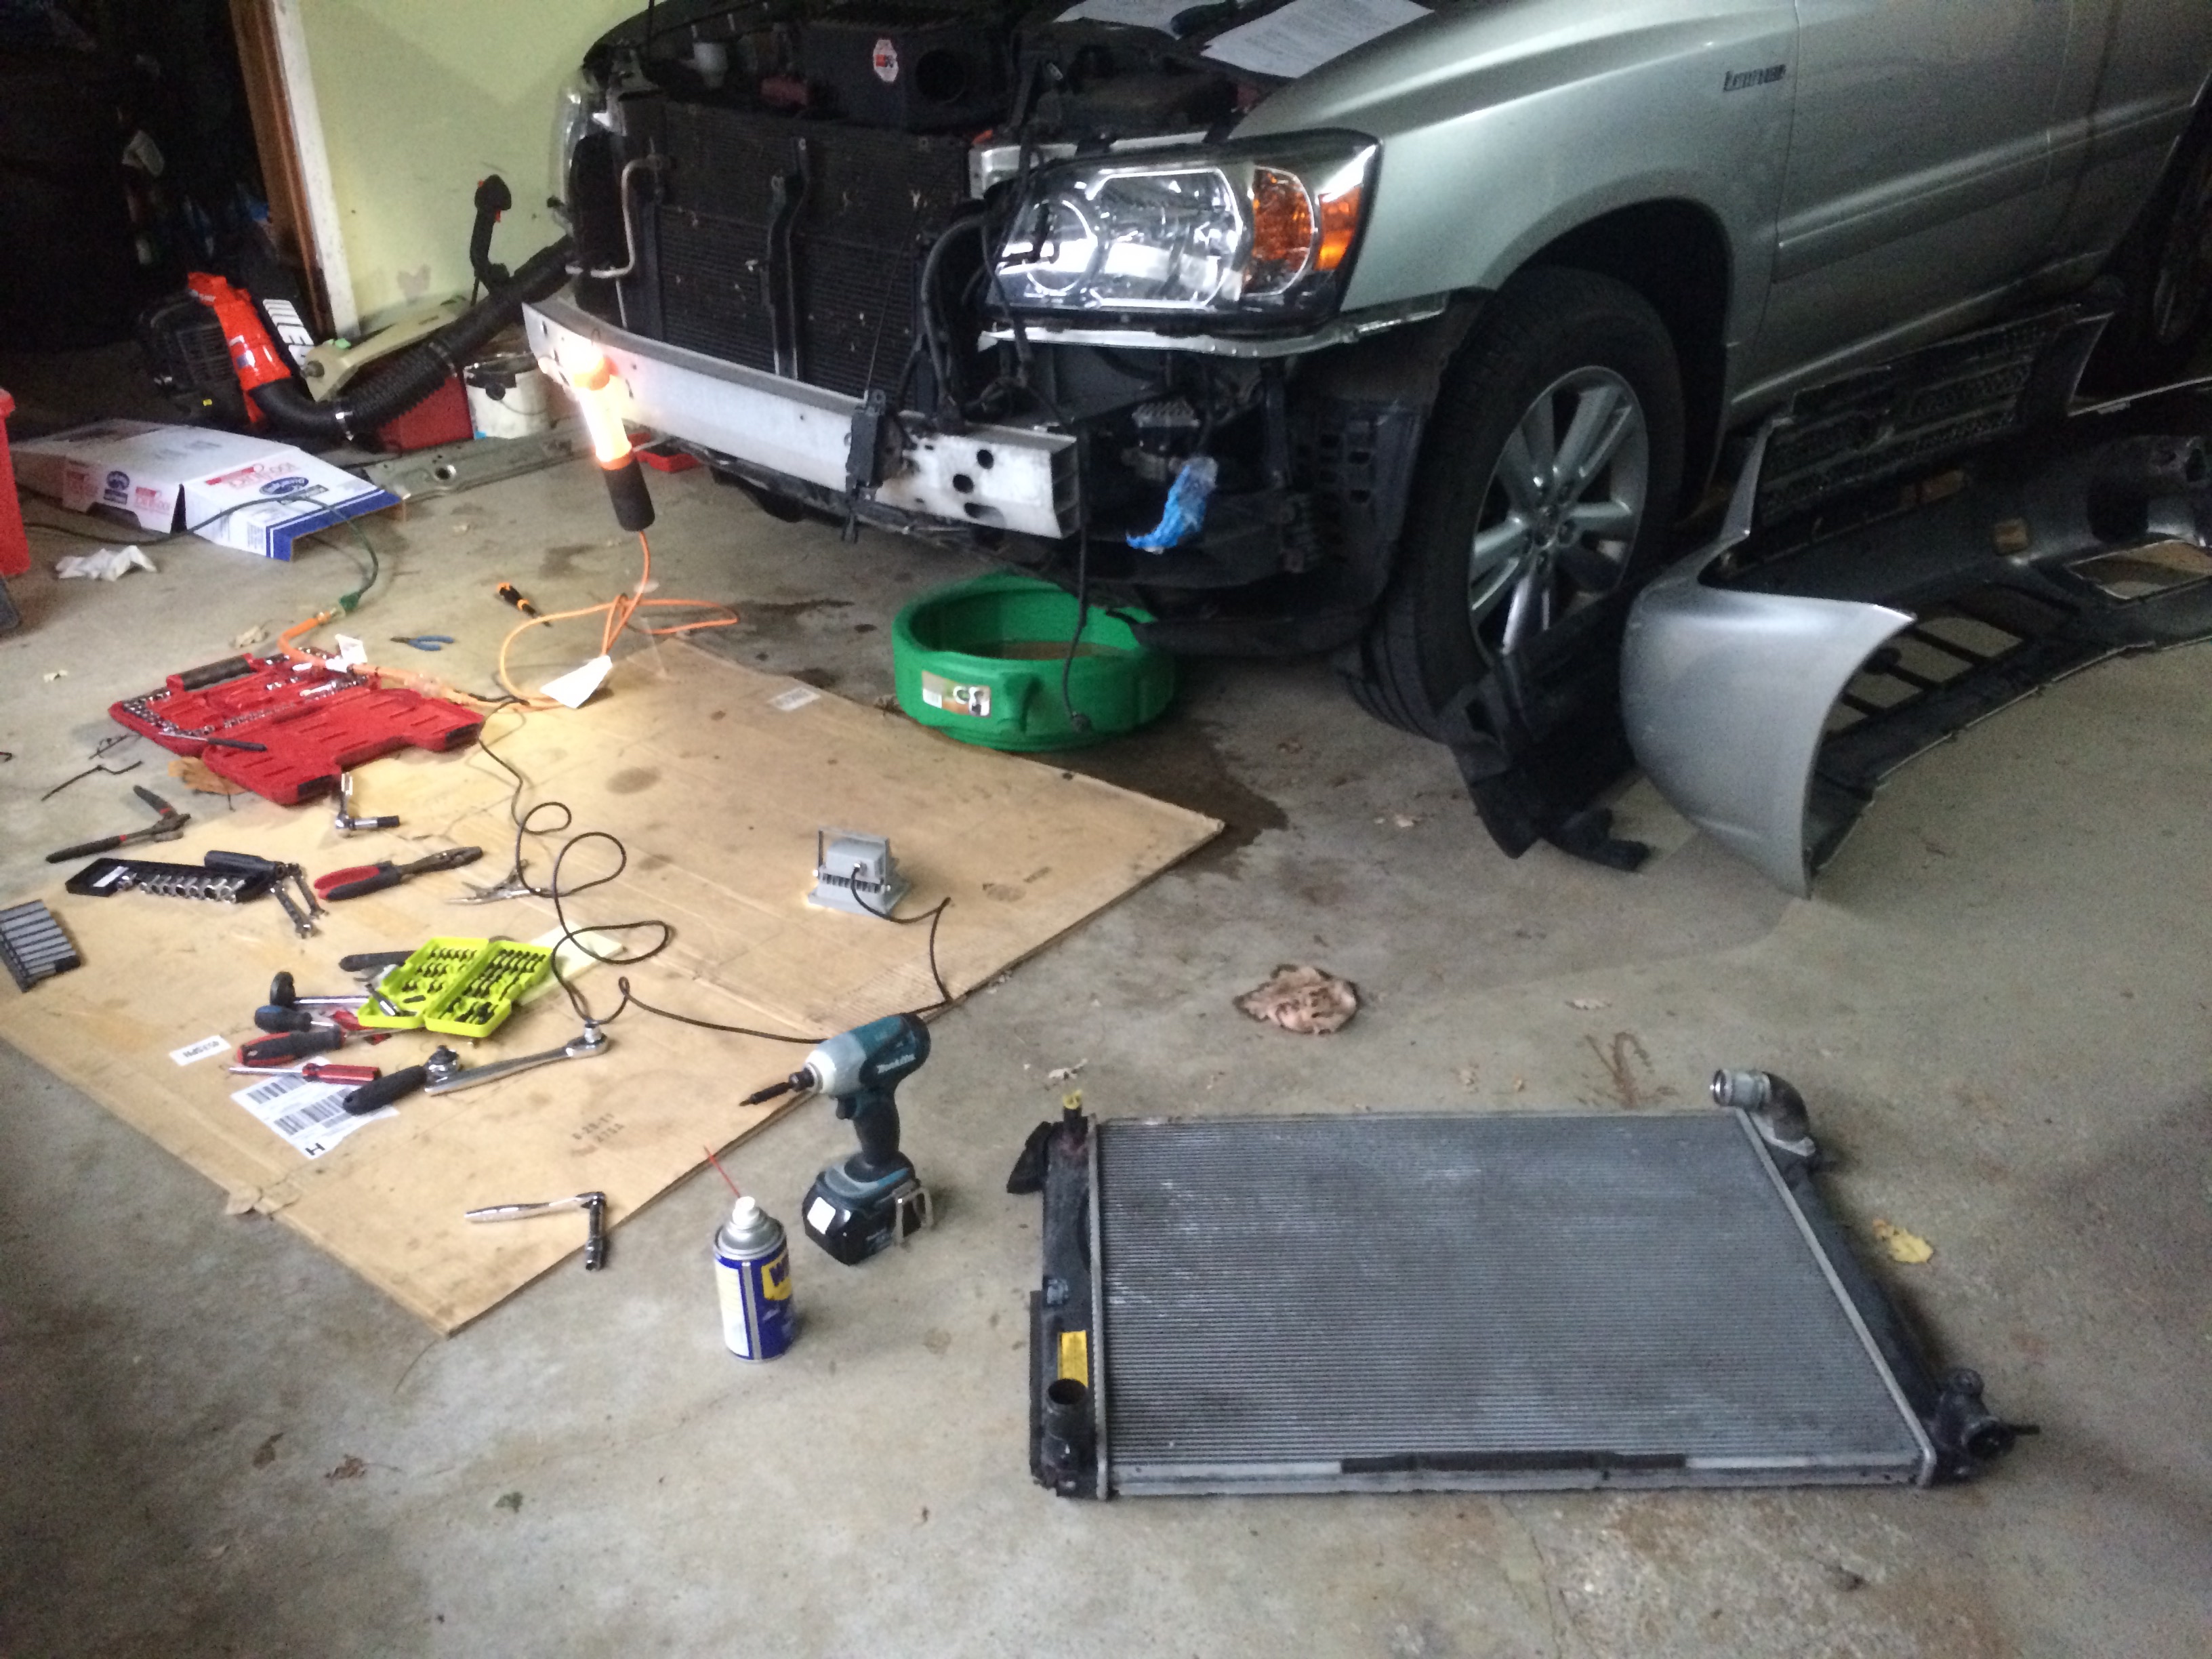


I’m pretty sure there should be a easier/proper way of placing the bottom screws for the radiator, but other than the soar forearm muscle, everything went pretty well. Took me whole morning on two mornings of Saturday and Sunday. Certainly it can be done in half day for the next time (which I don’t plan on doing!!)
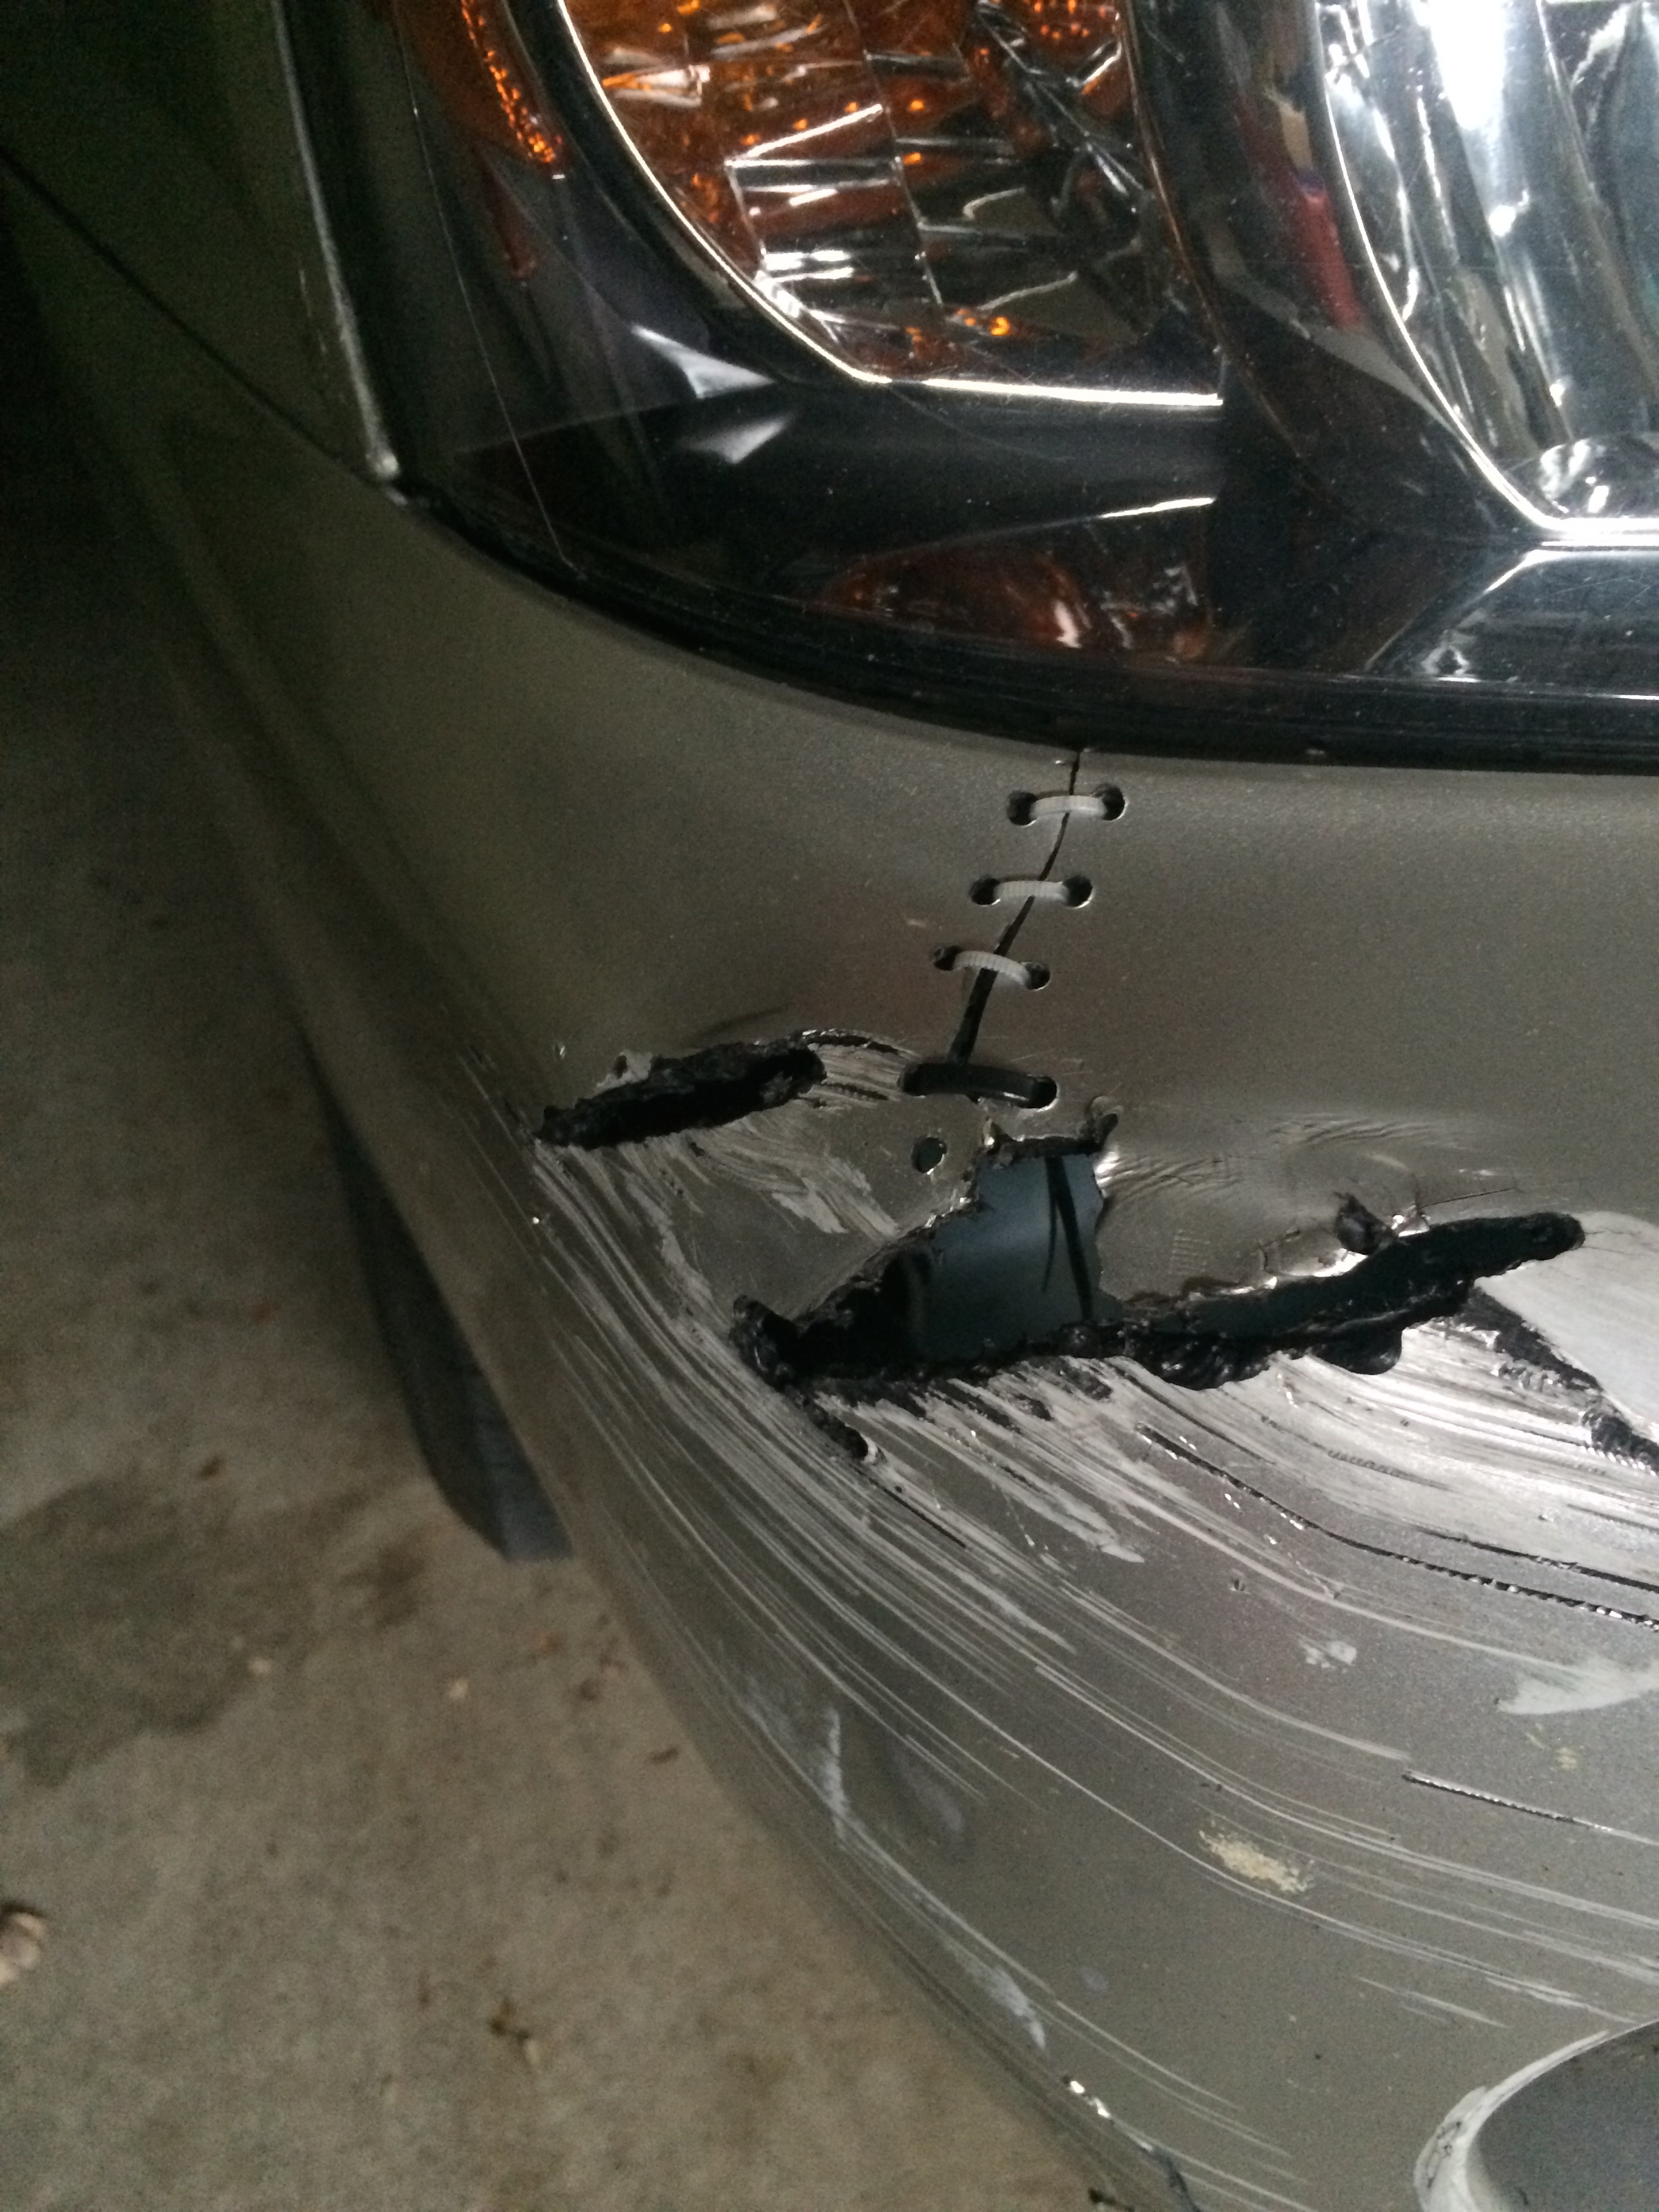
Now all I have left is to get the bumper painted, and then replace my zip-tie-stitched front bumper…
So far, total cost of this project is slightly less than $300, and I’m looking at paint cost to be another $100… still ahead compare to the insurance deductible…
Thanks for the detail. The bottom radiator bolts were rusted and they spun because the plastic cracked. No other access so use the chisel to crack the radiator loose. Had same problem starting new bolts at bottom, they must be perpendicular to nut – hard to do with no vision. Easier to start the passenger side, then the driver’s side with a bit of view. I spent a day fooling around with a job that should have been pretty easy. I recommend getting extra push pin rivets to put everything back together. Sure had a hard time with the compression hose clamps and put a screw clamp on the bottom hose.
Thanks for the post as it definitely helped. Unfortunately I too forgot to take pics/video to help future enthusiasts who dearvto. Entire into the unknown. Lol
All an all it was roughly a 4 hour complete job.
I lifted the bottom assembly so that the rubber mounts rested on the frame in order to get a 12mm ratchet wrench on the bottom radiator bolts. Also tied a slip knot string around the bolts 1/2 way through so as to not lose it in the frame.
Radiator cost $65. brand new.
Dealer wanted $600/$900 to do the job.
Time to celebrate!
Nice write up and pics, thank you.
I am considering not using bolts on the bottom bracket, maybe just studs for alignment. Also the right side has a hole in the frame and a part of the bumper cover designed to be cut out to access the lower bolt on the right side. This feature is not on the left. If I use the lower bolts I may make them accessible from underneath. With extreme care, the radiator can be removed and installed with the lower bracket on, warning there is high risk to the condenser using this procedure.