A while back, we bought a set of LED Bar lights intending for our bedroom closet., with my quick and easy install plan. Being old house with small windows, it is somewhat dark even when outside start getting sunlights (the good thing is that our house won’t get too hot even in middle of summer).
I’ve been a bit lazy, and too busy working outside in our yard, I finally make myself motivated to install them. On thursday, we went to hardware store, and bought less than $8 of hardware.
Here are what I’ve bought (for each closet)
- 1 LED light
(unlike the on on this link, but ours was with direct 125V input to the bar)
- 1 Old Work Electrical Box
- 1 Single Pole Switch
- 1 Switch Faceplate
- 1 New Work Electrical Box
- 1 Blank Faceplate
- 1 Metal Junction box
and Cover
- Some Wires
(Had leftover from previous project)
- Twist-on Wire Connectors
And here are the tools I used
- Drill
(More I use, more I love my drills!!)
- Hammer
- Long Nose Plier
- Drywall Saw
- Utility Knife
- Wire Stripper
- Stud Finder
(if you do any DIY and don’t have this, this must be on your next shopping list!!)
- Flash Light
- Screw Drivers
, flathead and Phillips
On Friday when I did the installation, it was about 90F, and probably even higher up in our attic. I was sweating so much, I needed to take water constantly…
- First, I took everything out of our closets, and determine where I want to install the LED and the switch. cut off the breaker for the bedroom lighting.
Second, sing the Stud Finder (and make sure it clears the stud), then drill a pilot hole to make sure there’s nothing behind the drywall, and then cut out to install the electrical box for old work. On the ceiling, drill a small hole.
Then, from the attic, drill a hole that caps the wall, and drop wire toward the electrical box opening. figure out the best way to install the new work box (I added 2×4 between the beam) and drill 4 holes indicating 4 corners of the box installed in the ceiling (so that when I cut box, it makes clear cut without damaging the area around it).
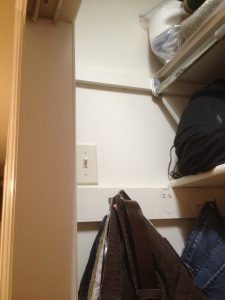
Back down in closet, cut out the opening for the box on ceiling, pull the wire from the wall opening, install switch and box, and the faceplate (the wall side is done).
Crawl up in attic again, install the ceiling box, then hook up all the wires. Cut the existing wire for the bedroom lighting (Make sure the power is cut!!!), install metal junction box, run a line to the ceiling box, clean up all the tools you brought to the attic, fluff the insulation, and back down.
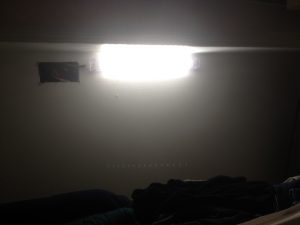
From the closet, connect the LED lighting, modify the blank faceplate to run the line to the light (basically cut a small hole off the corner), clean up all the drywall dust, flip the breaker back on, and test everything.
This whole thing sounds pretty easy and quick, but in reality, because of all the tight space in the closet and attic, hot temperature, I didn’t get to finish until a little after 2:00 in the morning.
Well, I think it all worth the hard work, and muscle pain on my thigh from standing in weird position in attic.
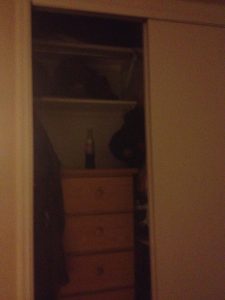
 This is how it was without light. Every morning, I was having hard time figuring out what to wear that day. |
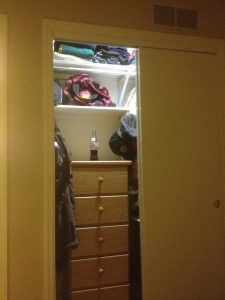
 Here is with newly installed light. The coke on the drawer is my reward for almost 10 hours (minus 1 hour for dinner) of hard work. |
 |
 |