The remote shock adjuster came loose after a couple adjustments during the event and bumping it when I load tools in the trunk…
It appears that the wall on the adjuster, where set screw is tapped into, was too thin, and the screw came loose.
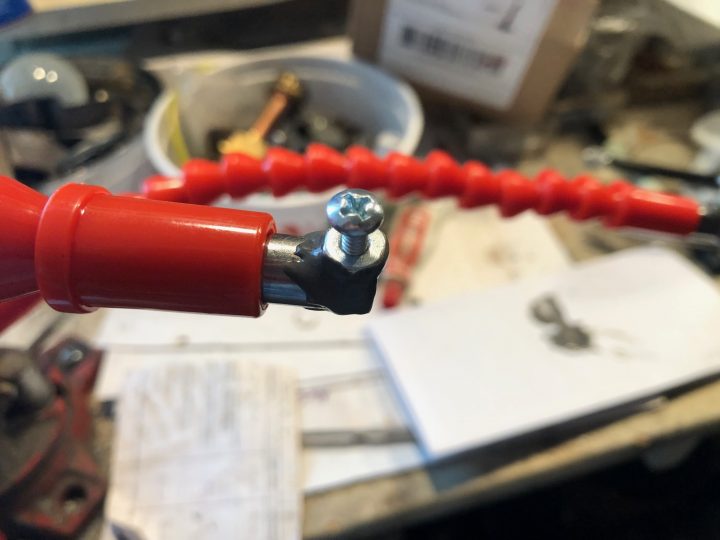
Solution is to add a nut outside of the wall, and JB-Weld it. Now it has enough thread for the screw to hang on, and I’m also going to use LockTite
Here is the material and tools needed for the extension.
Flexible Driver Extension
6-32 (or M4-0.7) Screws and Nuts (2 sets)
J-B Weld
LockTite
Tap and Die matching the screw of your choice
Drill / Drill Bits to match the screw
How can you complete a project without Zip Ties
Process is very simple.
Drill a hole and tap on female side of the extension. Then use screw to align the nut in place, and JB Weld the nut in place; let it cure for 24 hours. Once hardened, remove the screw, and tap the nut and the hole together once to clean up the thread.
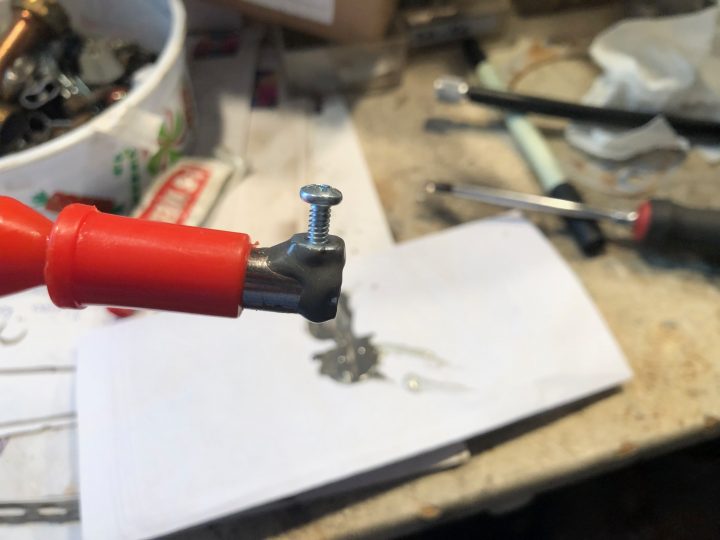
Place the extension, apply LockTite and tighten the set screw, and zip tie the extension in place. That’s all!
now you can use any 1/4 hex screw driver, or handle to make adjustment without modifying the trunk liner 🙂